Heliconias are tropical plants that need warmth, humidity, and decent light to thrive, and once you nail those three conditions, they're genuinely rewarding to grow. If you want a head start, check out the specific steps for how to grow heuchera in your garden or containers Heliconias are tropical plants. Give them fertile, moist but well-drained soil, temperatures that stay above 55°F (13°C) at night, at least 6 hours of sun for the bigger upright types, and humidity in the 60–80% range, and you'll be well on your way to those dramatic bracts. Skip any of those boxes and you'll end up staring at a leafy clump that refuses to flower.
How to Grow Heliconia: Complete Home Growing Guide

Marcus Holloway
11 Jun 2026
Choosing the right heliconia and growing setup
Not all heliconias are suited to home growing, so picking the right species is the single most important decision you'll make. If you're in USDA zones 10–12 and growing outdoors year-round, you have a lot of freedom. If you're in zones 7–9, you're container gardening whether you like it or not, because heliconias are frost-tender and a hard freeze will kill them to the ground (or outright kill the rhizome in severe cases).
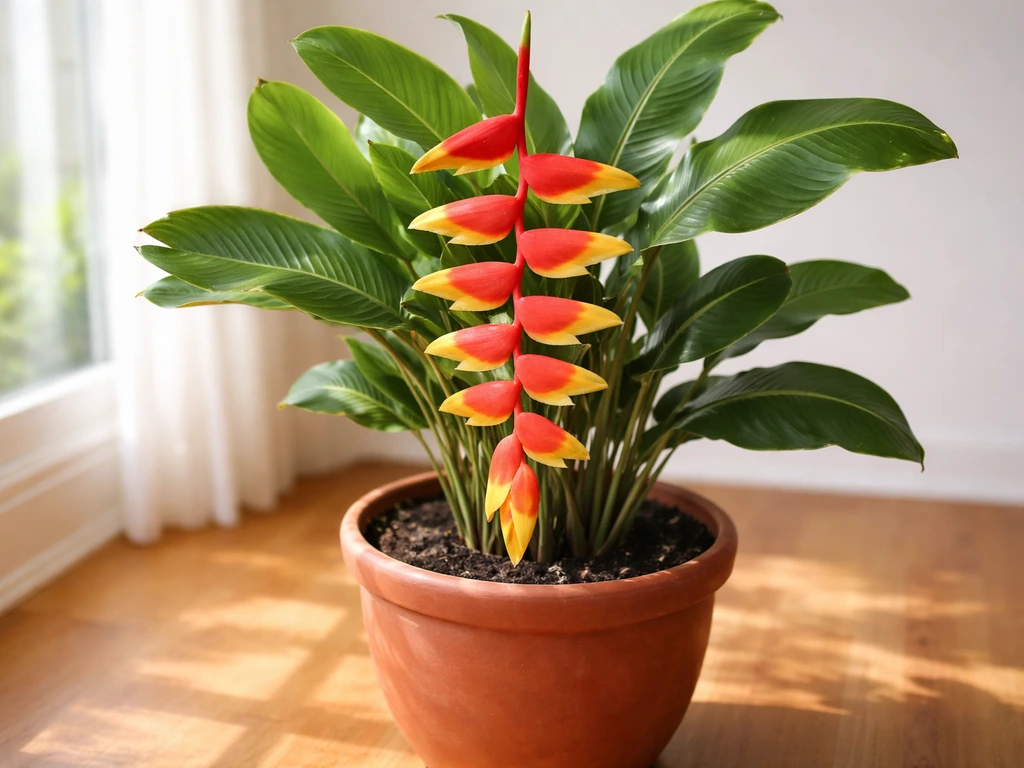
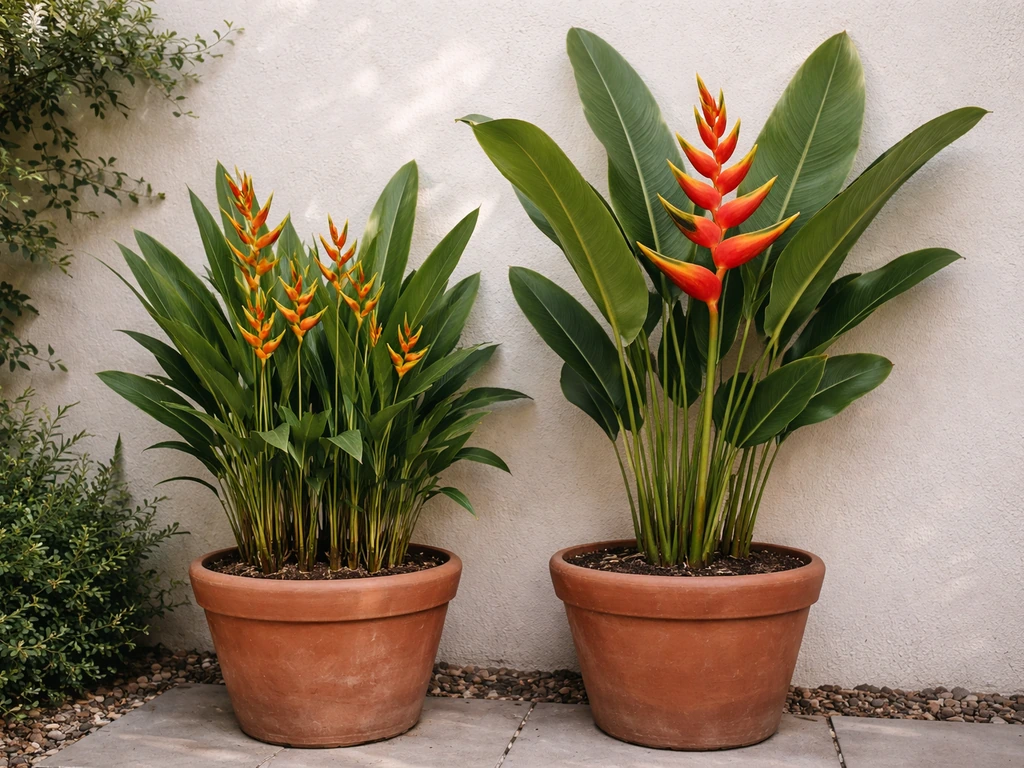
For home growers with limited space or cooler climates, Heliconia psittacorum (parrot's beak heliconia) and its cultivars like 'Kathy' are the most practical choices. They stay compact, flower reliably in containers, and tolerate indoor conditions better than the giant species. Heliconia rostrata (lobster claw, with the dramatic hanging bracts) is beautiful but big and commonly grown in containers in places like Phoenix or similar frost-prone cities where it simply can't stay outside year-round. Heliconia caribaea is a full-sun powerhouse that can grow 8–15 feet tall and is really a landscaping plant for warm climates rather than a houseplant.
| Species | Size | Best for | Light need | Container-friendly |
|---|---|---|---|---|
| H. psittacorum 'Kathy' | 3–5 ft | Indoors, small gardens, containers | Bright indirect to full sun | Yes |
| H. rostrata | 4–8 ft | Containers in frost-prone areas, warm gardens | Full sun to partial shade | Yes (large pot) |
| H. caribaea | 8–15 ft | Warm-climate landscapes (zones 10–12) | Full sun (6+ hours) | No, too large |
If you're growing indoors or in a conservatory, H. psittacorum is your best bet. It's the one species that's been documented to flower reliably under managed indoor conditions when light and humidity are dialed in. The larger species need more space and sun than most homes can provide.
Planting time, indoor vs outdoor placement, and spacing
The best time to plant or repot heliconias is in spring when temperatures are consistently warming and the plant naturally wants to push new growth. If you're dividing rhizomes, early spring is ideal because the new shoots are just emerging and the plant recovers quickly. Planting in late fall or winter is asking for trouble, even indoors, because slow root establishment in cool conditions invites rot.
Outdoors in warm climates, pick a spot that gets morning sun with some afternoon protection in the hottest months. South or east-facing spots work well. For spacing, heliconias spread aggressively by rhizome, so give them room: H. psittacorum needs about 3–4 feet between plants, while larger species like H. caribaea want 6–8 feet. If you crowd them, flowering drops off and management becomes a nightmare.
For container growing indoors, choose the brightest spot you have, typically right in front of a south-facing window or under supplemental grow lights. A 15–25 gallon container is the minimum realistic size for H. rostrata or larger psittacorum cultivars if you want flowers. Smaller pots stress the rhizome and the plant spends its energy trying to fill the pot with roots rather than pushing up flowering stems.
Soil, substrate, and drainage setup
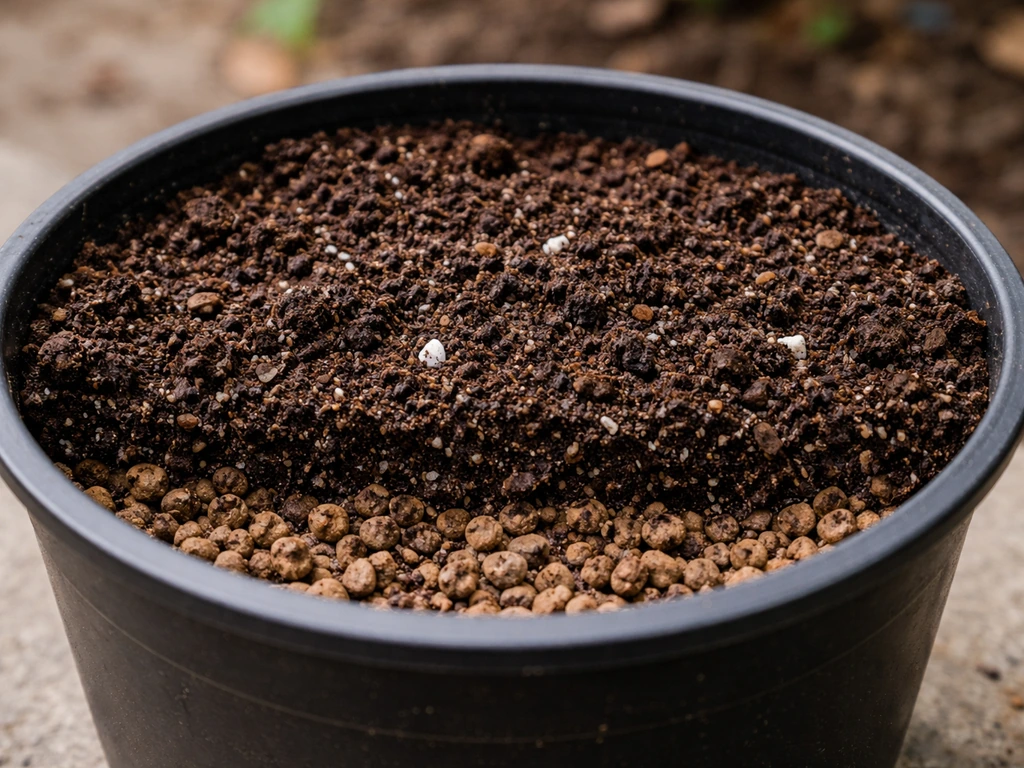
Heliconias want fertile, moist soil that also drains well. That sounds contradictory but it just means you want organic-rich compost-amended soil, not heavy clay that sits wet for days. A mix of quality loam or garden soil with around 30% compost or aged organic matter is ideal for in-ground planting. For containers, a chunky tropical mix, something like 60% quality potting soil and 40% perlite or coarse pumice, keeps moisture available while preventing the waterlogging that causes root rot.
Target a soil pH of 5.5–6.8. Heliconias are tolerant of a range of soil types including sand, loam, and even clay (H. caribaea in particular), but they always perform better when you amend heavily with compost. If your native soil is heavy clay, raise a bed by at least 8–10 inches or grow in containers. Drainage is non-negotiable: pots must have large drainage holes and should never sit in saucers of standing water.
Sunlight, temperature, and humidity targets
Light is where most home growers fall short, and it's almost always the reason a heliconia won't flower. H. caribaea and H. rostrata want a minimum of 6 hours of direct sun daily for reliable blooming, roughly equivalent to 2,000–4,000 foot-candles. H. psittacorum is a bit more flexible and will manage in bright indirect light, but even it flowers much better with direct sun access. Indoors, a south-facing window is the minimum viable placement; supplemental LED grow lights help enormously if your space is limited.
Temperature is equally critical. Optimal daytime temperatures for flowering sit between 24–29°C (75–84°F), with nighttime lows staying above 15°C (59°F). Indoor plants should never drop below 13°C (55°F) or growth stalls and flowering stops. Extended cold is one of the most reliable ways to prevent bud initiation, so if you're overwintering a container heliconia in a cool garage or basement, don't be surprised if it sulks for months afterward. Warmer is almost always better within the tropical range.
Humidity is the other make-or-break variable indoors. Aim for 60–80% relative humidity. An indoor humidity of 50–70% is adequate for basic growth, but for lush foliage and consistent flowering, pushing toward 70–80% makes a real difference. A humidifier near your plants, a pebble tray with water, or grouping tropical plants together all help. Dry indoor air during winter heating season is genuinely hard on heliconias and can cause leaf browning and bud blast.
Watering routine and fertilizing schedule
Heliconias want consistently moist soil but not soggy conditions. If you want a detailed guide for hydrangeas specifically, the steps for how to grow hortensia can help you dial in the right light, soil, and watering moist soil but not soggy conditions. During the active growing season (spring through summer), water thoroughly whenever the top inch of soil dries out, which in warm weather and a container might be every 2–3 days. In cooler months or slower growth periods, pull back and let the top 2 inches dry before watering again. The classic beginner mistake is keeping them too wet in winter when growth has slowed, which sets up the conditions for root rot.
For outdoor plants in heavy rain seasons, make sure drainage is doing its job. Heliconias can tolerate wet soils during the growing season better than most tropical plants, but standing water around the crown for more than a day or two is still a problem.
Fertilizing is important because heliconias are heavy feeders when actively growing. Use a balanced slow-release granular fertilizer (something like a 10-10-10 or a tropical plant formula) at the start of spring, and then supplement every 4–6 weeks through the growing season with a liquid fertilizer. A fertilizer with slightly elevated potassium and phosphorus (like a bloom formula) in early summer can help push flowering. Back off completely from November through February if your plant is resting. One honest note on Miracle-Gro: it works fine as a liquid supplement but the nitrogen-heavy formula can push leafy growth at the expense of flowers if you're heavy-handed with it.
Ongoing care across seasons
Pruning and spent cane removal
Once a heliconia cane (stem) has flowered, it will not flower again. blank" rel="noopener noreferrer">Cut spent flowering canes all the way down to the ground after flowering finishes, not halfway, all the way to the base. This is not optional if you want the plant to redirect energy into new flowering shoots. Leaving old canes in the clump is one of those quiet problems that accumulates over time: the clump looks fine but flowering output keeps declining.
You can also remove any dead, yellowed, or heavily damaged leaves at any time of year. Just cut the entire leaf stalk back to the base rather than trimming it partway, which looks untidy and can introduce disease.
Seasonal adjustments and overwintering
In frost-prone climates, container heliconias need to come indoors before nighttime temperatures drop below 55°F. Move them into your brightest, warmest indoor space and reduce watering. They may lose some leaves and look rough through winter, and that's normal. Don't panic and over-fertilize or overwater a dormant or semi-dormant plant. Resume full feeding and watering when you see new growth pushing in spring, then move the container back outdoors after your last frost date.
Repotting and clump management
Repot container heliconias every 2–3 years or when you see roots escaping the drainage holes aggressively. Spring is the best time. Clumps older than 5–6 years tend to produce fewer flowers as the center of the clump becomes woody and crowded. Dividing and replanting rejuvenates the plant significantly, and the divisions you remove become your next batch of plants.
Troubleshooting common problems
No flowers
This is by far the most common complaint, and it almost always comes down to one of three things: not enough light, temperatures too cool, or an overcrowded clump. Check your light levels first. If the plant is getting fewer than 4–6 hours of direct or high-intensity indirect light, it won't flower, full stop. Move it to a brighter spot before trying anything else. If light is adequate, check that nighttime temperatures haven't been dropping below 15°C (59°F) regularly. And if your clump is old and dense, divide it.
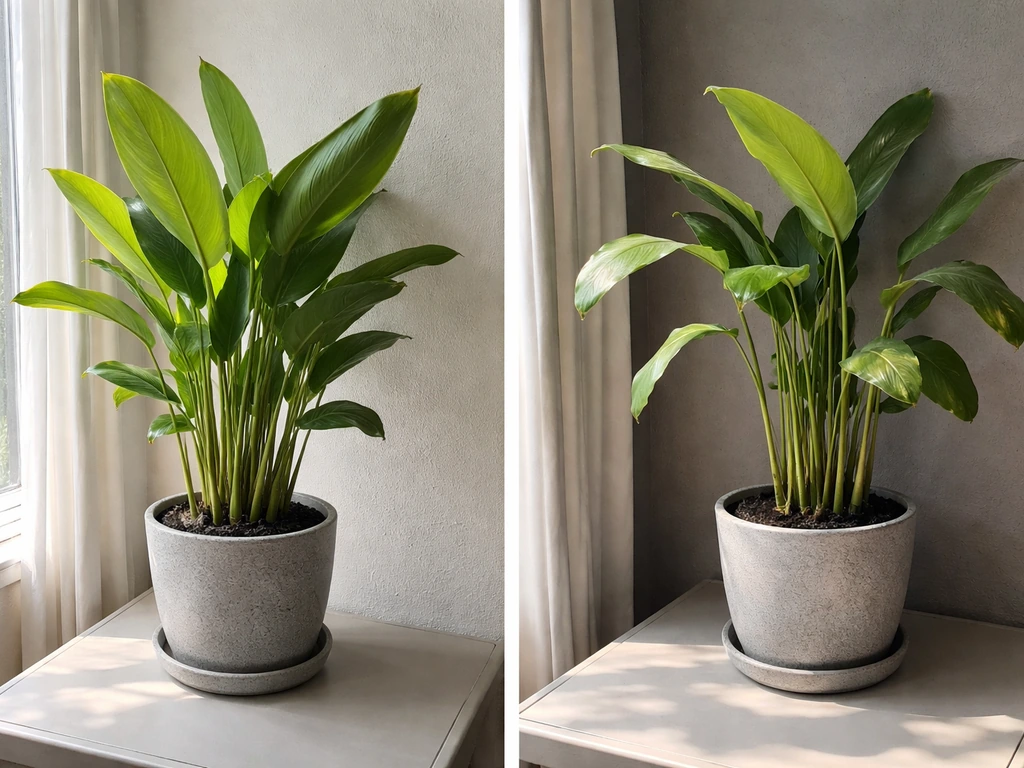
Leaf browning and yellowing
Brown leaf tips usually point to low humidity or irregular watering. If whole leaves are going yellow, check whether you're overwatering (soggy soil, especially in winter) or underwatering (bone-dry soil, very hot conditions). Yellowing from the bottom up on older leaves is normal senescence and nothing to worry about. If it's happening across young leaves, that's a sign of a real problem: too much water, cold stress, or nutrient deficiency.
Root rot
Root rot caused by fungi like Cylindrocladium is a genuine risk for heliconias, especially in containers with poor drainage or during cool, slow-growth periods when watering isn't scaled back. If you see a plant suddenly wilting despite moist soil, or if the base of the stems goes soft and smells unpleasant, you're likely dealing with root rot. Unpot the plant, cut away all soft or discolored roots with sterile scissors, dust the cut surfaces with powdered sulfur or a copper-based fungicide, and repot into fresh, well-draining substrate. Improving drainage and reducing watering frequency is the real fix.
Pests
The most common pests on heliconias are spider mites, mealybugs, and scale insects, with nematodes being a concern for outdoor in-ground plants. Spider mites show up as fine webbing and stippled, dry-looking leaves, usually in dry conditions. Mealybugs look like white cottony clusters at leaf axils. Scale appears as flat, waxy bumps on stems. For all three, insecticidal soap (with potassium salts of fatty acids) applied thoroughly, including under leaves, is a solid first treatment. Repeat every 7–10 days for 3–4 applications. For heavy infestations, neem oil is a useful follow-up. The consistent theme with pest problems indoors is that low humidity and stressed plants attract them, so improving your growing conditions is the best long-term prevention.
Propagation methods and next-step goals
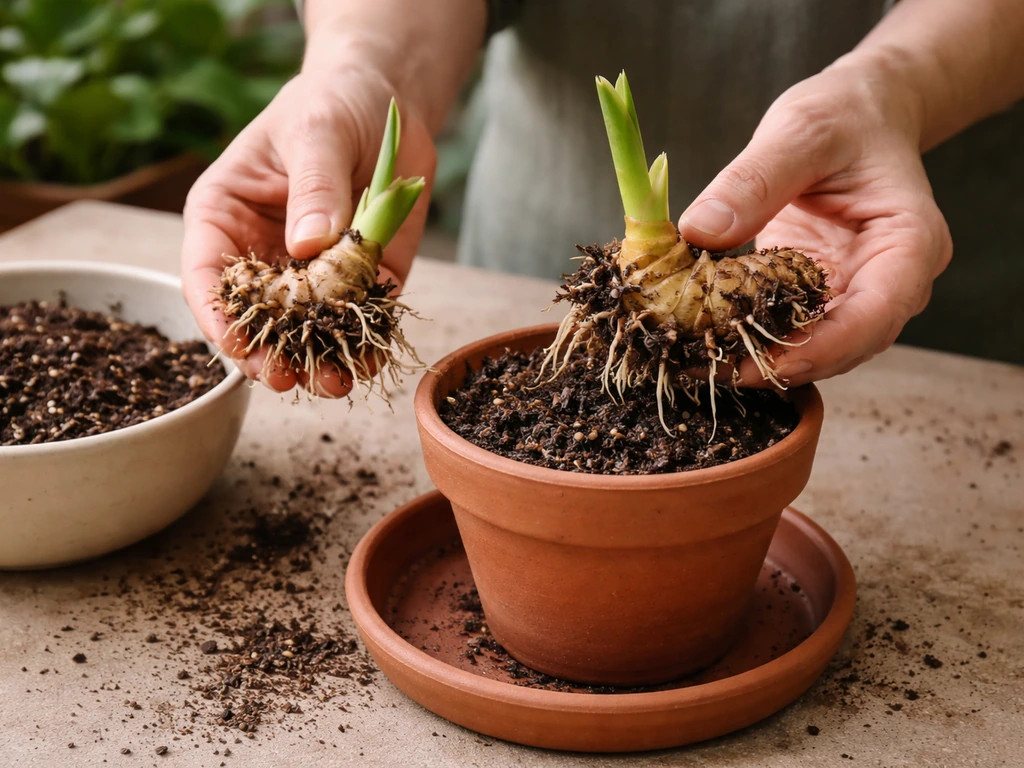
Rhizome division is by far the most practical and reliable propagation method for heliconias at home. If you want a faster answer for a similar plant, check out how to grow hemerocallis for comparable sun and soil tips. In early spring, when new shoots are just emerging, unpot the plant or dig around the clump edge and cut off sections of rhizome that each include at least one healthy growing shoot and a portion of roots. Plant the divisions at the same depth as the parent plant in fresh, prepared soil. Keep them consistently moist and warm, and expect flowering-sized plants within 18–24 months.
Seed propagation is possible but genuinely slow and difficult for most home growers: germination is erratic, seeds require fresh viability, and it takes years to reach flowering size. Unless you're specifically interested in raising new varieties, stick with division.
A realistic set of goals for a home heliconia grower looks like this: year one is about establishing the plant and getting it adapted to your conditions. Year two is when you should see the first flowering on a healthy, well-fed plant in good conditions. If you want a similar timeline for a specific plant, see our guide on how to grow kniphofia year two.
By years three to four, a well-managed clump in the right spot becomes a reliable yearly bloomer. That timeline assumes you're providing the core conditions from day one: warmth, light, humidity, and good drainage. To get a quick overview, focus on choosing the right growing conditions, planting correctly, and then dialing in light, temperature, humidity, watering, and fertilizer.
If you enjoy growing dramatic tropical foliage plants more broadly, heliconias sit in good company alongside other bold, statement-making plants. If you are looking for a similarly dramatic winter-flowering plant to grow alongside tropicals, check out what to grow with hellebores for companion ideas. Growers who love heliconias often find similar satisfaction in plants with striking structural presence that reward consistent, attentive care rather than benign neglect.
- Choose H. psittacorum or H. rostrata for container or indoor growing; reserve H. caribaea for warm-climate landscapes.
- Plant or divide in early spring when new growth is emerging.
- Use fertile, compost-rich soil with a pH of 5.5–6.8 and excellent drainage.
- Provide a minimum of 6 hours of direct or high-intensity light daily for flowering.
- Keep temperatures between 24–29°C (75–84°F) during the day and above 15°C (59°F) at night.
- Maintain humidity at 60–80%, especially indoors in winter.
- Water consistently during the growing season; reduce in cooler or slower periods.
- Fertilize with a balanced slow-release in spring and liquid supplements every 4–6 weeks through summer.
- Cut spent flowering canes to the ground immediately after flowering finishes.
- Divide clumps every 5–6 years (or sooner if flowering declines) to rejuvenate the plant.
FAQ
Will my heliconia bloom indoors, or do I need to move it outside?
Yes, but it is usually a waiting game rather than an instant win. Indoor-grown heliconias commonly bloom in the second year if you keep night temperatures above about 59°F (15°C), provide strong light (or supplemental LEDs), and maintain high humidity. If you are growing under 55°F (13°C) nights or in a dim room, you can get lush leaves without bud initiation.
Why are my heliconia leaves browning, even though I water regularly? (Outdoor-specific)?
Use wind protection plus tighter watering schedules. Even though heliconias love humidity, strong drying wind and hot sun can cause leaf edge browning and bud blast. For outdoor plants, aim for morning sun with afternoon shelter, and avoid letting containers dry out between waterings.
My heliconia is growing but not flowering, what should I check first?
The most reliable trigger is good light plus warm nights. If you are only getting bright indirect light, try to increase daily direct sun exposure or add LED grow lights, and confirm your nighttime lows stay above 59°F (15°C). Also check that the clump is not overly crowded, since older dense centers reduce flowering.
How can I tell if yellow leaves are normal or a sign of trouble?
Do not treat yellowing leaves the same way. Yellow leaves on older foliage, especially toward the bottom, can be normal aging. If yellowing shows up on newer leaves or comes with soft stems, drooping, or a musty smell at the base, that points to overwatering, cold stress, or root problems rather than normal senescence.
Should I fertilize my heliconia year-round?
Skip fertilizing when growth is slow. During winter rest (roughly November through February), stop feeding, and water less so the top layer dries more between waterings. Fertilizer salts plus cool conditions can worsen stress and increase the risk of root issues.
What container size is best, and how do I know when to repot?
Pick the pot size based on the plant, not just the species. A common rule is to go large enough that water drains freely and the rhizome is not constantly cramped, since small pots can limit flowering-sized growth. If roots are escaping drainage holes aggressively, that is your cue to move up one pot size in spring.
Can I keep heliconias in the same soil mix year-round, including winter?
Yes, and it changes your whole watering routine. In a well-draining mix, you still want to water thoroughly when the top inch dries, but in winter or cool locations you should let more of the container dry before watering again. Consistently wet soil during slow growth is a major route to root rot.
When should I move a potted heliconia back outdoors in spring?
You usually can, but you must rewarm gradually and protect from cold snaps. Move the container outdoors only after your nights are reliably above 55°F (13°C), ideally nearer 59°F (15°C) for flowering. Resume fuller watering after you see new growth, and avoid sudden heat and sun exposure immediately after bringing plants out of a cooler indoor spot.
How should I prune after flowering, and do I need to disinfect tools?
Clean pruning matters more than the cut style. After removing a dead cane, do it down to the ground, then disinfect pruning tools before the next cut to reduce spread of disease. Also remove heavily damaged leaves at the leaf stalk base rather than trimming halfway.
What humidity level do I actually need indoors, and how do I prevent spider mites?
Track humidity at plant level, not just room level. A small drop in humidity can trigger spider mites indoors, especially during winter heating. Use a humidifier near the plants and consider grouping tropicals together, and wash leaves if you see fine webbing or stippling.
How long does it take a heliconia rhizome division to flower?
Yes, unless you have a strong indoor light setup. Propagation divisions typically establish within about 18 to 24 months under good conditions, but if the environment is too cool or too dim, they can stall for much longer. Keep divisions warm and consistently moist, then treat them like mature plants once you see healthy new growth.
What does “good drainage” mean in practice for container heliconias?
Watch for drainage performance, not just pot holes. Even with large drainage holes, standing water in saucers can keep the crown too wet and invite rot. Empty saucers after watering and ensure the potting mix releases water quickly while still holding enough moisture for the rhizome.
Can heliconias survive brief frosts outdoors if I cover them?
They are frost-tender, so avoid any “temporary freeze” stress. A light cold snap can damage leaves and slow growth, while a hard freeze can kill canes and sometimes the rhizome. In-ground plants in zones below the recommended range should be treated as container plants unless you have reliable frost protection.