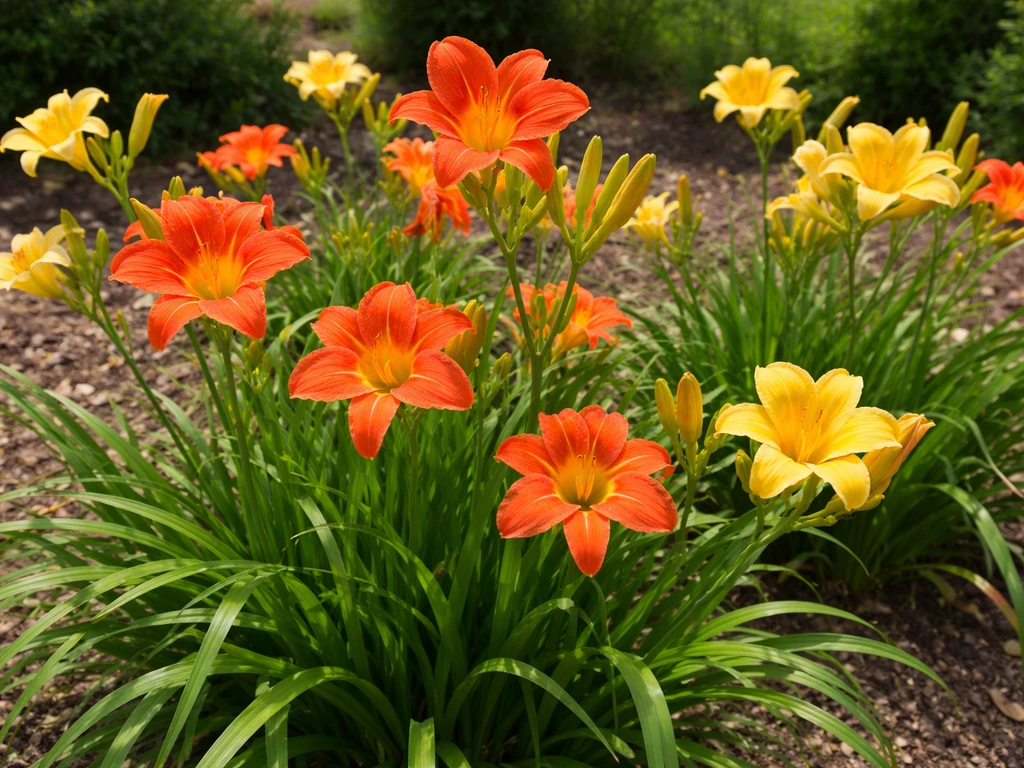
Daylilies (Hemerocallis) are about as close to a foolproof perennial as home gardening gets, but "foolproof" doesn't mean "do nothing." Get the basics right, and your clumps will produce 200 to 400 flowers per season and bloom reliably for 30 to 40 days each year. Ignore the fundamentals, and you'll end up with lush green fans and almost no flowers. This guide covers everything from picking the right spot to dividing mature clumps, so you can grow daylilies that actually deliver.
How to Grow Hemerocallis Daylilies: Step-by-Step Care

Marcus Holloway
18 Apr 2026
Picking the right spot for daylilies
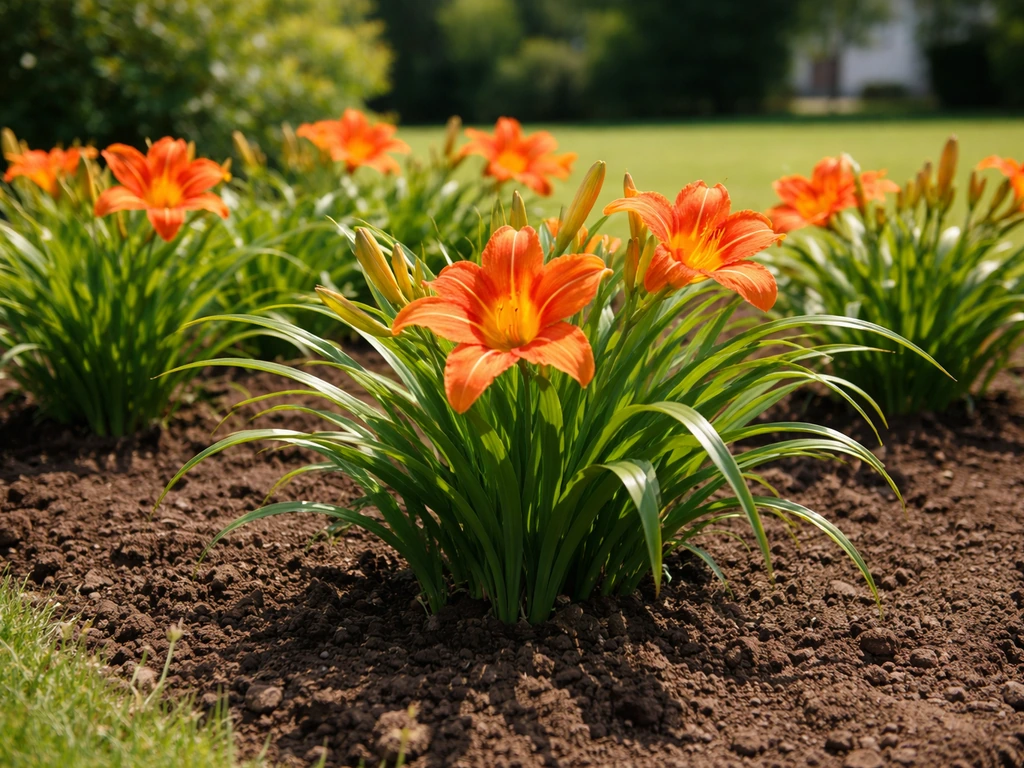
Sunlight is the single biggest factor in whether your daylilies bloom or just sit there looking leafy. They need a minimum of six hours of direct sun per day for reliable flowering, and ideally six to eight hours. Daylilies will tolerate light shade, especially in hot southern climates where a bit of afternoon shade actually helps, but if you're planting somewhere that gets fewer than six hours of direct sun, don't expect much in the way of flowers. I've seen people tuck daylilies under a tree line and wonder why they haven't bloomed in three years. The answer is almost always light.
Temperature tolerance is one of the great strengths of Hemerocallis. Most cultivars are cold-hardy well into USDA zone 3 and can handle summer heat in zone 9 without much fuss. Evergreen varieties, which hold their foliage year-round, tend to perform better in warmer, southern climates. Dormant varieties handle cold winters more reliably. If you're in a borderline zone, look for semi-evergreen cultivars, which adapt reasonably well to both conditions. Whatever variety you choose, the spot itself should avoid low-lying areas where cold air and frost settle hard in spring, since emerging scapes are more vulnerable than established foliage.
When and how to plant daylilies
Spring and early fall are the best planting windows. Spring planting gives roots the whole growing season to establish before winter. Fall planting works, but aim to get them in the ground at least six weeks before your first hard frost so they're not going into winter as bare, unsettled roots. If you're buying bare-root daylilies online, soak the roots in water for a couple of hours before planting.
For planting depth, the crown, which is the junction where the foliage meets the roots, should sit about one to two inches below the soil surface. Don't bury them deeper than that. If you plant too deep, you'll get weak growth and poor flowering; too shallow, and frost can heave the roots. Mound the soil very slightly over the crown to account for settling, then firm it down gently and water in well.
Spacing depends on the variety. Dwarf daylilies can go 18 inches apart; larger varieties need 24 to 36 inches. It can be tempting to plant them closer together for that instant full-border look, but daylilies spread quickly and overcrowded clumps bloom less. Give them room and they'll fill in faster than you expect.
Growing daylilies in containers
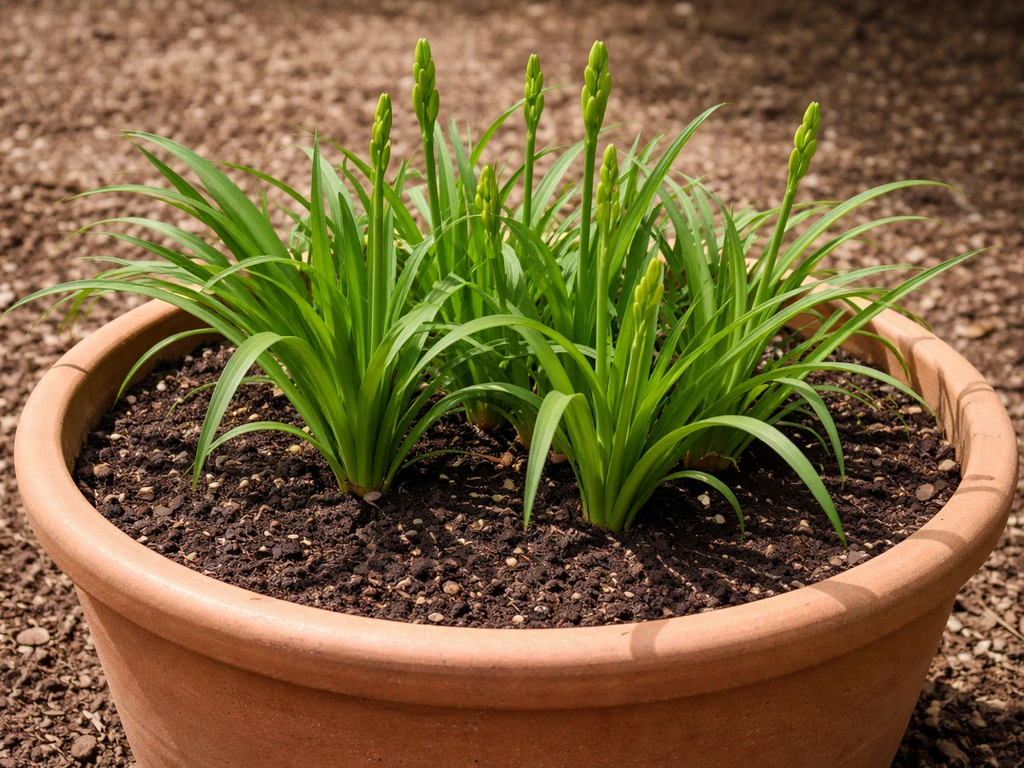
Daylilies can absolutely grow in containers, though they'll need dividing more often since the roots fill a pot in a season or two. Choose a container that's at least 12 to 16 inches in diameter and make sure it has excellent drainage holes. Use a high-quality potting mix rather than garden soil, which compacts too much in pots. Container-grown daylilies dry out faster than those in the ground, so you'll need to check moisture more frequently, especially in summer. They also need more regular fertilizing since nutrients wash out with every watering.
Soil, water, and drainage basics
Daylilies are adaptable plants and will grow in everything from sandy soil to heavy clay, but they bloom best and stay healthiest in slightly acidic, moist, well-drained soil that's high in organic matter. Before planting, work in about a bushel of compost or other organic material per 10 square feet and till it in to around a foot deep. That single step makes more difference to long-term performance than almost anything else you can do. After planting, apply about a 2-inch layer of organic mulch to help retain moisture and suppress weeds.
The one thing daylilies genuinely hate is sitting in waterlogged soil. If roots stand in water for extended periods, the planting weakens over time and eventually thins out or dies. If your garden has drainage issues, either raise the bed or amend with coarse organic matter and grit. Poor drainage isn't something daylilies overcome, they just slowly decline.
For watering, aim for about one inch of water per week. On sandy or fast-draining soils you may need to water more often. The most critical periods are spring, when plants are putting up scapes and developing buds, and summer during the active bloom season. Consistent moisture at those two stages directly affects how many flowers you get. One important note: avoid overhead irrigation. Wet foliage and crown areas invite fungal problems and crown rot. Use a soaker hose or drip irrigation at soil level whenever you can.
Feeding and mulching your daylilies
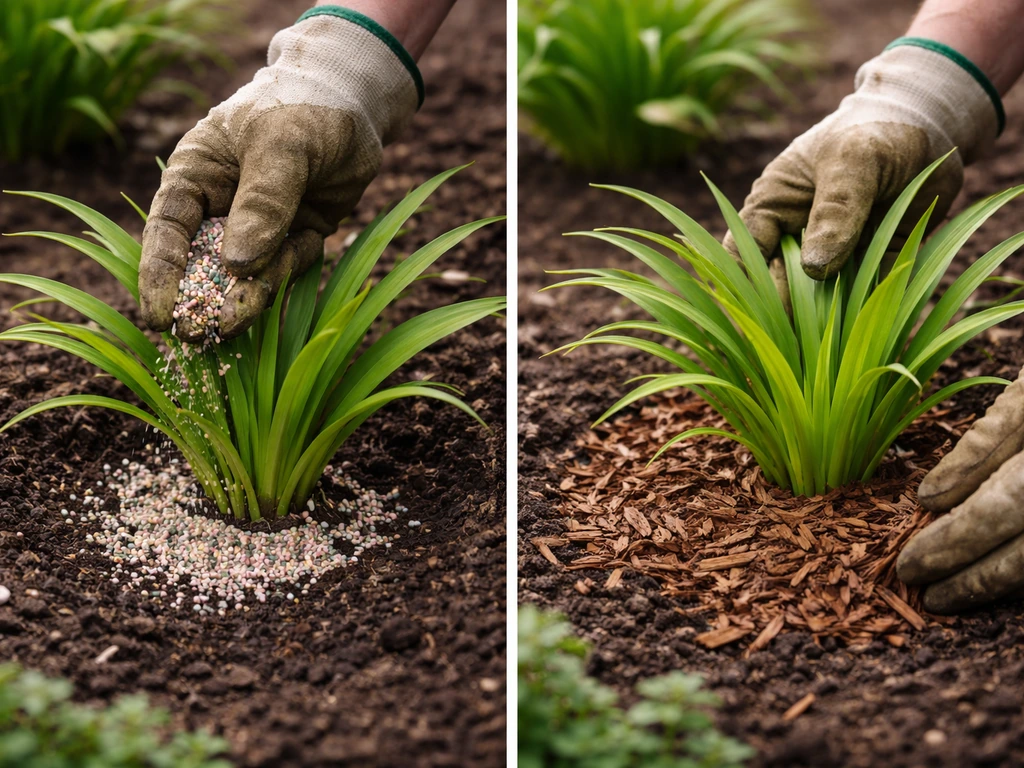
Here's the honest truth about fertilizing daylilies: most home gardeners over-fertilize them. A single balanced fertilizer application in spring is usually all they need, and in a well-amended bed, you might not need to fertilize every year at all. If you want to be more precise, apply fertilizer in late winter just before the flower scapes start to initiate, which gives the plant fuel at exactly the right moment. Slow-release granular fertilizers work well here because they feed steadily without pushing a burst of leafy growth at the expense of blooms.
What you want to avoid is heavy nitrogen feeding in summer, which encourages lush foliage over flowers, and any fertilizing in fall. Fall feeding pushes soft new growth right when you want the plant hardening off ahead of winter. If your soil is already good, resist the urge to throw more food at the plants. Over-fertilizing is one of the conditions that sets up crown and root rots, along with overwatering and poor drainage.
Mulch is worth doing every year. Keep a 2-inch layer of shredded bark, composted leaves, or similar organic material around the base of your plants. It holds moisture, moderates soil temperature, suppresses weeds, and slowly improves soil structure as it breaks down. Just keep the mulch slightly away from the crown itself to avoid creating the damp conditions that rot likes.
Getting more flowers: deadheading, pruning, and bloom-cycle management
Each daylily flower lasts exactly one day, which is where the common name comes from. A well-grown clump can produce 200 to 400 flowers across a season, so the goal is to keep that cycle moving as cleanly as possible. Deadheading, removing spent flowers, is the most effective maintenance habit you can build. Remove the old blooms daily if you can, which prevents seed development. If daylilies put energy into setting seed, they dial back flower production. You don't need special tools, just snap or cut spent blooms off at the base of the flower, not the scape.
Once a scape has finished blooming, cut the whole scape down to the foliage. Leaving bare stalks standing doesn't add anything and clutters the bed. The foliage itself should stay until it dies back naturally in fall. Some gardeners cut foliage down earlier for tidiness, and that's fine, but the leaves are still fueling the roots for the following season's bloom, so the longer they're green, the better.
If you want to extend the bloom season across your garden, rather than just in one planting, choose a mix of early, mid-season, and late-blooming cultivars. Combine that with some reblooming varieties, which push a second flush later in summer, and you can have daylilies in flower from early June through September in most climates. Growing kniphofia alongside your daylilies is a great way to extend bold color into late summer when some daylily varieties start to wind down.
A seasonal care calendar
Spring
As soon as the soil is workable, clean up any winter-damaged foliage and remove last year's dead leaves from the clump base. Apply your spring fertilizer now, before scapes start emerging. If you winter-mulched new plantings, pull the mulch back gradually as growth resumes, but don't remove it entirely. This is also the best time to divide or transplant daylilies if you need to (more on that below). Keep consistent moisture through scape development.
Summer
This is peak season and peak maintenance. Deadhead daily or every other day. Water consistently at about one inch per week, more if it's hot and dry. Watch for aphids, spider mites, and thrips, which are the most common summer pests. A strong spray of water knocks back aphid populations. Check for signs of rust or crown rot, especially after wet spells. Keep mulch topped up as it breaks down through the season.
Fall
Once foliage dies back naturally, cut it down to a few inches above the crown. Do a thorough cleanup of all plant debris from the bed since old foliage harbors disease and pests over winter. Stop fertilizing completely by early fall. If you have new plantings that haven't gone through a winter yet, apply a 2 to 3-inch layer of straw or shredded leaves over the crown once the ground cools. This is also a good time to divide clumps if you missed the spring window.
Winter
Established daylilies are typically dormant and don't need much attention in winter. In zones 3 to 5, even established plants benefit from a winter mulch layer of 2 to 3 inches of bark or composted leaves to prevent frost heaving and protect crown tissue. In warmer zones, evergreen varieties may continue to hold foliage. Don't cut evergreen types back hard unless the foliage is visibly damaged. Resist the urge to water during dormancy unless you're in a very warm, dry climate.
Dividing and propagating your clumps
Division is the main way you'll propagate daylilies, and it's also essential maintenance. After three to five years, most clumps become congested, and the center starts to die out. Bloom production drops and the plant looks tired. Dividing fixes all of that instantly.
The best time to divide daylilies is early spring, just as new growth starts to appear, or immediately after the flowering period ends. Spring division is my preference because you can see exactly where the crowns are and the soil is usually in good shape. Post-bloom division works well too, since the plant has just finished its major energy expenditure and has time to re-establish before winter.
To divide, dig up the whole clump with a garden fork, working several inches out from the outer fans so you don't slice through roots. Shake off as much soil as you can, then use two garden forks back-to-back, or a sharp spade, to pry the clump apart into sections. Each division should have at least two to three healthy fans with an intact root system. Very old, woody center sections can go in the compost.
When replanting divisions, set the crown at the same depth it was growing originally, about one inch below the soil surface. Water in well and keep them consistently moist for the first few weeks. Divisions planted in spring will usually bloom that same season, though perhaps not as prolifically as an established clump. Divisions planted after bloom will establish quietly and come back strong the following year.
Daylilies also occasionally produce proliferations, which are small plantlets that grow along the flower scape. You can remove these once they have developed a few roots, pot them up in moist potting mix, and grow them on. It's slower than division but a good way to propagate a variety you only have one of. If you enjoy growing plants with interesting propagation habits, you might also find it worthwhile to explore how to grow hoyas, which use leaf and stem cuttings in a completely different but equally satisfying way.
Troubleshooting daylilies that aren't performing
No flowers or very few blooms
The most common cause is insufficient sunlight. If your daylilies are getting fewer than six hours of direct sun, move them. Other causes include overcrowded clumps that haven't been divided in too long, excess nitrogen fertilizer pushing leafy growth, and planting too deep. If the foliage is lush and dark green but there are no scapes, nitrogen is almost certainly the problem. Lay off the fertilizer and see how they perform next season.
Weak, grassy, or thin foliage
Slender, grassy-looking foliage with few flower stalks is a classic symptom of Rhizoctonia crown rot. If you notice this pattern, dig up a plant and inspect the crown. Healthy tissue should be firm and white to cream-colored. Mushy, discolored, or foul-smelling tissue at the crown or root base points to rot, which is almost always linked to overwatering, poor drainage, or both. Soft rot caused by bacterial infection can produce a distinctly strong, disagreeable odor at the crown that's hard to miss once you know what to look for.
Crown and root rots
Crown and root rots are the most serious disease problems daylilies face, and they're almost entirely preventable with good cultural practices. The symptoms include poor growth, wilting, yellowing of leaves, mushy tissue at the base, and in bad cases, plant death. The causes are overwatering, over-fertilizing with nitrogen, overhead irrigation, and poorly drained soil. There's no reliable fungicide rescue once rot is established. Your best move is to dig out affected plants, improve drainage in that spot, and replant with healthy divisions from a different part of the bed.
Rust and leaf diseases
Daylily rust (Phakopsora hemerocallidis) shows up as small orange pustules on the lower leaf surface, usually in warm, humid conditions. It's more common in southern states and can spread quickly. The best prevention is good air circulation between plants, avoiding overhead watering, and cleaning up all plant debris in fall. If you catch rust early, remove and dispose of affected leaves. Severe infections may need a fungicide, but healthy, well-spaced plantings rarely get hit hard.
Common pests
- Aphids: cluster on new growth and scapes; knock them off with a strong water jet or use insecticidal soap if infestations are heavy.
- Thrips: tiny insects that feed inside flower buds, causing streaked or distorted petals; more visible on light-colored varieties.
- Spider mites: show up in hot, dry summers as stippled, faded foliage; keep plants well-watered and increase air circulation.
- Slugs: chew irregular holes in young leaves in spring; reduce mulch thickness near crowns and use iron phosphate bait if needed.
How daylilies compare to similar border perennials
Daylilies are often compared to other tough, clump-forming perennials for mixed borders. Here's a quick look at how they stack up against a few common alternatives in terms of key growing requirements and maintenance needs.
| Plant | Sun Requirement | Soil Preference | Bloom Season | Division Frequency | Maintenance Level |
|---|---|---|---|---|---|
| Hemerocallis (Daylily) | 6-8 hours direct sun | Slightly acidic, well-drained, organic-rich | Early summer to fall (varies by cultivar) | Every 3-5 years | Low to moderate |
| Heuchera (Coral Bells) | Part shade to sun | Well-drained, slightly acidic | Late spring to summer | Every 3-4 years | Low |
| Kniphofia (Red Hot Poker) | Full sun (6+ hours) | Sandy, very well-drained | Summer to fall | Every 4-5 years | Low to moderate |
| Hellebore | Part to full shade | Rich, moist, well-drained | Late winter to spring | Rarely needed | Low |
Daylilies win on sheer flower volume and adaptability. The main trade-off compared to something like growing heuchera is that daylilies need more sun. If you have a shadier bed, heuchera gives you season-long foliage interest where daylilies would struggle to bloom. For a full-sun border, though, daylilies are hard to beat for reliability and color output.
Building a planting plan around daylilies
Daylilies work beautifully as a backbone plant in mixed borders precisely because they're reliable and undemanding once established. Pair early-blooming daylilies with spring bulbs for a seamless transition from one season to the next, then let mid-season and late varieties carry color into August and September. If you enjoy exploring other low-maintenance perennials for similar growing conditions, it's worth learning how to grow hellebores for the shadier edges of a bed where daylilies can't go. For something more exotic-looking to contrast with daylilies' upright form, growing heliconia in warmer gardens creates a striking tropical effect.
If you want more winter interest in your border alongside your daylilies, pairing plants with hellebores can fill the early-spring gap beautifully, since hellebores are winding down just as daylily scapes start to appear. And if you're drawn to the bold, architectural look that works well next to daylilies in a sunny border, reading up on how to grow hortensia can open up some interesting design options for late-season color.
The bottom line with Hemerocallis is this: give them sun, give them decent drainage, keep the clumps from getting congested, and deadhead regularly. Do those four things and your daylilies will outperform almost every other perennial in your garden for years with minimal effort.
FAQ
How much sun is “enough” when I’m trying to grow hemerocallis in my yard with partial shade?
Aim for at least six hours of direct sun for real bloom reliability. If you only get morning sun and afternoon shade, expect fewer scapes, especially in hotter climates where afternoon shade can help foliage but can still reduce bud development if the total drops under six hours.
My daylilies grow lots of leaves but have no flowers, what should I check first?
Start with light and nitrogen. Insufficient direct sun is the most common cause, but heavy nitrogen or frequent high-nitrogen feeding can also delay or suppress scapes. Also check planting depth, crowns buried too deep often stay leafy but underperform.
Is it better to plant hemerocallis in spring or fall for new gardeners?
Spring usually wins for beginners because plants have the whole season to root in. If you plant in fall, time it so roots settle before a hard frost, then keep moisture steady but avoid soggy soil since winter rot risk is higher when drainage is poor.
How deep should I plant the crown when learning how to grow hemerocallis?
Set the crown about one to two inches below the soil surface, then gently firm and water. If you mound slightly for settling, do not bury it deeper over time, deeper crowns can weaken growth and reduce flowering.
What’s the best spacing if I want fewer maintenance issues later?
Use the variety-based spacing (roughly 18 inches for dwarfs, 24 to 36 inches for larger types). Crowding forces earlier division and can reduce blooms because airflow drops and competition increases, even if the plants look healthy at first.
How often do I need to divide hemerocallis clumps?
Plan on dividing every three to five years if bloom quality starts dropping or the center dies back. If you wait until the clump becomes woody in the middle, you may lose vigor and flowering for a season or two after replanting.
When I divide hemerocallis, should I cut the leaves back?
It’s usually fine to leave foliage in place for spring or post-bloom divisions, but avoid heavy trimming that removes too many healthy fans. After dividing, focus on consistent soil moisture for the first few weeks, then return to your normal schedule.
Can I grow hemerocallis in a container long term, or is it just for temporary decoration?
They can be kept in containers, but you will need more frequent dividing and feeding because roots fill the pot quickly. Use a large pot (at least 12 to 16 inches in diameter), excellent drainage, and switch to a pot-appropriate fertilizer schedule since nutrients leach out with regular watering.
What water method should I use to avoid disease when growing hemerocallis?
Use drip irrigation or a soaker hose at soil level. Avoid overhead watering because wet crowns and foliage increase the risk of crown rot and fungal issues, especially after humid spells.
How do I deadhead hemerocallis efficiently without harming the scape?
Remove spent blooms at the base of the individual flower, not by snapping the entire scape prematurely. The scape should be cut down to the foliage only after the scape finishes blooming, otherwise you may reduce the final flush of buds.
Should I remove foliage in fall, or leave it until spring when growing hemerocallis?
For dormant types, let foliage die back naturally and then cut down after it has browned. Leaving dead material in place over winter can increase pest and disease pressure, but cutting live green foliage too early can reduce the energy supply for next year’s bloom.
My planted divisions bloom only lightly after dividing, is that normal?
Yes. Divisions planted in spring often bloom the same season but usually not as prolifically as mature clumps. Divisions done immediately after the major flowering period typically establish quietly and produce stronger blooms the following year.
What soil mix changes help if my bed holds water or is heavy clay?
Improve drainage before planting by amending with coarse organic matter and grit, and consider raising the bed. Daylilies tolerate many soils, but prolonged standing water is a slow path to crown and root rot, even if growth looks fine at first.
How can I prevent crown rot when I’m learning how to grow hemerocallis?
Prevent it through drainage, spacing, and avoiding wet crowns. Make sure crowns are planted at the correct depth, do not overwater during cool wet periods, and remove any plants showing mushy or foul-smelling crown tissue promptly.
What do I do if I spot daylily rust on leaves?
Remove and dispose of infected leaves early, improve airflow by not crowding plants, and clean up debris in fall. If rust spreads severely, you may need a targeted fungicide plan, but well-spaced plantings usually limit serious outbreaks.
How do I extend the bloom season across my border with different hemerocallis varieties?
Combine early, mid, and late bloomers, then add reblooming cultivars for a second flush later in summer. Even with the right mix, your local climate and sun hours can shorten or lengthen the season, so adjust based on how many hours of direct light each area receives.