
Plant violas outdoors in early spring as soon as the soil is workable and hard freezes are mostly behind you, or in late summer to early fall about 6 to 8 weeks before your first expected frost. Those two windows are the sweet spot because violas are cool-season plants, they thrive in 45 to 65°F temperatures and will go quiet or die back in summer heat. If you're in a mild-winter zone (USDA zones 8 through 11), fall planting gives you blooms all winter long. In colder zones, spring planting gets you a reliable flush of color before summer shuts them down. This guide walks you through exact timing by USDA zone, how to start from seed versus transplant, and everything you need to keep violas actually blooming. For step-by-step instructions on how to grow violets in your yard, see our detailed guide that covers planting, care, and seasonal tips. For step-by-step instructions on how do you grow violets, see our full growing guide for detailed planting, care, and troubleshooting tips.
When to Grow Violas: Planting Calendar, Care & Troubleshooting

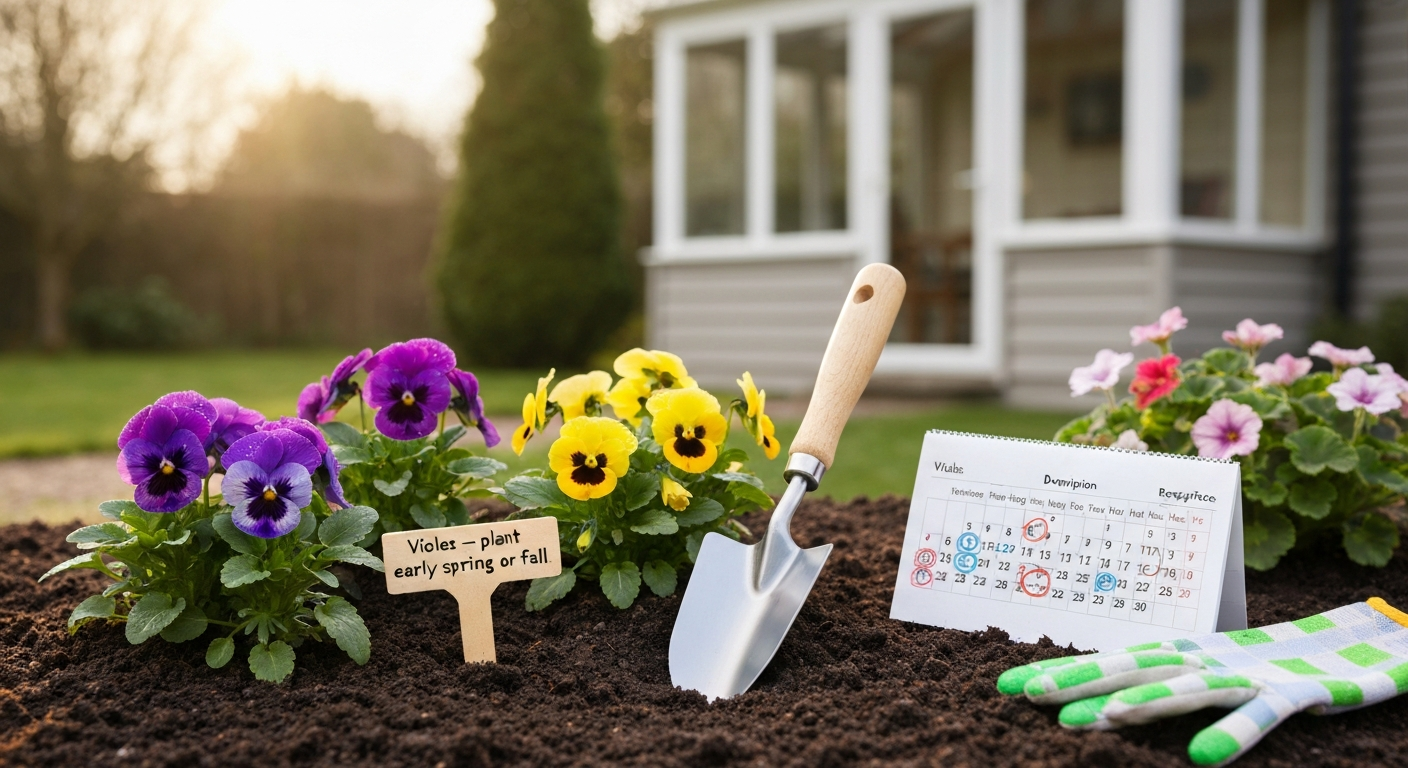
What violas are (and how they differ from African violets)
The name 'viola' covers a surprisingly wide family. Garden violas (Viola cornuta and related species), pansies (Viola × wittrockiana), and Johnny-jump-ups (Viola tricolor) are all cool-season bedding plants you'd find at a garden center in spring or fall. They're bred for abundant blooms, compact habits, and tolerance of light frost. Most home gardeners treat them as annuals, though some perennial viola species will return in mild climates.
African violets are a completely different plant. Despite the name, Saintpaulia (now reclassified under Streptocarpus) is a tropical houseplant native to East Africa with no cold tolerance at all. It's grown indoors year-round under low to medium indirect light and is propagated by leaf cuttings, a method you'd never use for garden violas. If you want step-by-step instructions for propagating African violets by leaf cuttings, see this guide on how to grow violets from leaves. If you're growing African violets, the timing and care information in this article doesn't apply to them. The two plants share a common name and that's about it.
- Garden violas and pansies (Viola cornuta, V. × wittrockiana): cool-season bedding plants, frost-tolerant, grown outdoors in spring and fall
- Johnny-jump-ups (Viola tricolor): smaller-flowered, very cold-hardy, self-seed freely and often naturalize in gardens
- Perennial native violas (e.g., V. odorata, V. sororia): come back yearly, spread by seed and runners, great for naturalized beds
- African violets (Saintpaulia/Streptocarpus): tropical houseplants, no relation to seasonal timing, propagated by leaf cuttings indoors
Outdoor vs indoor growing: which timing applies to you
Most of this guide focuses on growing violas outdoors in garden beds and containers, which is where the vast majority of home gardeners plant them. Outdoor timing is dictated by your local frost dates and USDA hardiness zone. But if you're in a climate with brutal winters (zones 3 to 5) or you want blooms on a balcony, porch, or windowsill through the coldest months, growing violas in containers indoors is a real option, with a few caveats.
Violas grown indoors need very bright light, a south-facing window or a grow light running 14 to 16 hours per day. They also need cool indoor temperatures, ideally 55 to 65°F. A warm living room sitting at 72°F will cause them to stretch, produce weak stems, and stop blooming within weeks. I've had good luck keeping potted violas on an unheated sunporch through winter, where nighttime temps drop into the 40s. That cool-at-night condition is key. If your indoor space stays warm, outdoor or cold-frame growing will give you better results.
Microclimate matters outdoors too. A south-facing wall or raised bed in full sun will warm up earlier in spring and stay warmer into fall, which sounds ideal but can actually shorten your viola season by pushing them into heat stress sooner. A slightly sheltered, east-facing bed that gets morning sun and afternoon shade often extends blooming by weeks in warmer zones. Pay attention to where the last patches of snow melt in your yard: those slower-warming spots often produce the longest-lasting viola displays.
Spring vs fall planting: which season works better for you
Both planting windows work well, but they serve different goals and suit different climates. Here's how to think about the trade-off.
Spring planting
Spring planting is the default for most gardeners in zones 4 through 7. You're putting violas in the ground while the weather is still cool, giving them time to establish and flower before summer heat arrives. The upside is that you can start transplants indoors in late winter and get a jump on the season. The downside is that your window is relatively short: in zone 6, for example, you might get 6 to 10 weeks of peak viola performance before temperatures climb above 75°F consistently and blooming slows down. Plant as early as the soil is workable, usually February through April depending on your zone.
Fall planting
Fall planting is the move if you're in zones 6 through 11. You're setting plants or sowing seed 6 to 8 weeks before your average first frost, which lets roots establish while soil is still warm but air temperatures are cooling off. In zones 8 through 11, those fall-planted violas will bloom all winter without going dormant. In zone 6 and 7, they'll go semi-dormant through the coldest weeks and often surprise you with early-spring flowers before you've even thought about the garden. Some species of viola are actually winter annuals: they germinate in fall, overwinter as small vegetative plants, and flower in spring, which mirrors exactly what fall planting achieves. Viola rafinesquei (American field pansy) is a winter‑annual Viola that germinates in fall and flowers the following spring blank" rel="noopener noreferrer">Viola rafinesquei (American field pansy) is a winter‑annual Viola that germinates in fall and flowers the following spring..
| Factor | Spring Planting | Fall Planting |
|---|---|---|
| Best zones | 4–7 | 6–11 (essential in 8–11) |
| Bloom timing | Spring (6–10 weeks depending on zone) | Fall through winter into spring |
| Soil condition at planting | Cool and moist, just workable | Warm soil, cooling air — ideal for root establishment |
| Risk | Short season before summer heat | Hard freeze before roots establish if planted too late |
| Main advantage | Easy transplant establishment in cool, moist conditions | Long bloom window; violas can flower for months |
| Seed or transplant? | Either; transplants give faster color | Transplants preferred; seed needs 6–8 weeks lead time |
Planting calendar by USDA zone
The table below gives approximate planting windows for both spring and fall, based on typical frost dates for each zone. These are general guides, always cross-check against your local frost dates using a zip-code frost calculator, because two gardens in the same zone can have meaningfully different microclimates. The 'indoor seed start' column refers to starting seeds inside under lights before transplanting outdoors.
| USDA Zone | Typical Last Spring Frost | Spring Plant/Transplant Window | Indoor Seed Start (Spring) | Fall Plant Window | Notes |
|---|---|---|---|---|---|
| Zone 3 | Late May | Late May – mid June | Late February – early March | Not recommended | Very short season; spring only; use transplants |
| Zone 4 | Mid May | Mid May – early June | Late February – early March | Not practical | Start seeds indoors by late Feb for May transplants |
| Zone 5 | Early–mid May | Late April – mid May | Early–mid January | Not practical | MO Extension recommends Jan seed starts for this zone |
| Zone 6 | Mid April | Late March – mid April | Early January | Mid September – early October | Fall planting produces early-spring bonus blooms |
| Zone 7 | Late March – early April | Early–late March | Late December – early January | Late September – mid October | Fall plants often overwinter and bloom Feb–April |
| Zone 8 | Mid February – mid March | February – March | November – December | October – November | Fall planting is preferred; blooms all winter |
| Zone 9 | Late January – February | January – February | October – November | October – November | Summer is too hot; fall/winter/spring planting only |
| Zone 10–11 | No hard frost | October – March only | September – October | October – December | Grow violas as cool-season annuals in winter months only |
One important note: zone maps reflect average winter low temperatures, not frost dates. Two locations both listed as Zone 6 can have last frost dates that differ by three to four weeks. Always look up your specific frost dates rather than relying on zone alone. The USDA's 2023 updated hardiness zone map is a good starting point, but your local cooperative extension office will have the most accurate regional data.
How to decide: seeds, transplants, or container refresh
Before you do anything with soil or a trowel, take two minutes to answer these questions. They'll tell you the fastest path to flowering violas.
- Do you have 10 to 14 weeks before your target plant-out date? If yes, starting from seed indoors is practical and cheaper per plant. If no, buy transplants.
- Are you planting fewer than 6 plants? Buy transplants. Starting seeds for a tiny planting isn't worth the setup time.
- Are you replanting an existing container that had violas last season? Refresh the potting mix (or add 30% new mix), fertilize, and buy fresh transplants — old media compacts and loses drainage.
- Do you want a specific variety or color you can't find locally? Order seed and start indoors. Transplant selection at retail centers is limited.
- Are you in zone 6 or colder planting in fall? Skip seed entirely and use transplants — there isn't enough growing time before frost for seedlings to establish.
- Are you a first-time viola grower? Buy transplants this season, observe how they perform in your conditions, then try seeds next year.
Starting violas from seed indoors
Starting violas from seed is genuinely satisfying and gives you access to varieties you'll never find at a garden center. The process requires a bit of planning because viola seedlings need 8 to 14 weeks of cool growing time before they're ready to go outside, closer to 14 weeks if you're in zone 5 or colder, because you want stocky, well-rooted plants rather than leggy ones that get set back by cold nights.
What you need
- Fine-textured, sterile seed-starting mix (peat or coir base with perlite or vermiculite — not potting soil or garden soil, both compact around fragile roots)
- Seed trays or cell packs with drainage holes
- Clear plastic dome or plastic wrap for humidity during germination
- Grow light (fluorescent T5 or LED full-spectrum) or a very bright, unobstructed south-facing window
- A cool location: 50 to 65°F is ideal for germination and early growth
Step-by-step seed starting
- Calculate your start date. Count back 10 to 14 weeks from your target transplant date (your last frost date for spring, or 6 to 8 weeks before first frost for fall planting). Write it on your calendar.
- Moisten your seed-starting mix before filling cells — it should feel like a wrung-out sponge, not soggy. Fill cells to within a quarter inch of the top.
- Sow seeds on the surface or at a very shallow depth (roughly 1/8 inch). Many viola varieties germinate better with light or very minimal covering. Check your seed packet: some suppliers list pansy seed as preferring darkness, in which case a thin layer of fine vermiculite (1/8 inch) is the right call. When in doubt, follow the packet.
- Mist the surface gently with a spray bottle. Cover with a clear dome or plastic wrap to hold humidity.
- Place in a cool location (50 to 65°F). Do not put on a heat mat — violas germinate at cool temperatures. A basement or cool spare room works well.
- Check daily. Germination typically takes 5 to 15 days. As soon as you see sprouts, remove the dome and move trays under lights immediately or to your brightest window.
- Keep lights 2 to 4 inches above seedlings, running 14 to 16 hours per day. Viola seedlings stretch fast in low light, which produces weak plants that never fully recover.
- Water from the bottom by setting trays in a shallow pan of water for 20 to 30 minutes, then drain. This keeps the surface from staying wet and reduces damping off.
- Fertilize lightly starting at the second set of true leaves — a diluted balanced liquid fertilizer at quarter strength, once per week. Don't overdo it: violas in cool conditions don't need heavy feeding.
- Pot up to individual 4-inch containers when seedlings have 3 to 4 true leaves and roots start reaching the cell edges.
- Harden off before transplanting outdoors. Start with 1 to 2 hours per day in a sheltered, partly shaded outdoor spot and increase exposure gradually over 7 to 14 days. Reduce watering slightly but don't let plants wilt. This step is non-negotiable: skipping it causes significant transplant shock even in cold-hardy plants.
Planting transplants and direct sowing outdoors
Whether you raised seedlings indoors or picked up a six-pack at the garden center, the outdoor planting process is the same. What you're looking for in a good transplant: stocky stems, dark green leaves, and a plant that has mostly buds rather than fully open flowers. A plant that's all in bloom at the nursery has already spent some energy, buds-heavy plants establish faster and put on a better display once in the ground.
Preparing the bed
Violas want well-drained soil with good organic matter and a slightly acidic to neutral pH, around 5.8 to 6.5. If your soil drains poorly, work in a 2 to 3 inch layer of compost and, for raised beds, consider mixing in perlite or coarse horticultural sand. Compact clay that holds water will rot roots, this is the single most common reason violas fail in their first two weeks. I've seen gardeners blame bad luck when the real issue is a low spot that never fully drains after rain.
Spacing and planting depth
Space standard violas 6 to 8 inches apart. Larger pansy cultivars benefit from 10 to 12 inches. Plant at the same depth the plant was in its pot, burying the crown invites crown rot, and planting too high leaves roots exposed. Firm the soil gently around each plant and water in well immediately after planting to settle the root zone.
Direct sowing outdoors
Direct sowing in the garden works best for fall plantings, particularly in zones 7 and warmer where there's enough time for seeds to germinate and establish before hard frost. Sow seeds shallowly in a prepared, raked bed, keep the surface consistently moist until germination, and thin to 6 to 8 inches once seedlings have two to three true leaves. Some viola species (particularly wild-type and native violas) behave as winter annuals and germinate reliably when direct-sown in early fall, overwintering as small rosettes and flowering the following spring.
Planting violas in containers
Containers are one of the best ways to grow violas because you can move them to follow the cool-season conditions they love. Use a well-draining potting mix (not garden soil, which compacts in pots) with good organic matter. University guides like Propagating Plants From Seed (WSU Extension) recommend a light, fine‑textured, well‑draining seed‑start mix (peat or coir plus perlite or vermiculite) for germination and a finished potting medium with good organic matter plus a controlled‑release or soluble fertilizer program for containers Propagating Plants From Seed (WSU Extension) — media and cultural recommendations. A 4-inch pot can support one viola plant; a 10 to 12 inch container handles three to four plants nicely for a dense, full display. Make sure every container has drainage holes, violas in waterlogged pots will decline within days. Add a slow-release granular fertilizer to the mix at planting, or plan to feed with a diluted liquid fertilizer every one to two weeks once plants are established. Container violas dry out faster than in-ground plants, so check moisture every one to two days in warm weather.
One practical tip for container growing: when violas start to look tired in late spring, don't throw them out immediately. Cut plants back by about one-third, move the container to a cooler, shadier spot, and keep them barely moist through the hottest weeks. In zones 6 and 7, they sometimes rebound when temperatures drop in August and September, giving you a second flush of fall blooms from the same plants you started in March.
FAQ
When is the best time to plant violas outdoors in spring and fall?
Violas are cool‑season plants: plant in spring as soon as soil is workable and danger of hard freezes has passed (early spring in cold zones). For fall/winter color, set transplants or sow seed about 6–8 weeks before your average first fall frost so roots establish in cool air but warm soil. In mild/warm climates (USDA zones ~8–11) fall plantings will often bloom through winter; in hot summer climates violas decline in summer heat.
How do I choose planting dates using my USDA zone and frost dates?
Use your USDA zone to understand winter minimums, but base exact planting weeks on local last/first frost dates. For spring: plan transplants after last hard freeze (or sow seed several weeks earlier if expecting cool germination). For fall: count back 6–8 weeks from average first frost for transplants (8–12+ weeks if starting seeds indoors). Use online frost‑date tools (Old Farmer’s Almanac, local extension) to create your printable calendar per zone.
When should I start viola seeds indoors?
Start seeds 8–12 weeks before your intended outdoor transplant date; in colder regions you may start 10–14 weeks before last frost because seedlings grow slowly at cool finishing temperatures. Germination typically occurs in 5–15 days under cool conditions (roughly 50–65°F). Follow the seed packet or supplier culture sheet for exact timing.
Can I sow violas directly outdoors? If so, when?
Yes. In cool climates sow outdoors in early spring as soon as soil can be worked. In regions where violas behave as winter annuals, fall direct sowing (several weeks before first frost) will produce plants that overwinter and flower in spring. In hot summer regions avoid spring sowing that will mature into summer heat—opt for fall planting instead.
Should I transplant or buy bedding violas or start from seed?
Transplants are faster and more reliable for immediate displays and for fall plantings timed before frost. Seeds are economical and allow more variety choices but require 8–12+ weeks and cool finishing. For long displays in mild climates, sowing seed can give stronger root systems; for containers and retail quick color, buy transplants.
How do I harden off viola seedlings before transplanting?
Gradually acclimate seedlings outdoors over 4–14 days: start with 1–2 hours/day in partial shade and increase daily exposure and wind/sun duration. Reduce water slightly but avoid wilting. Hardened seedlings handle cool nights and transplant shock much better.