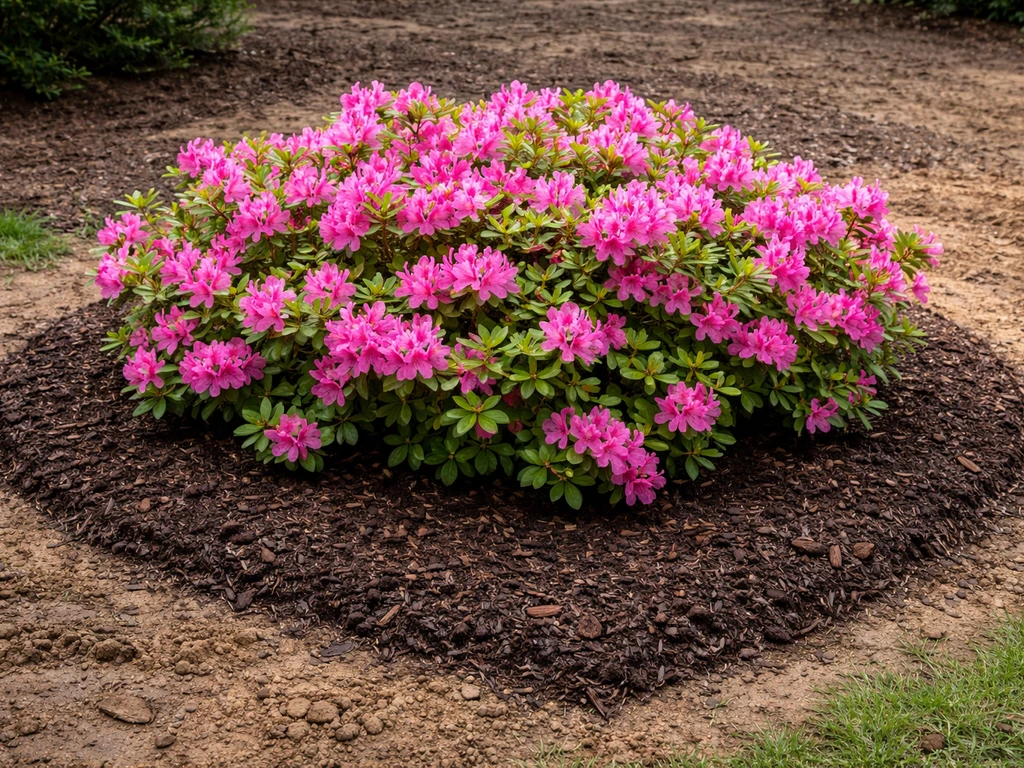
Azaleas can grow in clay soil, but not without some real effort on your part first. Straight clay is too dense, holds too much water, and cuts off the oxygen azalea roots desperately need. The good news is that clay is fixable. With the right amendments, a well-built planting bed, and a few ongoing adjustments to watering and pH, you can have thriving azaleas even in heavy soil. Next, focus on the right planting depth, amendments, watering schedule, and pH so you can truly learn how to grow an azalea in your conditions. What you cannot do is just dig a hole in raw clay and drop a plant in. That approach almost always ends in root rot.
How to Grow Azaleas in Clay Soil: Soil, Drainage, Care

Marcus Holloway
7 May 2026
Will azaleas actually grow in clay soil (and when they won't)
Azaleas are shallow-rooted plants. Most of the root system lives in the top foot of soil, and those roots are delicate enough that they simply cannot push through compacted, heavy clay. They also need a specific combination: consistent moisture AND good drainage. Clay soil tips that balance in the wrong direction by holding water far too long, which starves roots of oxygen and creates ideal conditions for Phytophthora root rot.
That said, clay is not an instant death sentence. Gardeners in clay-heavy regions grow azaleas successfully every year. The key variable is whether you modify the soil before planting. Unmodified clay is genuinely unsuitable. Clay that has been amended with organic matter and built into a raised or mounded planting area is a very different story. So the honest answer is: azaleas won't grow in raw clay, but they absolutely can grow where clay used to be the problem.
There are two scenarios where even a modified clay bed won't save your plants. First, if your site has a hardpan layer underneath (a layer of dense, impermeable subsoil), water will pool in the amended area above it no matter how well you mix in organic matter. Second, if your clay soil is highly alkaline and buffered with lime or carbonate minerals, getting the pH down to the 4.5 to 6.0 range azaleas require can take years, and plants will struggle with iron chlorosis in the meantime. Both situations are solvable, but they call for a raised bed rather than in-ground planting.
Clay vs. sandy soil: what azaleas need and why texture matters
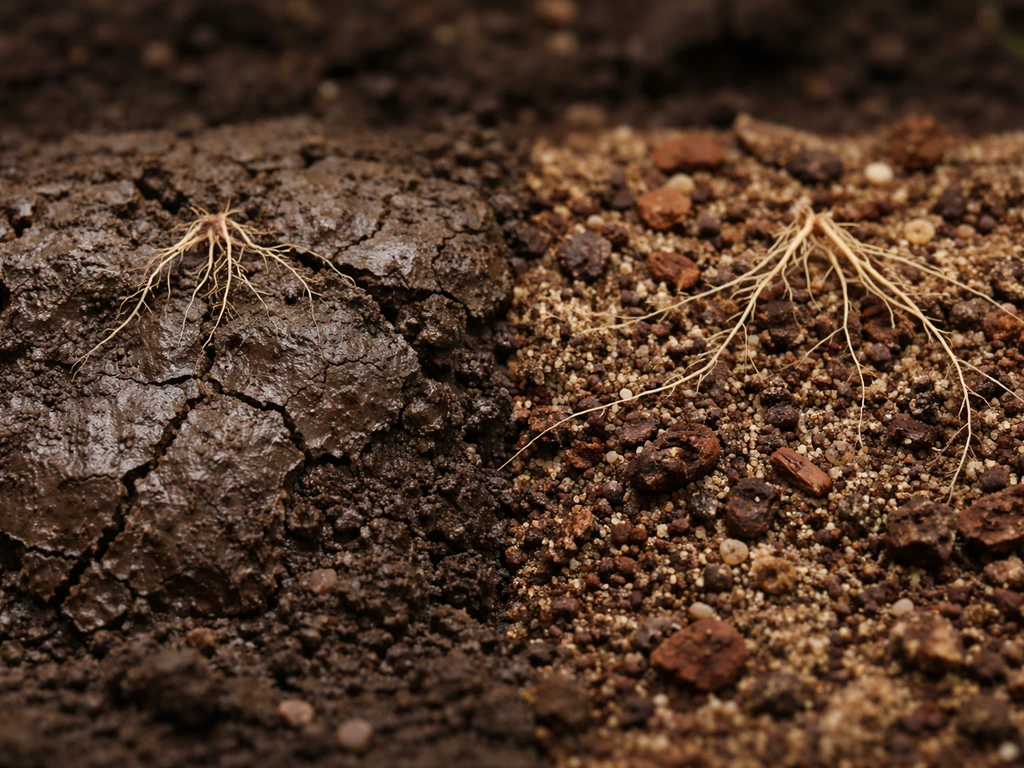
Soil texture changes nearly every decision you make when growing azaleas: how often you water, how much mulch you use, how quickly nutrients leach out, and how likely root rot becomes. Clay and sand are opposite problems, but they're both real ones.
| Soil Type | Main Risk for Azaleas | Watering Frequency | Key Amendment | Mulch Priority |
|---|---|---|---|---|
| Clay soil | Root rot from waterlogging, oxygen loss | Once a week or less (about 1 inch) | 50% organic matter (pine bark/leaf mold) + coarse sand | High: slows surface evaporation and reduces compaction |
| Sandy soil | Drought stress from fast drainage | Every 3 to 4 days (about 1/2 inch), twice weekly in first year during warm weather | Compost to improve water retention | Very high: the main defense against moisture loss |
| Ideal loam | Neither extreme | As needed when top few inches dry out | Minimal amendment if pH is correct | Standard 2 to 3 inch layer |
In clay, the danger is always too much water sitting around the roots. In very sandy soil, the danger flips: water drains so fast that the root ball dries out before the plant can use it, especially in the first year when the root system is still establishing. If you've planted azaleas in sandy conditions, you'll need to check moisture under the mulch by feel, not just by looking at the surface. The top of sandy soil can look dry while the root ball is still fine, or the root ball can be bone dry while an inch below the surface feels cool. Pull the mulch back and push a finger into the soil near the roots to check.
The shared target for both soil types is moist, well-drained soil with a pH of 4.5 to 6.0. You're engineering toward the same destination from different starting points.
How to prepare clay soil for azaleas
Before you plant anything, here's a warning that trips up a lot of gardeners: do not dig a small hole in clay, fill it with nice amended soil, and plant your azalea in it. Once the soil is prepared, you can follow a full step-by-step process for how to grow photinia as well. That small amended pocket acts like a bathtub. Water flows into that loose, organic-rich hole from the surrounding clay and just sits there. The Azalea Society of America calls this a death trap, and they're not exaggerating. You need to amend broadly, not in one tiny hole.
The right amendment mix for clay
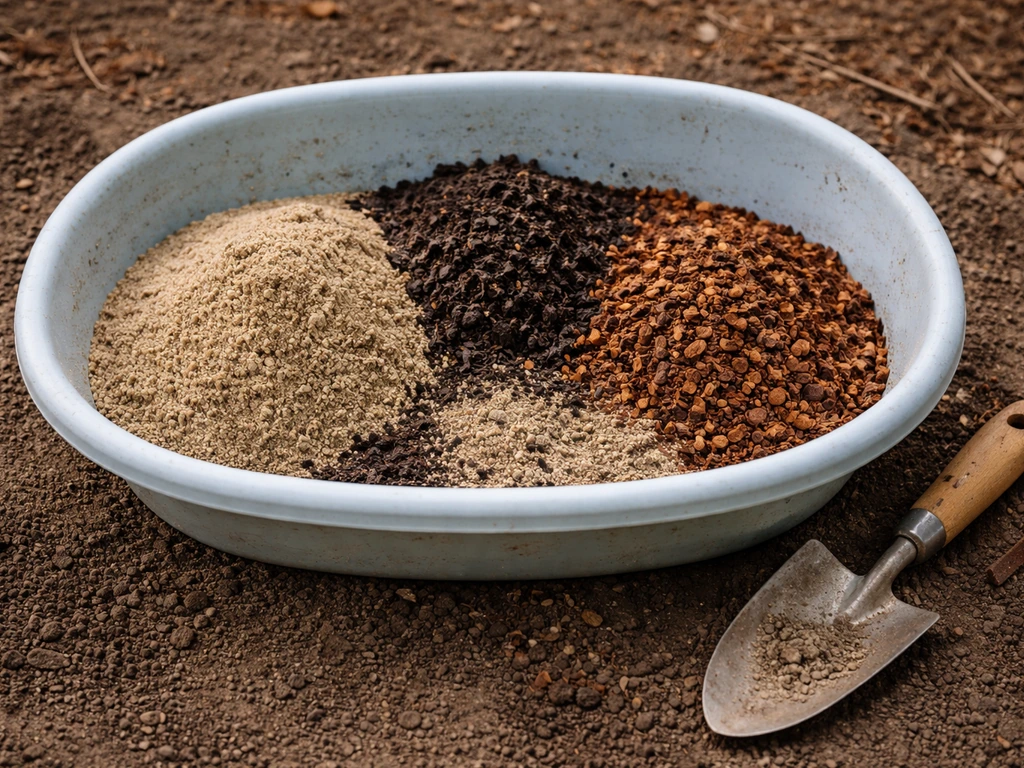
The University of Missouri Extension recommends a planting mix of 50% ground pine bark or leaf mold, 25% coarse sand, and 25% topsoil for azaleas going into heavy clay. The Azalea Society of America is even more straightforward: mix heavy soil with up to 50% organic matter before planting. Fine pine bark and rotted leaves both work well. Coarse sand adds drainage; fine sand does almost nothing and can actually make clay more cement-like, so be specific when you buy it.
Building the planting bed
- Test your soil pH before doing anything else. You need to know where you're starting. A basic soil test from your local extension service costs a few dollars and tells you both pH and nutrient levels.
- Clear the area of grass, weeds, and debris. Work over a wide area, not just the immediate planting spot. The bed should extend several feet beyond where each plant will sit.
- Loosen the existing clay to a depth of about 12 inches using a tiller or garden fork. You're not replacing the clay, you're breaking it up so amendments can integrate.
- Spread your organic matter (pine bark, leaf mold, or compost) across the entire bed at roughly a 2 to 4 inch depth before mixing. For very heavy clay, you can go up to a 50/50 mix by volume with organic material.
- Add coarse sand if needed for additional drainage. Work the amendments into the loosened clay thoroughly.
- If your pH is above 6.0, add elemental sulfur at the rate recommended by your soil test. Elemental sulfur lowers pH gradually and lasts longer than aluminum sulfate. Aluminum sulfate works faster but requires more careful dosing. Re-test pH 4 to 6 months after treatment to see where you land.
- Rake the entire bed slightly higher than the surrounding grade. Mounding the planting area even a few inches helps water drain away from the root zone rather than pooling around it.
- Let the bed settle for a week or two if you can, then plant.
A note on pH timeline: if your clay is buffered with lime or carbonate minerals, don't expect sulfur to fix it in one season. Purdue University research notes that highly buffered soils can resist pH change for many years. In that situation, a raised bed filled with fresh acidic mix is a much more reliable path than trying to acidify deeply buffered clay in place.
Planting and basic care in clay or sandy conditions
Planting the right way
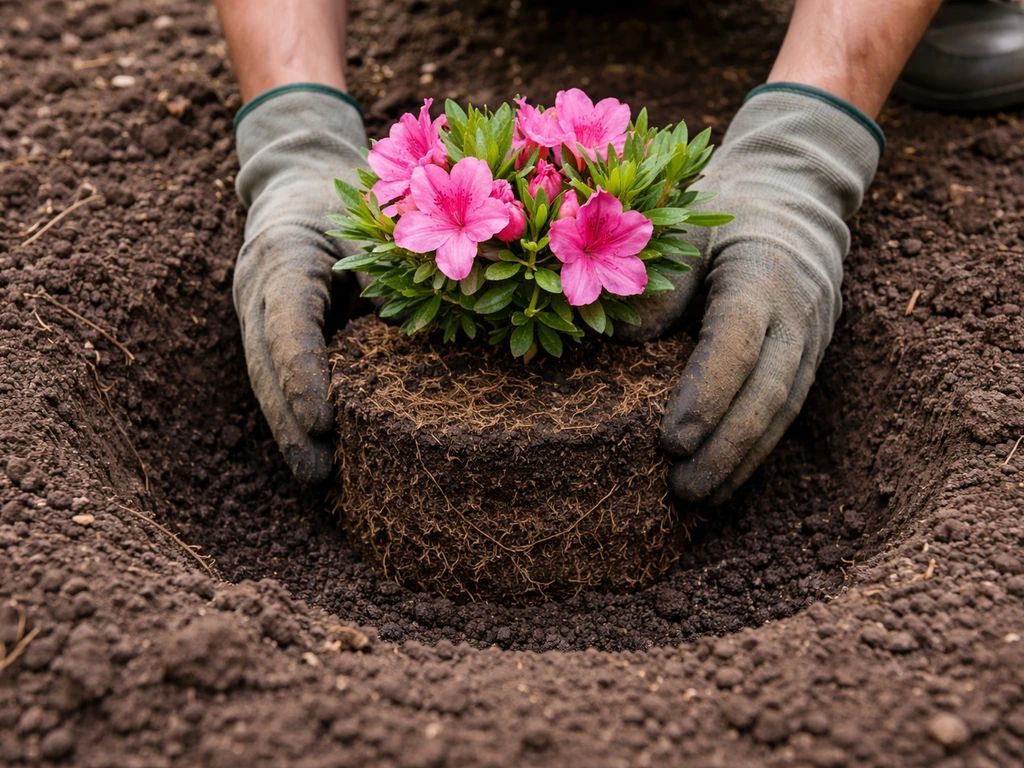
Dig your planting hole the same depth as the root ball but two to three times wider than the area covered by the plant's branches. This is the Clemson Extension guidance, and it's worth following precisely. Going deeper than the root ball is one of the most common planting mistakes. If the plant settles even a couple of inches lower than the surrounding grade, water will collect around the crown and you'll be fighting root rot for years. The top of the root ball should sit at or just slightly above grade, especially in clay.
Space azaleas according to their mature size. Crowding creates humidity problems and makes it harder to manage soil moisture consistently. Good air circulation matters more than you'd think for a shallow-rooted plant in a heavy soil environment.
Mulch: don't skip this step
Mulch is doing serious work for azaleas in modified clay. A 2 to 3 inch layer of organic mulch conserves moisture, regulates soil temperature, keeps the root zone from compacting, and slowly adds organic matter as it breaks down. Pine straw, pine bark, ground leaves, and compost all work well. Clemson Extension specifically recommends pine needles as an excellent mulch for acid-loving shrubs. Keep mulch a few inches away from the base of the plant stem. Piling it against the trunk invites rot. If you use shredded leaves or grass clippings, keep those at 2 inches or less because they mat down and block water and air movement.
Watering after planting
Water daily for the first one to two weeks after planting, then transition to checking soil moisture and watering when the top few inches dry out. In clay soil, once established, most azaleas need about 1 inch of water per week. In sandy soil, you're looking at roughly half an inch every three to four days, and in warm weather during the first year, twice weekly watering is often necessary. The depth target each time is 6 to 8 inches, wetting the entire root zone rather than just the surface. The University of Maryland Extension recommends checking soil moisture at 6 inches daily for the first two weeks, then at least weekly through the first two years.
Dealing with wet soil and drainage problems
Signs your drainage is failing
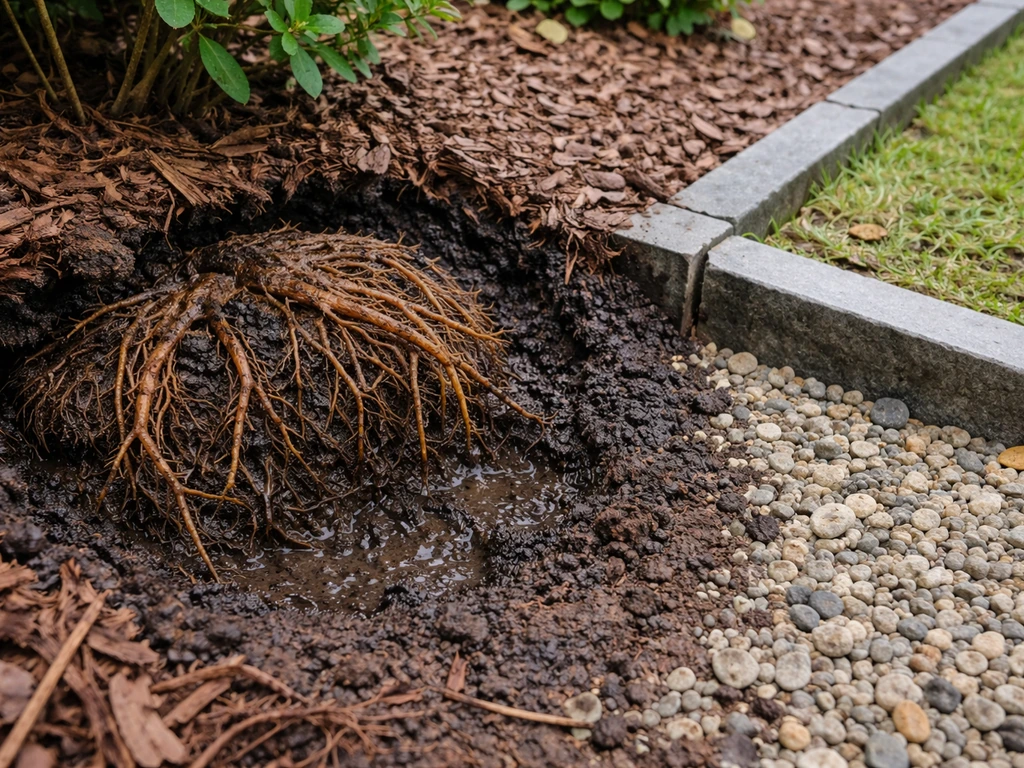
Azalea roots give you clear signals when they're drowning. Pull the mulch back and look at the root ball. Soft, brown roots that fall apart or slough off when you touch them are a sign of Phytophthora root rot. Aboveground, you'll see wilting that doesn't respond to watering (the plant looks thirsty but adding water makes things worse), yellowing leaves, and overall decline. If you're seeing these symptoms in a plant that's been watered consistently, drainage is almost certainly the culprit, not drought.
Fixes for poor drainage
The most reliable fix for a site with chronic drainage problems is to build a raised bed at least 12 inches above grade. University of Missouri Extension is pretty direct on this point: if drainage is poor, raise the bed. This gets the root zone physically above the waterlogged zone and lets gravity work in your favor. The Azalea Society of America describes a raised bed method with a bed and growing media approach designed specifically for heavy or problem soils.
For sites where raising the entire bed isn't practical, mounding individual planting areas works well. Rhododendron.org recommends keeping the top of the root ball above the surrounding grade and planting on a slight mound so the crown never sits in pooled water. A 4 to 6 inch mound is enough to make a real difference in most situations.
For more severe drainage problems, consider subsurface drainage solutions. French drains (gravel-filled trenches with a perforated pipe at the bottom) redirect water away from the planting area and can solve even stubborn clay drainage issues. University of Missouri Extension master gardener materials specifically mention French drains and subsurface drain tiles as options worth considering.
Container growing as a backup plan
If your yard is severely waterlogged or your clay is so alkaline that fixing the pH in-ground would take years, containers are a genuinely good option, not a last resort. You have complete control over soil mix and pH, drainage is straightforward with proper container holes, and you can move plants if conditions change. Use a mix formulated for acid-loving plants, confirm the pH before planting, and keep up with watering since containers dry out faster than in-ground beds.
Seasonal care and troubleshooting
Iron chlorosis: the most common complaint in clay soils
If your azalea leaves are turning yellow while the veins stay green, that's iron chlorosis. It's the classic symptom, and it almost always comes back to pH. Iron is most available to plants when soil pH sits between 4.5 and 6.0. Once pH climbs above that range, iron becomes chemically locked in the soil where roots can't access it, even if there's plenty of iron present. In clay soils that trend alkaline, chlorosis is almost inevitable without active pH management.
But pH isn't the only trigger. The Azalea Society of America lists compacted soil, overwatering, too much fertilizer, and soil pH outside the required range as contributors to iron chlorosis. Poor drainage can cause chlorosis even when pH is correct because waterlogged roots lose their ability to absorb nutrients efficiently. So if you're seeing chlorosis, first check pH, then think about drainage and root health before reaching for a product.
For a faster correction while you work on pH, chelated iron products applied as a foliar spray or soil drench can help. They deliver iron in a form the plant can absorb even at higher pH levels. Think of chelated iron as a bridge, not a permanent fix. You still need to address the underlying pH or drainage issue.
Fertilizer and pH maintenance through the seasons
Because most azalea roots stay in the top foot of soil, you don't need to work fertilizer deeply into the ground. Surface application is adequate. Use a fertilizer formulated for acid-loving plants and follow package directions. Avoid over-fertilizing, which can contribute to chlorosis and root stress. In clay soils, excess fertilizer can also build up since the soil doesn't drain freely.
Test pH every one to two years. Clay soils can drift back toward neutral over time, especially if your irrigation water is alkaline. Reapply elemental sulfur as needed based on test results. This isn't a once-and-done task; it's ongoing maintenance. If you're growing Encore azaleas or other reblooming varieties, consistent pH management is especially important since those plants are pushing through multiple bloom cycles and need reliable nutrient access.
Seasonal care checklist
- Spring: Check mulch depth after winter and top up to 2 to 3 inches. Apply slow-release acid fertilizer after the first flush of blooms fades. Test pH if you haven't done so in the past year.
- Late spring to summer: Monitor watering frequency. Clay soils hold moisture longer; probe before watering to avoid overwatering. Sandy soils need more frequent checks, especially during heat.
- Summer: Watch for chlorosis as temperatures rise and plants are actively growing. Inspect roots if plants wilt despite regular watering.
- Fall: Replenish mulch before winter. Avoid late-season fertilizer applications that push new growth vulnerable to frost.
- Winter: Keep mulch in place to protect shallow roots from freeze-thaw cycles. In areas with heavy winter rainfall, verify that drainage is still functioning and water isn't pooling around crowns.
Root stress beyond drainage: compaction and planting depth
Clay soils compact over time, especially if people walk near the planting area or you use heavy equipment nearby. Compaction is a slow killer for azaleas because it squeezes out the pore spaces that hold both water and oxygen. Keeping a thick mulch layer helps buffer surface compaction, and avoiding foot traffic in the bed matters more with clay than with looser soils. If you do notice soil compacting around established plants, a light topdressing of compost worked gently around the drip line can help over time without disturbing the shallow root system.
Planting depth mistakes are also hard to undo once a plant is established. If you suspect an older azalea is struggling because it was planted too deep, you can sometimes carefully expose the crown and reshape the soil around it to improve drainage at the base. It's not a guarantee, but it's worth trying before giving up on a struggling plant.
The big picture here is that azaleas in clay are manageable, but they require you to stay engaged. This isn't a plant you prep the bed for once and then ignore. Regular pH checks, mulch maintenance, and watering adjustments based on actual soil conditions (not a fixed schedule) are what separate azaleas that thrive from the ones that slowly decline.
If you want step-by-step guidance for how to grow forsythia, follow a similar approach: match the soil and moisture to the plant, then monitor conditions as the plants establish. Get those habits in place and clay soil stops being a barrier. If you want more complete guidance on keeping them happy, see our tips for how to grow azaleas outdoors.
If you are planning a forsythia hedge, the same idea applies: keep the soil well-drained and match watering to your conditions so shrubs stay healthy.
FAQ
Can I plant azaleas in clay soil if I’m doing it as a landscaping job (not a full bed makeover)?
Yes, but only if you create a consistently moist, well-drained root zone. For clay yards, start with a raised bed or mounded planting area, then keep the top of the root ball slightly above surrounding grade. Avoid leaving the base crown in contact with native clay, since it can stay waterlogged even when the rest of the bed drains.
What’s the biggest mistake people make when trying to grow azaleas in clay?
Skip the urge to “cook” the clay by adding large amounts of amendments in a small area. The common failure is the bathtub effect from a localized amended pocket surrounded by dense clay. Instead, amend broadly across the entire planting zone and keep the root ball at or just above grade to prevent pooled water around the crown.
How can I tell if my clay soil drains too slowly for azaleas before planting?
Test for drainage risk by doing a simple percolation check after heavy rain or by watering the area thoroughly and watching for standing water. If water pools for more than a day or keeps sinking very slowly, you likely need a raised bed, mounding, or a French drain rather than just more organic matter.
My azaleas look yellow, but I also have clay that stays wet, how do I know if it’s iron chlorosis or root rot stress?
Yes. Soggy, oxygen-poor roots can trigger the same look as “nutrient problems,” but the fix is usually drainage and root-zone aeration first. If yellowing is accompanied by soft/brown roots or decline after consistent watering, treat it as root health and waterlogging rather than immediately switching fertilizers.
How long should I expect it to take to lower pH in clay soil with sulfur?
For most azaleas, don’t rely on sulfur alone in tough clay. If your soil is buffered by lime or carbonate, pH can resist change for years. In that case, plan on raised-bed media, periodic re-testing, and possibly chelated iron support during the transition.
Will chelated iron permanently solve yellow azalea leaves in alkaline clay?
If you use chelated iron, apply it as a temporary bridge while you correct pH. Foliar sprays can show improvement faster than soil drenches, but you still need ongoing pH checks and drainage management because iron availability will drop again if the root zone remains out of range.
What mulch mistake most often causes problems for azaleas in clay?
Don’t mulch right up against the stem. Leave a small gap around the base to prevent rot, especially in wet clay where air movement is limited. If you use shredded leaves or grass clippings, keep them thinner (about 2 inches) since they mat and reduce oxygen exchange.
If my azalea was planted too deep, can I fix it with topdressing instead of transplanting?
A light topdressing can help, but only gently and only around established plants. Focus on the drip line area, avoid burying the crown, and don’t create a new loose pocket that traps water. If you suspect the plant is already too deep, exposing the crown may be necessary rather than just adding compost.
Are containers a good solution if my clay soil is too alkaline or drainage is poor?
Yes, containers can be one of the fastest ways to get azaleas thriving when in-ground pH or drainage is stubborn. Use an acid-loving mix, confirm pH before potting, and choose containers with reliable drainage holes. Expect to water more frequently because clay-like conditions are harder to replicate and containers can dry unevenly.
How often should I re-check pH in a clay garden with azaleas, and what else could change it?
You should verify pH and nutrient availability with periodic soil tests because clay can drift over time. Re-test about every 1 to 2 years, and consider irrigation water chemistry as well, since alkaline water can push pH upward even when you have amended the soil once.