
You can absolutely grow hollyhocks in Phoenix, but the key is working with the desert calendar rather than fighting it. Plant seeds in October or early November, let them establish through winter, and they'll bloom in spring before the brutal summer heat arrives. Choose heat-tolerant or rust-resistant varieties, get your soil drainage right from the start, and water deeply but infrequently once they're established. Do those three things and hollyhocks will reward you with those tall, cottage-garden spires that most people assume can't survive a Phoenix summer.
How to Grow Hollyhocks in Phoenix: Heat-Proof Guide
Marcus Holloway
7 Jul 2026
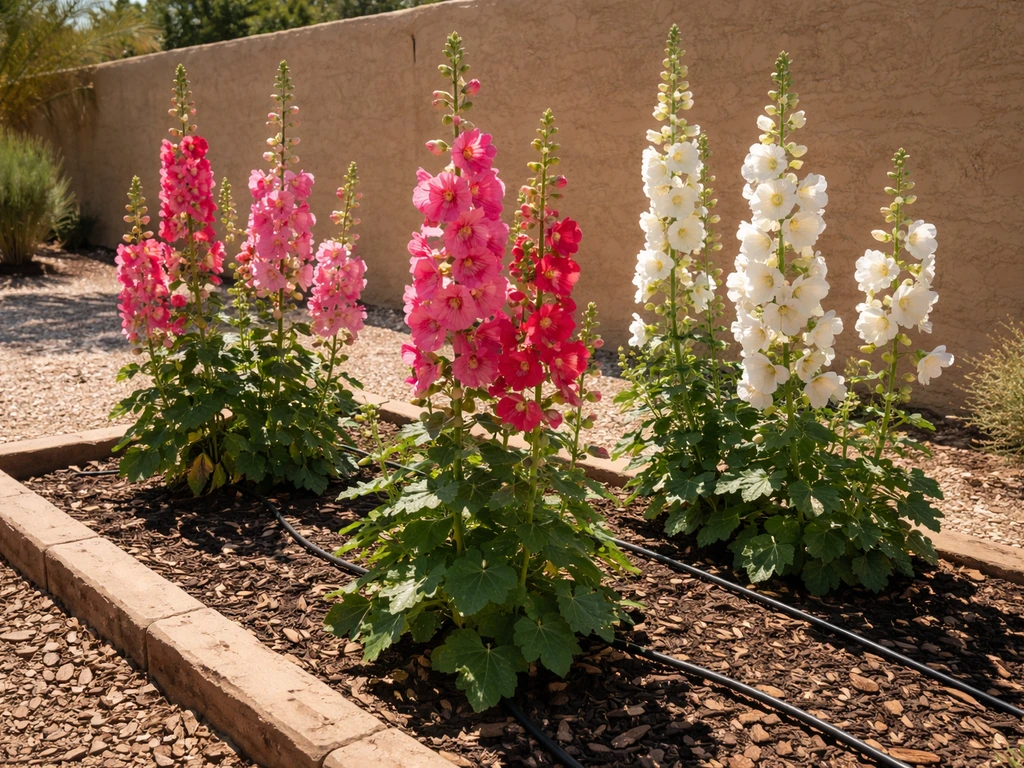
Pick the right hollyhock for Phoenix heat
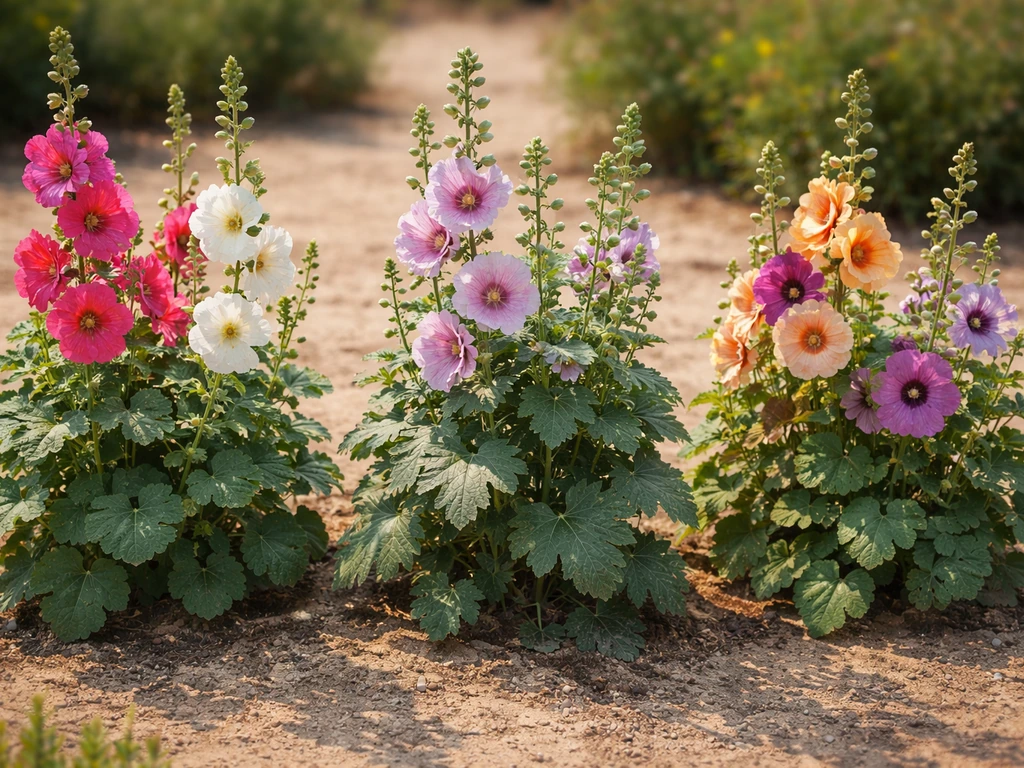
Not all hollyhocks are equal when it comes to desert performance. The standard Alcea rosea is rated as having medium heat tolerance and is drought-tolerant once established, which is a decent baseline for Phoenix. But if you want the best odds, look beyond the generic mix packets at the big-box store.
Alcea ficifolia (fig-leaved hollyhock) and in particular the 'Antwerp Mix' strain are noted for rust resistance, which matters enormously in Phoenix. Hollyhock rust (Puccinia malvacearum) is the number-one disease problem you'll face, and choosing a resistant variety from the start is far smarter than spraying your way through a susceptible one. The 'Antwerp Mix' produces singles in warm peachy, orange, and yellow tones and handles heat with more grace than older double-flowered heirlooms.
Single-flowered varieties generally outperform heavily doubled types in hot climates. The doubles are gorgeous, but they tend to be weaker plants that struggle to push through Phoenix's shoulder seasons. For a first attempt in the desert, stick with singles or semi-doubles. Once you know how your specific microclimate behaves, you can experiment with the fancier forms.
- Alcea ficifolia 'Antwerp Mix': rust-resistant, heat-tolerant, single-flowered in warm tones
- Alcea rosea 'Halo' series: single-flowered with good disease resistance and compact habit
- Alcea rosea 'Chater's Double': classic double, beautiful but needs extra care in heat
- Alcea rosea 'Nigra' (black hollyhock): single, very heat-tolerant, dramatic deep maroon flowers
- Short-growing annual types (labeled 'annual hollyhock'): bloom first year but less cold-hardy
One more thing to know: most traditional hollyhocks are biennials. That means if you plant from seed, you'll typically get leafy rosette growth in year one and actual flowers in year two. Some newer cultivars are bred to bloom the first year if started early enough. Check your seed packet and plan accordingly so you're not staring at a leafy plant wondering why it's not blooming.
When to plant hollyhocks in Phoenix
Phoenix's planting calendar is essentially the opposite of what most gardening books describe, because those books are written for temperate climates with cold winters. Your summers are the enemy, not your winters. Hollyhocks need to be in the ground by fall so they can spend the cool months building a strong root system before they flower in spring.
Direct sowing from seed
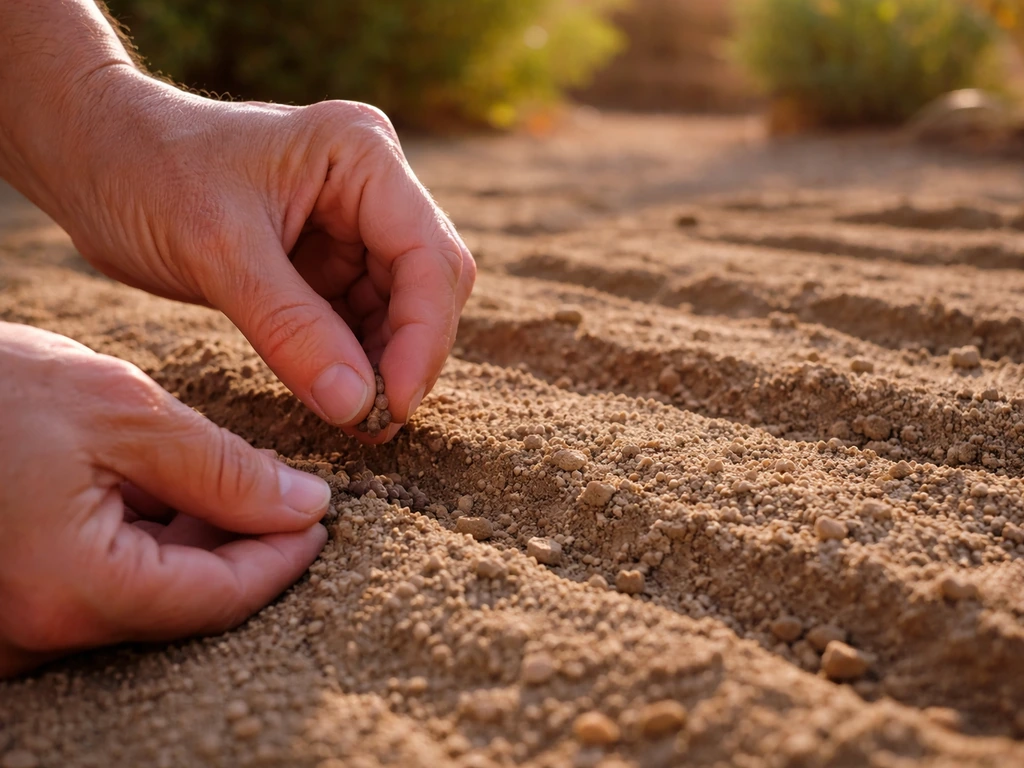
The best window for direct sowing hollyhock seeds in Phoenix is mid-October through late November. Soil temperatures drop to a more seed-friendly range (below 85°F), nights are cooler, and you still have enough warm days to get germination moving before the coldest weeks of December and January slow things down. Seeds sown in this window typically germinate in 10 to 14 days and establish a basal rosette through winter, then shoot up and bloom March through May before summer shuts them down.
You can also direct sow in late February through March for a late-spring bloom, but this is riskier. Those plants are racing against the heat clock and often produce shorter bloom periods before bolting or struggling. If you do a spring sowing, use a variety labeled as an annual type that blooms in the first year, because a biennial started in March won't have enough time to establish properly before summer stress hits.
Transplanting seedlings
If you want to start indoors and transplant, start seeds 6 to 8 weeks before your target outdoor planting date. For fall planting, that means starting seeds indoors in August or early September. Be aware that hollyhocks develop a long taproot very quickly and really dislike being disturbed. If you’re specifically trying to grow hollyhocks from roots instead of seeds, plan for a gentle transplant and prioritize deep, well-draining soil so the crown settles quickly long taproot very quickly. Use deep cell trays or biodegradable pots, and transplant while the seedlings are still relatively small (2 to 3 true leaves). Once that taproot has coiled around the bottom of a pot, you're going to lose some plants to transplant shock. Moving seedlings outdoors in late September through October aligns with the general Arizona Cooperative Extension guidance that places cool-season flower establishment from fall through early spring. The AZ1100A Flower Planting Guide also outlines timing for establishing cool-season transplants before summer heat, with a key window roughly from February through May for many flowers to bloom blank" rel="noopener noreferrer">aligns with the general Arizona Cooperative Extension guidance.
Soil, sun, and planting setup for strong roots
Getting your soil right
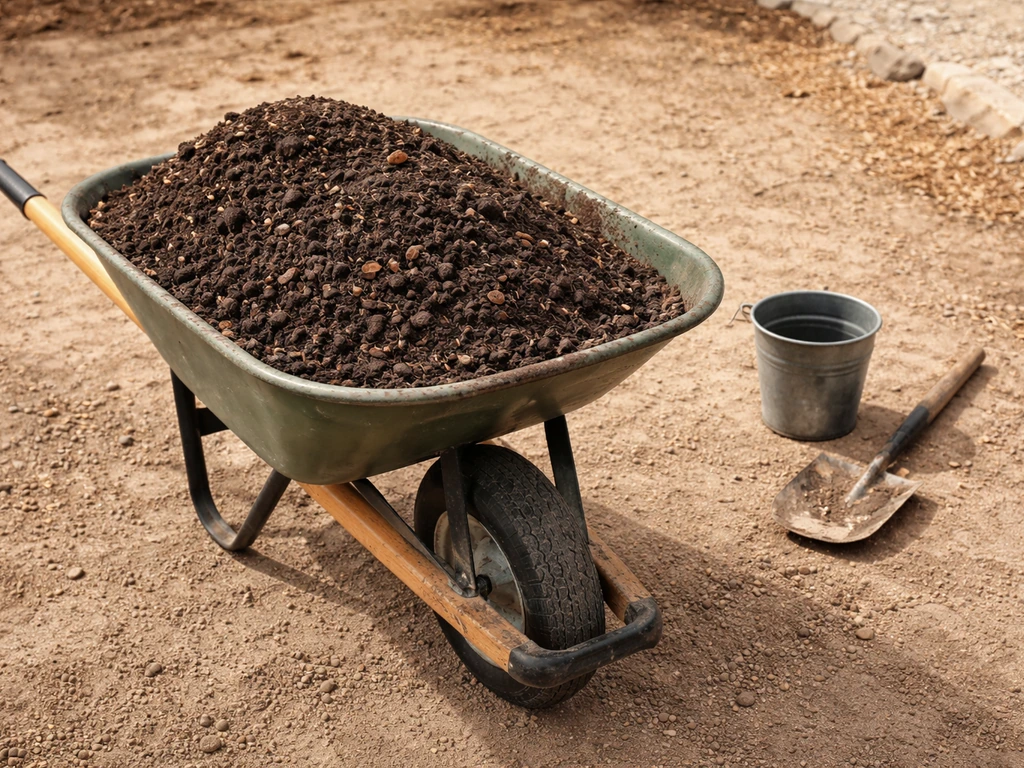
Phoenix soil is a challenge. You're typically dealing with compacted caliche, alkaline pH (often 7.5 to 8.5), and very low organic matter. Hollyhocks want fertile, well-drained, moist soil. That's basically the opposite of what your backyard offers straight out of the ground. The good news is that you don't need to overhaul your entire bed. Focus on a 12-inch-deep, well-amended planting zone and you're most of the way there.
Mix your native soil 50/50 with a quality compost or aged organic matter. If you hit caliche hardpan, break through it with a pickaxe or caliche bar before planting. A layer of impermeable caliche just 8 inches down will cause water to pool at the root zone and lead to crown rot, which is one of the most common reasons hollyhocks die in Phoenix gardens. Add a handful of sulfur or use an acidifying fertilizer at planting to nudge the pH slightly lower, though hollyhocks can tolerate mild alkalinity better than many plants.
Drainage is the non-negotiable. If you have a spot that stays wet or puddles after irrigation, do not plant hollyhocks there. They'll rot. If your drainage is marginal, build a low raised bed or mound your planting area 4 to 6 inches above grade.
Sunlight: full sun with a caveat
Hollyhocks want full sun, at least 6 hours per day. In Phoenix that's easy to achieve. The caveat is that the intense west-facing afternoon sun from June through September is genuinely brutal, even for sun-loving plants. Local Phoenix gardeners have found that a spot on the east or south side of the house performs better than the west side, giving hollyhocks full morning sun and some shelter from the harshest afternoon rays. A location that gets 6 to 8 hours of sun but is protected after 2:00 or 3:00 PM during the summer is close to ideal. If your only full-sun spots face due west, use a shade cloth (30 to 40 percent) during June, July, and August to prevent leaf scorch.
Spacing and planting depth
Hollyhocks mature to 4 to 8 feet tall in good conditions (Arizona Cooperative Extension lists them at 48 to 96 inches). Space plants 18 to 24 inches apart. Crowding is a disease vector in the desert because poor air circulation combined with evening irrigation creates the exact conditions rust and anthracnose love. When placing seeds, press them 1/4 inch deep and firm the soil. For transplants, set the crown at soil level, no deeper.
Watering strategy and mulch in hot, dry conditions
Overwatering kills more Phoenix hollyhocks than drought does. Once the plants are established (about 4 to 6 weeks after germination), they become reasonably drought-tolerant. The goal is deep, infrequent watering that pushes roots down into cooler soil layers rather than keeping the surface constantly wet.
A watering schedule that actually works
| Season | Watering Frequency | Depth to Wet Soil | Notes |
|---|---|---|---|
| October to November (establishment) | Every 3 to 4 days | 8 to 10 inches | More frequent while roots are shallow |
| December to February (cool season) | Every 7 to 10 days | 10 to 12 inches | Reduce in cold snaps; roots are active but evaporation is low |
| March to May (bloom season) | Every 4 to 5 days | 12 inches | Increase as temperatures rise; consistent moisture improves blooms |
| June to September (summer stress) | Every 2 to 3 days if plants are kept alive | 12 inches | Most plants go dormant or die back; water surviving crowns deeply but less often |
| After monsoon rains | Adjust to actual rainfall | Check soil 2 inches down | Let the soil dry slightly between monsoon events to avoid rot |
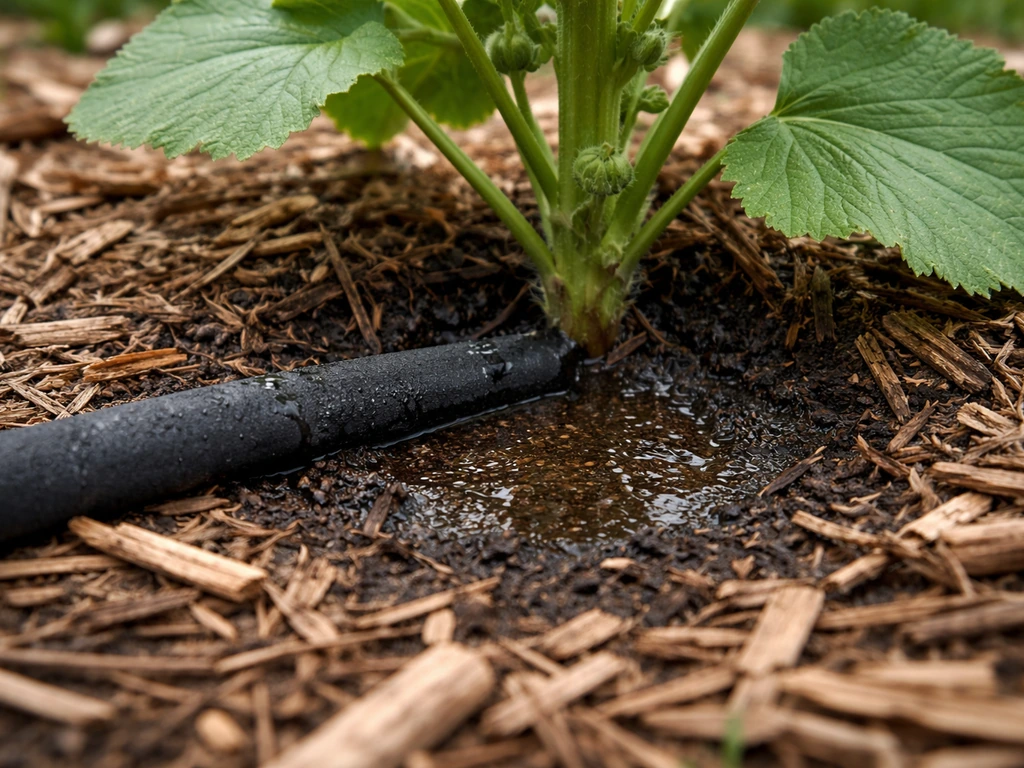
Always water at the base of the plant, not overhead. Wet foliage is an open invitation to rust and anthracnose. If you use a drip system, place emitters at the root zone and run them long enough to wet soil 10 to 12 inches deep. Short, frequent cycles produce shallow roots that are even more vulnerable to summer heat.
Mulch: do not skip this step
Apply 3 to 4 inches of organic mulch (straw, shredded bark, or wood chips) around your hollyhocks, keeping it pulled back an inch or two from the crown to avoid moisture sitting against the stem. In Phoenix, mulch does two jobs that are critical: it slows evaporation dramatically during the spring bloom period and insulates the soil from temperature extremes. Arizona Cooperative Extension specifically recommends 3 to 4 inches of mulch to reduce watering frequency and retain soil moisture longer. That advice was written for trees and shrubs, but it applies just as powerfully to hollyhocks growing in decomposed granite and caliche-heavy soil.
Germination, spacing, thinning, and fertilizing
Germination expectations
At Phoenix's fall soil temperatures, you can expect germination in 10 to 21 days. Lightly scarifying the seeds (rubbing them gently on fine sandpaper or soaking overnight in warm water) speeds things up noticeably. Keep the soil surface consistently moist during germination but not waterlogged. Once sprouts are up, back off on irrigation frequency and let the top inch dry between waterings.
Thinning seedlings
If you direct sow, sow two or three seeds per location and thin to the strongest seedling once they're 3 to 4 inches tall. Cut the extras off at soil level with scissors rather than pulling, which disturbs the taproot of the keeper. Final spacing should be 18 to 24 inches between plants. It feels like a lot of space when they're small, but hollyhocks are wide-shouldered plants at maturity and airflow between them genuinely reduces disease pressure.
Fertilizing schedule
Hollyhocks are not heavy feeders, and in Phoenix you can cause more harm than good by over-fertilizing. Excess nitrogen pushes lush, soft growth that's more susceptible to pests and disease, and it can burn roots in already-alkaline desert soil. A balanced, slow-release granular fertilizer (10-10-10 or similar) worked into the planting hole at establishment is a solid start. After that, a light top-dressing of compost in late January and a diluted balanced liquid fertilizer every 3 to 4 weeks through the blooming period (March to May) is plenty. Stop fertilizing by June. Pushing growth into summer is counterproductive because the plant needs to slow down, not sprint.
Deadheading and cutting back
Deadhead spent blooms by pinching or cutting them off as they fade. This encourages the plant to keep sending up new flower spikes rather than putting energy into seed production. Once the main spike is done, cut it back to the lowest healthy lateral stem. If you want to collect seeds for next year's planting (hollyhocks self-seed prolifically), leave a few seed heads on the plant and harvest them when they're dry and papery. After the spring bloom season ends and the plant starts looking ragged in the heat, cut it back hard to about 6 inches above the crown. This signals the plant to rest through summer rather than trying to push growth it can't sustain.
Seasonal care across the Phoenix year
Fall (October to November): planting and establishment
This is your most important season for hollyhocks in Phoenix. Get seeds or transplants in the ground as soon as the heat breaks, ideally when daytime highs are consistently below 95°F. Water every few days to encourage deep root establishment. Don't expect much visual excitement yet. The rosette forming at the base is doing exactly what it needs to do.
Winter (December to February): cool-season growth
Phoenix winters are mild, but hollyhocks can handle them without any special protection. Hard freezes (below 28°F) can damage foliage and flower buds if your plants have already started to bolt early. If a freeze is forecast and your hollyhocks are putting up growth, drape a frost cloth over them overnight. Remove it in the morning. Do not cover plants with plastic sheeting, which traps heat and burns foliage. Water every 7 to 10 days through winter, adjusting for any rainfall. This is also when you should apply your first compost top-dressing to prep for the spring push.
Spring (March to May): bloom season
This is what you planted them for. Expect flowering to peak in March and April for fall-planted hollyhocks. Water more frequently as temperatures climb, stake tall varieties before they need it (a stem that's leaned over is harder to right than one you prevented from leaning), and continue deadheading to extend the show. By late May, Phoenix heat is ramping up hard and bloom quality will decline. Let the plant start its transition to summer dormancy naturally.
Summer (June to September): survival mode
Here's the honest truth about Phoenix summers and hollyhocks: many plants won't make it through June, July, and August. That's not failure, that's desert reality. The goal is to give the crown a fighting chance to resprout in fall. Cut plants back to 6 inches, maintain your mulch layer, and water the root zone deeply every 2 to 3 days to keep the crown alive. If you have them in a spot that gets afternoon shade, survival rates go up considerably. The monsoon season (July through September) brings some humidity and cloud cover that actually helps, but it also raises disease pressure. Watch for rot at the crown and cut back any diseased material immediately. Plants that survive summer will typically resprout in September when temperatures drop below 100°F, and you'll get a second season from them. Many hollyhocks grown in Phoenix do best treated as annuals or short-lived perennials, with self-seeding filling in the gaps each fall.
Troubleshooting the most common Phoenix problems
Seeds not germinating
If you sowed seeds and nothing came up in three weeks, the most likely culprits are soil that's still too warm (above 85°F), seeds sown too deep, or soil that dried out completely during germination. Hollyhock seeds are flat and papery and need good seed-to-soil contact. Try scarifying seeds before sowing, sow shallowly (1/4 inch maximum), and mist the surface daily until sprouts emerge. If soil temps are still high, wait another few weeks for fall. Impatience is the enemy here.
Leggy, flopping plants
Legginess usually means too much shade, too much nitrogen, or overcrowding. Check that your plants are getting genuine full sun for at least 6 hours. If you fertilized heavily with a high-nitrogen product, back off and switch to a balanced or phosphorus-forward formula. Stake plants early with bamboo canes and soft ties before they lean. Once a tall hollyhock has flopped, you can stake it upright, but the stem will always have a kink at the bend point.
Crown rot and overwatering
Crown rot is the silent killer in Phoenix hollyhock beds. The symptoms are a sudden wilting of the whole plant followed by dark, mushy tissue at the base. By the time you see it, the plant is usually beyond saving. Prevention is everything: excellent drainage, mulch pulled away from the crown, base-only irrigation, and avoiding the temptation to water on a daily schedule. If you catch early crown rot on one side of the plant, you can sometimes cut away affected tissue and treat with a copper-based fungicide, but honestly, it's usually better to remove the plant entirely to prevent spread.
Hollyhock rust (the big one)
Rust appears as bright orange or brown pustules on leaf undersides, with yellow spots on the upper surface. It spreads fast in conditions with wet foliage and moderate temperatures, which means Phoenix spring evenings are prime time. Start by always watering at the base, never overhead. Water in the morning so any accidental foliage wetness dries before nighttime. Remove affected leaves as soon as you spot them and dispose of them in the trash, not the compost. At the end of the season, clean up all plant debris including fallen leaves, because the rust fungus overwinters on that material. Copper fungicide sprays can slow spread but won't cure an infected plant. Your best protection is starting with resistant varieties like 'Antwerp Mix' and maintaining good airflow through proper spacing.
Leaf scorch and sun damage
Crispy brown leaf edges or bleached-out patches on the upper leaf surface are usually sunscald from intense afternoon sun. This is most common in June and July on plants that are already stressed. Move any container plants to a protected spot, add a 30 to 40 percent shade cloth over in-ground plants during the hottest months, and make sure watering is adequate. A drought-stressed plant scorches much faster than a well-watered one.
Pests: aphids, spider mites, and caterpillars
Aphids cluster on new growth, especially in spring. A strong spray of water from the hose knocks them off, and for heavier infestations, insecticidal soap works well. Spider mites flare up in hot, dry conditions (which Phoenix provides in abundance). They leave fine webbing and stippled, grayish foliage. Increase humidity around plants during summer by mulching heavily and watering adequately. Neem oil or miticide spray handles active infestations. Caterpillars and cutworms occasionally damage hollyhock foliage and stems at the base. Check at soil level if plants are being cut off overnight, and use Bacillus thuringiensis (Bt) as a targeted, low-impact treatment.
No flowers in year one
If your fall-planted hollyhocks are growing beautifully but never bloomed in their first spring, you likely have a true biennial variety. This is completely normal. The plant spent its first season building roots and a basal rosette, and it will flower in the second spring. Mark those plants, protect the crown through summer, and let them do their thing. If you want blooms the first year, look specifically for seed packets labeled 'annual hollyhock' or first-year-blooming varieties. This biennial pattern is worth understanding before you plant, and it also explains why established hollyhock clumps that self-seed reliably seem to have something blooming every year: the seedlings are always one year behind the flowering plants.
Your Phoenix hollyhock plan, season by season
If you're planting this fall, here's exactly what to do and when. This is the plan that gives you the best realistic shot at blooms by March. If you are also gardening in Colorado, adapt this by choosing cold-tolerant varieties and adjusting your sowing timing to your local frost dates.
- September: Choose your variety (prioritize rust-resistant types like 'Antwerp Mix' or 'Nigra'). Order seeds if your local nursery selection is thin.
- Early October: Prep your planting bed. Amend soil 50/50 with compost, break up any caliche hardpan, check drainage.
- Mid-October to early November: Direct sow seeds 1/4 inch deep after light scarification, or transplant seedlings started in August. Water every 3 to 4 days.
- November to December: Apply 3 to 4 inches of mulch around plants (not touching crowns). Reduce watering to every 7 to 10 days as temperatures cool.
- January to February: Top-dress with compost. Begin light fertilizing with balanced liquid feed every 3 to 4 weeks as growth resumes. Protect from hard freezes with frost cloth.
- March to May: Stake tall stems before they lean. Deadhead spent blooms regularly. Water every 4 to 5 days. Enjoy the flowers.
- Late May to June: Cut plants back to 6 inches as heat builds. Pull back fertilizer completely. Maintain mulch and deep watering every 2 to 3 days to keep crowns alive.
- July to September: Monitor for crown rot and disease during monsoon season. Remove any infected material. Let self-sown seedlings establish naturally if they appear.
- October (year two): Surviving plants resprout. New self-sown seedlings emerge. Repeat the cycle, adding any succession-sown seeds for continued staggered blooms.
Growing hollyhocks in Phoenix is genuinely doable once you understand that the desert requires you to flip the conventional gardening calendar. Fall is your spring, and summer is your winter. The gardeners who succeed here are the ones who let go of the April-planting instinct and lean into the cool season. Get the timing and drainage right, and those tall spires of hollyhock blooms in a March Phoenix garden are absolutely within reach.
FAQ
Can I grow hollyhocks in Phoenix from cuttings or divisions instead of seeds?
In Phoenix, hollyhocks are far more reliable from seed or seedlings because they form a long taproot. Dividing mature plants often fails due to root disturbance. If you must move an established clump, do it as gently as possible while the plant is small, plant it in deep, fast-draining soil, and expect some losses, especially if the crown sits too deep or stays too wet.
What’s the best watering schedule during the fall establishment period?
During the rosette-building phase, aim for soil that stays evenly moist but never puddles, especially for newly germinated plants. After sprouts establish (about 4 to 6 weeks after germination), switch to deep, infrequent watering, with the top inch drying between cycles. A practical check is to water, then wait until the surface dries and the next few inches feel drier before watering again.
How do I tell whether my hollyhocks are getting enough sun versus getting leaf scorch?
Look at timing and pattern. Sunscald usually shows up as crispy brown edges or bleached patches, most common during the June to July afternoon heat. If the plant is shaded in the afternoon but still looks burned, increase protection (30 to 40 percent shade cloth for the hottest months) and also verify you are not under-watering, since drought-stressed plants scorch faster even with adequate morning sun.
My plants are tall and floppy, should I stake them before or after they bend?
Stake early, before stems start leaning. Once a stem kinks after leaning, staking later often only helps keep it upright, but the bend remains. Use soft ties and place stakes while plants are still upright and small so you can guide growth without damaging tissue.
How can I reduce rust risk if I notice it every spring?
Combine prevention steps rather than relying on sprays. Use rust-resistant varieties, space plants for airflow, water only at the base, and water in the morning. Remove infected leaves as soon as you spot them and discard them in the trash. At season end, clean up fallen leaves and debris, since the fungus can persist on plant matter.
Should I fertilize hollyhocks in Phoenix, and how do I avoid too much nitrogen?
Light feeding only. Avoid high-nitrogen products because they drive soft growth that is more disease-prone and can stress roots in alkaline desert soil. Use a balanced slow-release fertilizer at establishment, then only modest compost top-dressing and diluted balanced liquid feed during bloom. Stop by June so you do not push growth into summer dormancy.
Why do my hollyhocks die even when the soil seems “well-drained”?
In Phoenix, crown rot can still happen if water sits briefly at the base. Even a few days of localized saturation around the crown after irrigation or monsoon rain can cause sudden wilting followed by mushy tissue. Make sure mulch is pulled back from the crown, confirm irrigation does not wet the stem, and in marginal areas use a mound or low raised bed so water sheds away quickly.
What should I do if seedlings keep failing during germination?
Most failures come from soil staying too warm, sowing too deep, or the surface drying out during germination. Keep the seed depth around 1/4 inch or less, press seeds into firm contact, mist to maintain consistent moisture at the surface until they sprout, and if temperatures are still above roughly 85°F, delay sowing to cooler fall weeks.
Can I grow hollyhocks as perennials in Phoenix, or should I plan for them to be short-lived?
Plan for short-lived behavior. Many plants will not survive the full summer, even with good care, so treat them as annuals or short-lived perennials and rely on fall self-sowing for continuity if you want blooms each spring. The practical goal is to keep the crown alive through July to August so you can get a second-season resprout in September.
If I want to save hollyhock seeds, when should I harvest and how should I store them?
Harvest seed heads when they are dry and papery, after the spring bloom has finished. Let seeds dry fully before storage, then store them in a cool, dry place in an airtight container. For Phoenix planting, sow in mid-October through late November so they can establish before summer heat returns.