
Hibiscus grows beautifully in Florida, but only if you pick the right type for your part of the state. Tropical hibiscus (Hibiscus rosa-sinensis) is what most Florida gardeners want: it blooms nearly year-round in South Florida and through the warm months everywhere else, handles the heat like a champ, and comes in colors you won't find in most plants. Get the species right, give it full sun and well-drained soil, water it consistently without overwatering, and fertilize on a schedule, and you'll have flowers constantly from spring through fall at minimum.
How to Grow Hibiscus in Florida Step by Step Guide
Marcus Holloway
11 Jul 2026
Choosing the right hibiscus for Florida
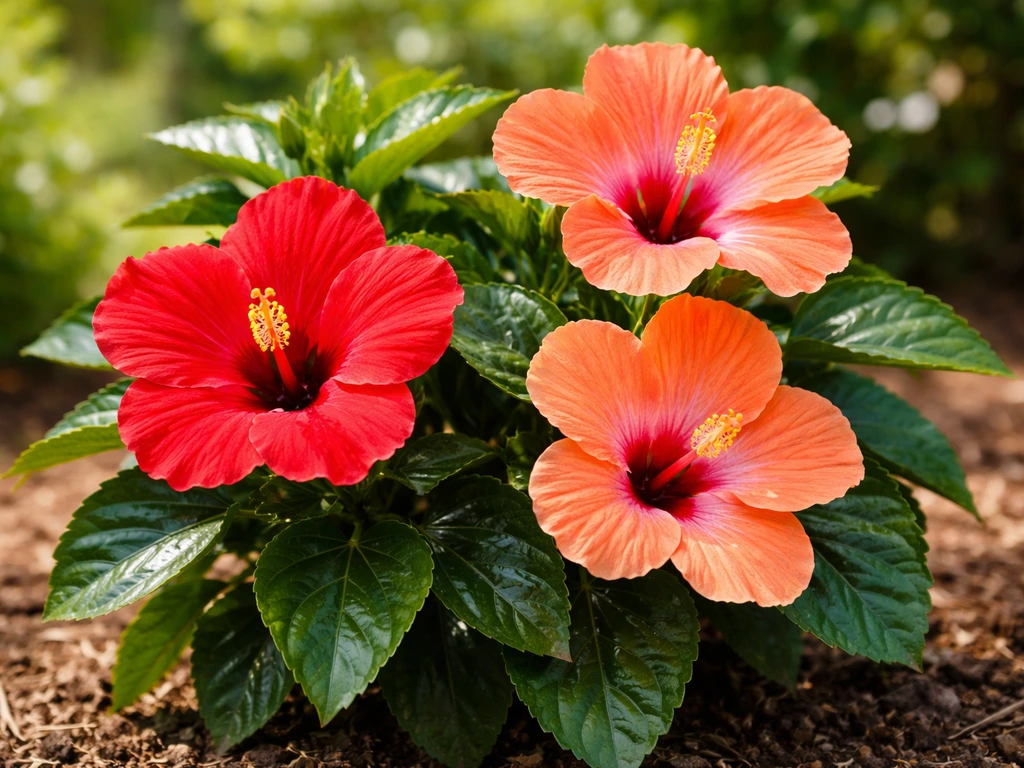
This is the decision that sets everything else up. If you're figuring out what to grow with hibiscus in Florida, start by matching the hibiscus type to your sunlight and watering habits. There are two main types most Florida gardeners consider, and they have very different needs.
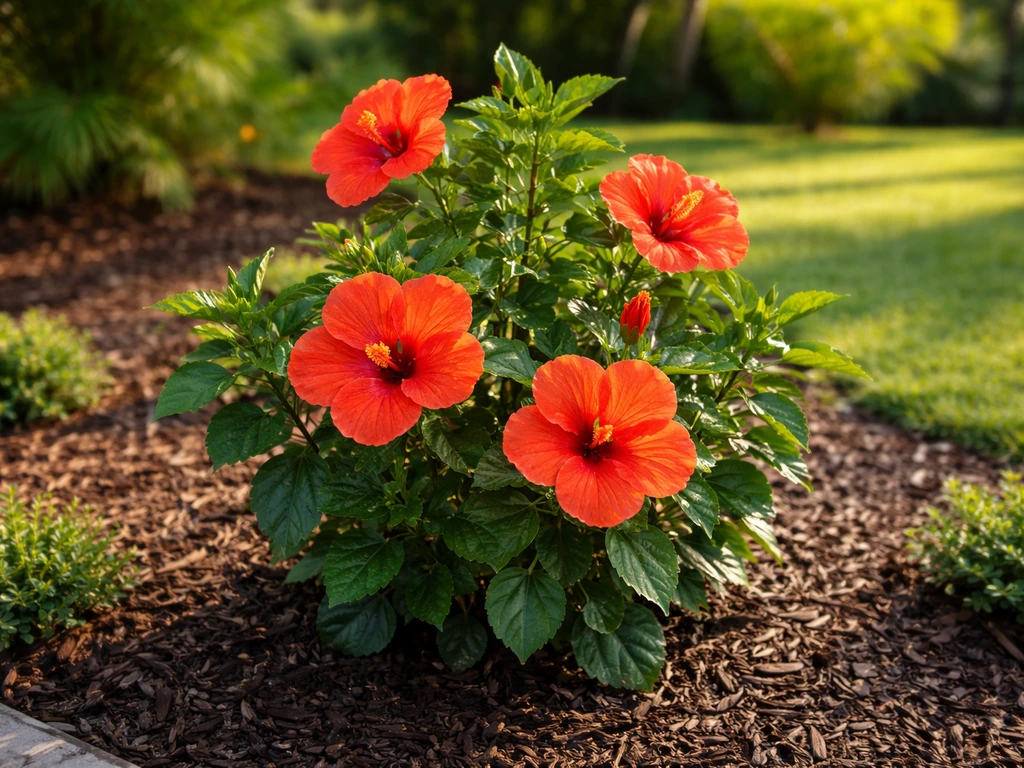
Tropical hibiscus (Hibiscus rosa-sinensis) is the big, glossy-leafed shrub you see everywhere in South Florida yards, hotel landscapes, and containers on patios. If you're aiming for Hawaiian hibiscus instead, the growth tips are similar but the light, soil, and feeding targets are slightly different to keep it flowering well. It's adapted to USDA zones 9 through 11, which covers most of Florida. In zones 10 and 11 (Miami-Dade, Broward, Collier, Monroe counties), it can bloom almost every single month of the year. Farther north in zones 9a and 9b (think Orlando up through Tallahassee), it still thrives through the warm months but cold fronts can cause the lower leaves to yellow and drop, and a hard freeze will kill it to the ground or kill it outright. If you're in Central or North Florida, you're not out of luck with tropical hibiscus, but you need a plan for cold protection.
Hardy hibiscus (Hibiscus moscheutos) is the other option. If you want a more cold-tolerant option, learning how to grow mahonia can be a great alternative to hibiscus in similar landscapes. It handles freezes much better, rated down to zone 4, so it's essentially bulletproof in Florida winters. The tradeoff: it dies back to the ground each winter and regrows from the roots, it blooms mid-summer rather than continuously, and the flowers (while enormous at 6 to 8 inches across) have a different look, more herbaceous than shrubby. For North Florida gardeners who want something that comes back reliably without cold protection fuss, hardy hibiscus is the more dependable call.
| Feature | Tropical Hibiscus (H. rosa-sinensis) | Hardy Hibiscus (H. moscheutos) |
|---|---|---|
| USDA Hardiness Zones | 9–11 | 4a–9b |
| Bloom Season in Florida | Nearly year-round (South FL); spring–fall (Central/North FL) | Mid-summer peak |
| Bloom Size | 3–6 inches, wide color range | 6–8 inches, bold colors |
| Cold Tolerance | Sensitive; frost damage likely | Dies back, regrows from roots |
| Growth Habit | Woody shrub | Herbaceous perennial |
| Best For | South/Central FL; containers | North FL; in-ground perennial beds |
If you're in South or Central Florida and want that classic hibiscus shrub look with constant blooms, go tropical. If you're in the Panhandle or North Florida and want something that just comes back every year without babysitting, lean toward hardy hibiscus. The rest of this guide focuses primarily on tropical hibiscus since that's what most Florida gardeners are after, but I'll flag where the care differs for hardy types.
Best planting time and site selection
The best time to plant tropical hibiscus in Florida is spring, once nighttime temps stay reliably above 50°F. That's typically March through April in most of the state, and you can plant through early summer without issue. Planting in fall works too, especially in South Florida, but avoid planting in December or January in Central and North Florida where cold snaps can hit a newly planted, still-establishing shrub hard.
Site selection is just as important as timing. Tropical hibiscus wants full sun, meaning at least 6 hours of direct sun per day, and 8 hours is better for maximum blooming. A south- or west-facing spot is usually ideal. You might be tempted to give it afternoon shade to protect it from Florida's intense summer heat, but in most cases hibiscus handles the heat fine and actually blooms better with more sun. Where you do want to be thoughtful is wind. Strong, persistent wind, especially salt wind near the coast, desiccates leaves and can snap branches. Plant near a fence, wall, or other shrubs that break the wind without blocking the sun.
For hardy hibiscus, site selection follows similar rules but lean toward spots that stay moist. If you're specifically wondering how to grow cuphea hyssopifolia, the same attention to site moisture and sun exposure will help you get it established and flowering reliably hardy hibiscus. Hibiscus moscheutos actually tolerates periodic flooding and wet conditions quite well, making it useful in Florida landscapes that receive heavy summer rain or have low-lying areas. Just don't put tropical hibiscus in those same spots; standing water will rot its roots fast.
Soil, potting, and planting setup
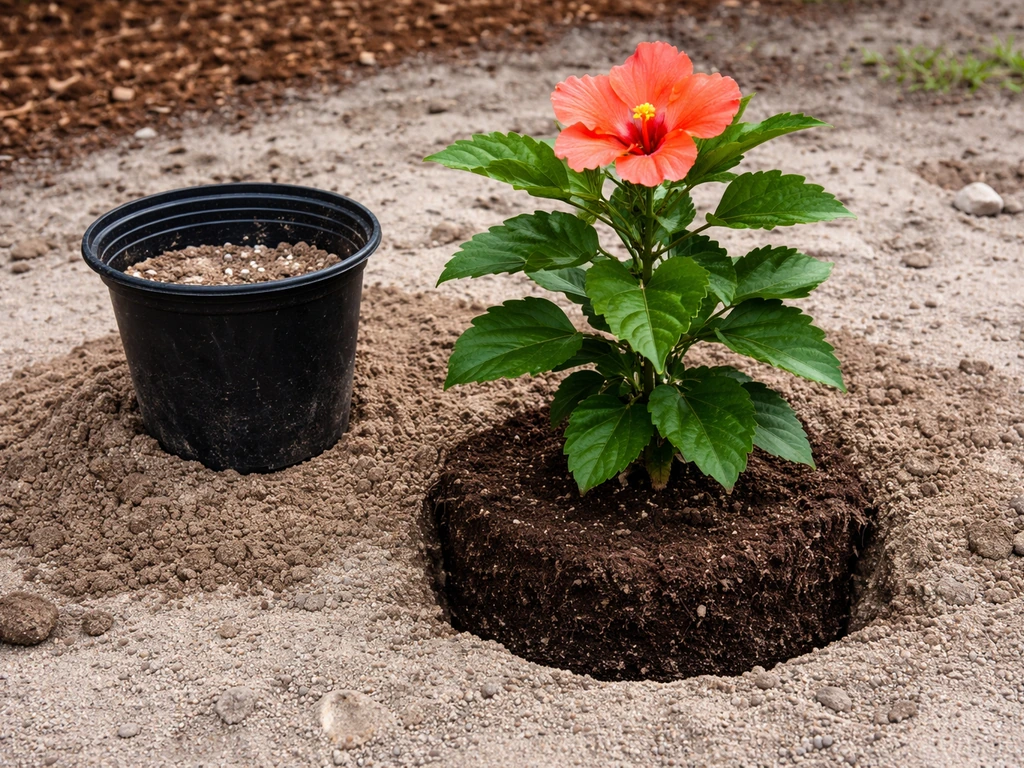
Florida soils are notoriously sandy, and that's actually not terrible news for tropical hibiscus because drainage is rarely a problem. What sandy soil lacks is organic matter and nutrient-holding capacity, so you'll need to amend it before planting. Work a few inches of compost or aged organic matter into the planting hole and surrounding area. You're not trying to create heavy soil, just give the roots something to anchor into with more nutrition than pure sand.
Plant tropical hibiscus at the same depth it was growing in its nursery container. Don't bury the crown deeper. Dig a hole that's roughly twice as wide as the root ball but only as deep as the root ball is tall. Backfill with your amended native soil, firm it gently, and water it in well right away to settle the soil and eliminate air pockets.
Spacing matters more than most people realize. Tropical hibiscus shrubs can reach 5 to 8 feet tall and 3 to 5 feet wide. If you keep up with the right sunlight, watering, and feeding, your hibiscus will keep growing strong and blooming through the season help hibiscus grow. Give them enough room at planting so they don't end up crowded, which reduces airflow and invites fungal issues. A spacing of about 3 to 5 feet apart works for most cultivars.
Container setup
For containers, the potting mix is everything. You want a blend that holds some moisture but drains freely, so a mix that combines a peat moss or coco coir base with plenty of perlite (roughly 25 to 30 percent perlite by volume) works well. Drainage holes in the pot are non-negotiable. Hibiscus sitting in waterlogged mix will develop root rot faster than almost any other problem you'll face. Choose a container at least 12 to 14 inches in diameter to start, and plan to size up as the plant grows. Terra cotta looks great but dries out fast in Florida heat, so glazed ceramic or thick plastic containers help retain moisture better between waterings.
Watering and fertilizing for nonstop blooms
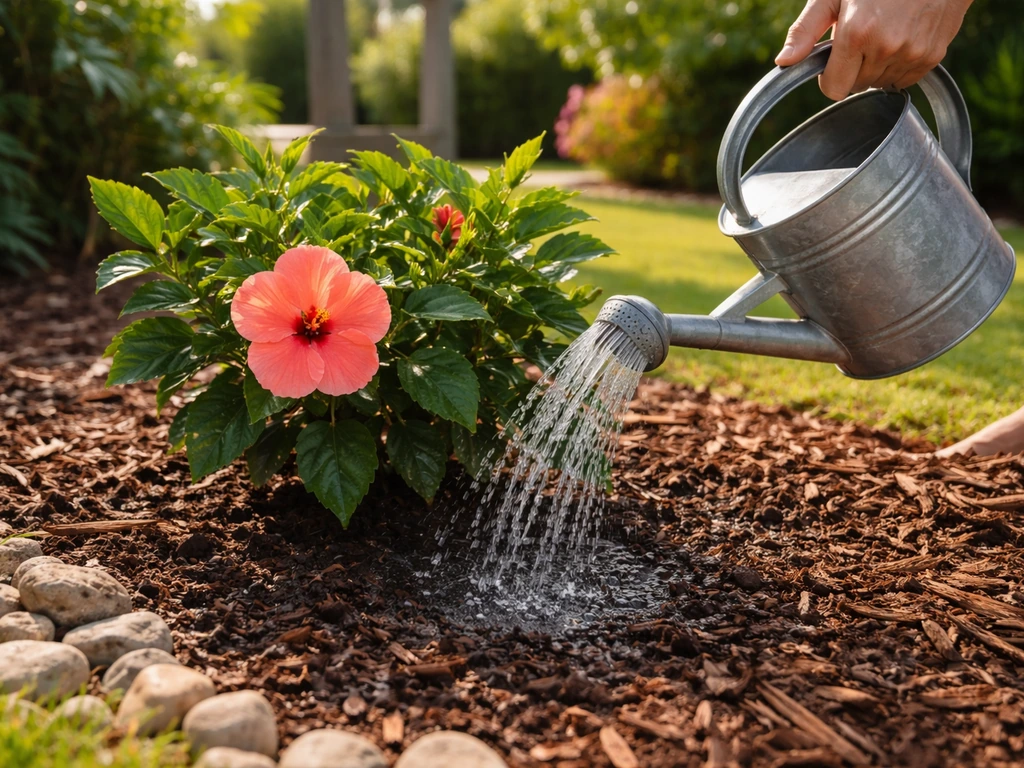
Watering tropical hibiscus in Florida is one of those things that sounds simple but trips up a lot of people. The default mistake is setting up a daily irrigation schedule and never adjusting it. During Florida's rainy season (June through September), you may not need to water at all some weeks because the rain is doing the job. During dry spells, you might need to water every other day for in-ground plants. The rule that actually works: check the soil moisture a few inches down before watering. If it's still damp, wait. If it's dry, water deeply until the root zone is thoroughly wet, not just the surface. UF/IFAS Gardening Solutions also advises watering thoroughly so the soil is wetted to several inches in the root zone and not letting irrigation systems run indefinitely water thoroughly so the soil is wetted to several inches in the root zone.
When you do water, do it thoroughly. Shallow, frequent watering encourages shallow roots and makes the plant dependent on you in a bad way. Water deeply so moisture penetrates several inches into the root zone. Then let the top inch or two dry out before watering again.
Container hibiscus needs more frequent attention. Pots dry out much faster than in-ground soil, especially in Florida summer heat. During peak summer, you may be watering every day or every other day. Feel the soil at the surface each morning and water when the top inch is dry.
Fertilizing schedule
Hibiscus is a heavy feeder and this is where you really control how many blooms you get. For tropical hibiscus in Florida, a fertilizer with a higher nitrogen number and decent potassium works well, something like a 16-2-8 or similar ratio (that's 16% nitrogen, 2% phosphorus, 8% potassium by weight as shown on the label). High phosphorus fertilizers are generally not what hibiscus needs and can actually interfere with blooming. During the active growing season (spring through early fall), feed every 4 to 6 weeks with a granular slow-release fertilizer, or every 2 to 3 weeks with a water-soluble formula. In winter, cut back significantly or stop fertilizing altogether in Central and North Florida where the plant is resting.
I'll be honest about something: if you're relying on a one-time fertilizer application to carry your hibiscus through the Florida summer, you're going to be disappointed. These plants push out new blooms constantly on new growth, and that takes consistent nutrition. A regular feeding schedule isn't optional if you want repeat flowers.
- Spring (March–April): Apply a slow-release granular fertilizer as growth resumes
- Summer (May–September): Feed every 4–6 weeks with granular, or every 2–3 weeks with liquid
- Fall (October–November): Taper off fertilizing, especially in Central and North FL
- Winter (December–February): Skip fertilizing in zones 9–9b; light feeding can continue in zone 10–11
Sunlight, heat, and wind protection
Florida sun is intense, and new transplants may show some leaf scorch or wilting during their first few weeks while they establish. This is normal and usually resolves as the roots settle in. Resist the urge to move the plant to a shadier spot. Established tropical hibiscus thrives in full sun and actually produces fewer blooms in partial shade, even though it stays alive.
Heat stress, on the other hand, is rarely the real problem in Florida. What looks like heat stress is usually a watering issue. If your hibiscus is wilting in the afternoon but recovering by morning, that's typical behavior during extreme heat and not necessarily a sign of damage. If it's wilting and not recovering, check soil moisture and roots.
Cold is where tropical hibiscus gets into trouble in Florida. A brief cold wave causes lower leaf yellowing and drop, which is alarming to see but often not fatal. When temperatures threaten to drop below 32°F, cover the plant with a frost cloth (not plastic, because plastic can actually wick warmth away from foliage and cause contact injury). Frost cloth lets some air and light through and traps ground heat much more safely. For Central and North Florida gardeners, having a few frost cloths on hand from October through February is just part of the deal with tropical hibiscus.
If a freeze does damage your hibiscus, don't panic-prune immediately. Wait until you can see where new growth is emerging, then cut back to living tissue. Premature heavy pruning after a cold event can stress the plant further.
Pruning and shaping for flowering
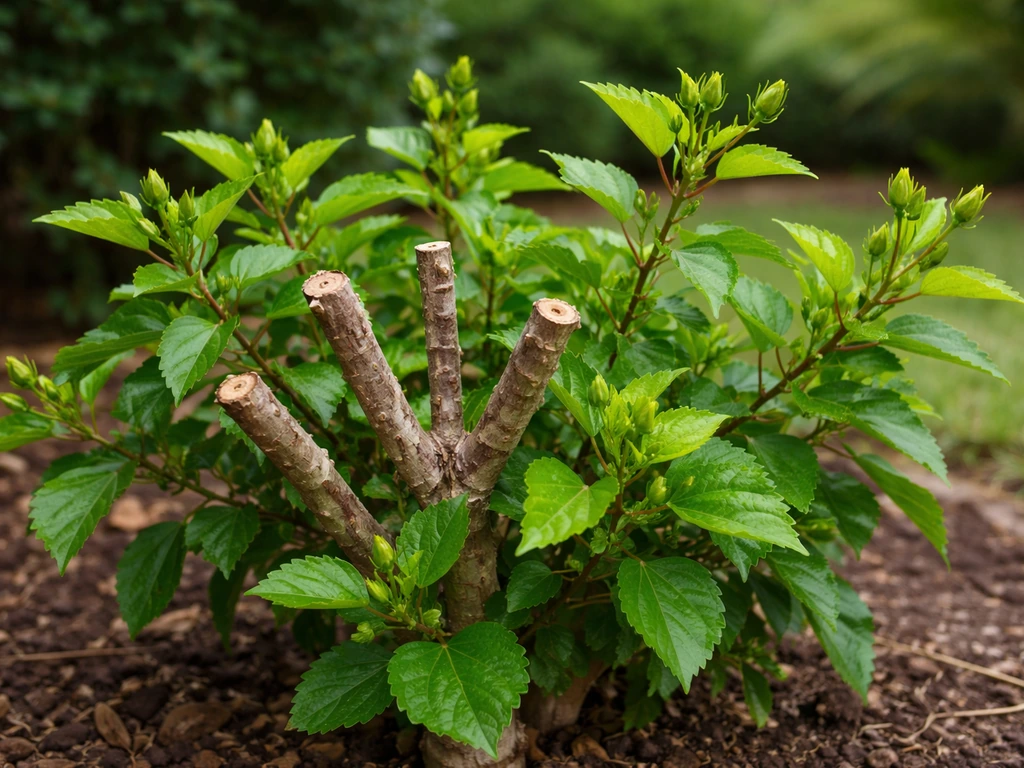
Tropical hibiscus blooms on new growth, which means pruning actually stimulates flowering rather than eliminating it, as long as you do it at the right time and in the right way. The ideal window for significant pruning is late winter to early spring, just as the plant is about to push new growth. This sets you up for a flush of new branches that will be loaded with buds by late spring.
For shaping and size control, cutting back about one-third of the plant at a time is a safe approach. Leave at least 2 to 3 nodes on each branch you prune so new growth has somewhere to come from. Don't cut everything back to stubs at once unless the plant is severely overgrown or freeze-damaged.
Avoid heavy pruning in summer. I know it's tempting when the shrub is looking leggy in July, but summer is peak blooming time and severe pruning at that point removes the flower buds sitting on those branches. Light shaping, removing dead or crossing branches, and pinching back a few long stems is fine during summer. Save the major cuts for late winter.
Also avoid heavy pruning in late fall or winter. That's the worst time to remove a lot of foliage in Central and North Florida because you're stripping the plant of the leaf mass it needs to handle cold stress. A light cleanup is fine, but hold off on anything significant until you're past frost season.
Pest and disease troubleshooting in Florida
Florida's warm, humid climate is ideal for hibiscus, and unfortunately also ideal for the pests and diseases that bother them. The good news is most issues are manageable if you catch them early. Here's what you're most likely to run into.
Whiteflies
Whiteflies are probably the most common and frustrating hibiscus pest in Florida. Hibiscus is especially susceptible, and Bemisia tabaci (silverleaf whitefly) is widespread in Florida ornamentals. You'll notice tiny white insects flying up in a cloud when you brush the leaves, plus sticky honeydew residue on leaves and possibly sooty mold growing on top of that. Heavy infestations cause yellowing and leaf drop. Check the undersides of leaves for small, scale-like nymphs which are easier to miss than the flying adults. Insecticidal soap or horticultural oil applied thoroughly to leaf undersides works for small to moderate infestations. Thorough coverage is critical because these products only work on contact. Be aware that whiteflies develop resistance to insecticides, so rotating products and prioritizing cultural controls (removing heavily infested leaves, improving airflow) is smarter than just spraying the same thing repeatedly.
Aphids and spider mites
Aphids cluster on new growth and buds, leaving behind sticky honeydew and distorted, curled leaves. A strong spray of water from a hose knocks them off effectively, and insecticidal soap handles heavier populations. Spider mites are more of a dry-season problem, showing up as fine webbing on leaves with a stippled, dusty appearance on the upper leaf surface. Keep plants well-watered during dry periods (mites love drought-stressed plants) and use horticultural oil to smother active infestations.
Pink hibiscus mealybug
Pink hibiscus mealybug is a serious pest that specifically targets hibiscus among other ornamentals. Look for cottony white masses in branch crotches, leaf axils, or on stems. This pest is particularly nasty because it overwinters in bark crevices, leaf scars, and even in the soil, meaning it can re-infest from the ground up. Neem oil and insecticidal soap help with surface populations, but severe infestations may need a systemic insecticide. Removing and disposing of heavily infested plant material (don't compost it) is important to reduce the reservoir of eggs and nymphs.
Root rot and fungal issues
Root rot, often caused by Phytophthora, is almost always a drainage and overwatering problem. Symptoms include wilting that doesn't respond to watering, yellowing leaves, and mushy or dark roots when you pull the plant. Prevention is everything here because once root rot is established it's hard to reverse. Plant in well-drained locations, never let containers sit in standing water, and don't water on a fixed schedule without checking soil moisture first. Sooty mold (that black coating on leaves) is a secondary problem caused by insect honeydew, not a direct disease. Control the insects producing the honeydew and the mold will clear up on its own.
Container hibiscus vs in-ground hibiscus care
Both setups work well in Florida, but they have genuinely different demands and each has advantages the other doesn't. If you’re specifically growing mahogany splendor hibiscus, the same Florida approach to sun, watering, soil, and feeding will help you get consistent, showy blooms how to grow mahogany splendor hibiscus.
In-ground hibiscus establishes a larger root system over time, making it more drought-tolerant and capable of growing into a full-sized shrub or small tree. It needs less frequent watering once established, and it's more stable in wind. The downside is you can't move it when cold snaps threaten in Central or North Florida, and it will need cold protection in place. In-ground plants in South Florida are the easiest situation overall: plant, water, fertilize, and let it grow.
Container hibiscus gives you mobility, which is a real advantage in zones 9 and 9b. When a cold front is coming, you can move the pot into a garage or under a covered patio for the night. Containers also let you control the growing medium precisely, which matters in areas where native soil is particularly poor or unusually wet. The tradeoffs are more frequent watering (sometimes daily in summer), more frequent fertilizing since nutrients flush out through drainage, and the need to repot as the plant grows.
| Factor | In-Ground | Container |
|---|---|---|
| Watering frequency | Every 2–3 days in dry periods; check soil first | Daily to every other day in Florida summer heat |
| Fertilizing frequency | Every 4–6 weeks (granular slow-release) | Every 2–3 weeks (nutrients flush out faster) |
| Cold protection | Frost cloth in place; can't move plant | Move indoors or under cover as needed |
| Root space | Unlimited; larger mature size | Limited by pot size; repot every 1–2 years |
| Drainage control | Depends on native soil; amend well | Full control via potting mix |
| Best for | South and Central FL, permanent plantings | North FL, patios, renters, small spaces |
One thing that catches container growers off guard: a pot that was perfectly sized in spring will become root-bound by late summer in a fast-growing tropical hibiscus. If you notice the plant drying out unusually fast, roots circling out of drainage holes, or a decline in blooming despite good care, it's time to move up to the next pot size. Don't jump more than 2 inches in diameter at a time or you risk the extra soil holding moisture the roots can't access, which invites root rot.
Whether you go in-ground or in a container, the fundamentals are the same: full sun, well-drained growing medium, consistent moisture without waterlogging, regular feeding through the growing season, and timely pruning to keep new growth coming. To get hibiscus to grow well in Florida, focus on the right type for your zone, then match sun, soil, watering, and fertilizing to that variety hibiscus needs to grow. Get those right and hibiscus in Florida is genuinely one of the most rewarding plants you can grow.
FAQ
How do I tell if my hibiscus is getting too much water versus not enough in Florida heat?
Too little water usually shows as drooping plus dry soil that feels light a few inches down. Too much water often looks similar at the top, but the soil stays wet or cool, and you may see yellowing plus a musty smell from the root zone (or mushy roots in a container). Use the “check a few inches down” test before watering again, especially during rainy weeks.
What should I do if my hibiscus has lots of leaves but almost no flowers?
That pattern is often a fertilizer or light issue. Make sure you are using a hibiscus-friendly ratio with enough potassium and not a high-phosphorus product, and confirm you are getting at least 6 hours of direct sun (8 hours is better). Also avoid heavy pruning in summer, since hibiscus flowers form on new growth.
Should I deadhead hibiscus flowers in Florida to get more blooms?
It usually helps to remove spent blooms, but you do not have to do it perfectly every time. In practice, light removal of old blossoms reduces wasted energy and keeps the plant looking tidy, while still allowing continuous bud production on new growth when feeding and watering are consistent.
My tropical hibiscus keeps dropping lower leaves after a cold snap. Is it dying?
Lower leaf yellowing and drop after brief cold is common, especially in Central and North Florida. The key sign is whether you see new growth emerging afterward. If new shoots resume, do not rush into heavy pruning, wait until living growth appears so you only cut back to healthy tissue.
What’s the safest way to protect tropical hibiscus from frost, when I do not know the exact temperature?
Use frost cloth and cover the plant before temperatures are expected to dip near freezing, then secure it so wind cannot pull it off. Avoid plastic touching foliage directly. If you can, keep the cloth on until the morning temperatures rise, because repeated freeze and thaw stresses new growth.
How often should I fertilize hibiscus in Florida if it’s in a container and draining fast?
Follow your label schedule, but adjust based on results. Container-grown hibiscus often needs more frequent feeding than in-ground because nutrients wash out, especially in summer. If blooming slows while soil is moist and sun is adequate, increase feeding frequency within the ranges already recommended for tropical hibiscus.
Can I grow tropical hibiscus in a low-lying spot that gets puddles after storms?
Avoid it. Standing water and wet roots cause rapid root rot in tropical hibiscus. If the area stays soggy during summer rains, switch to hardy hibiscus, or raise the planting area or use a raised container strategy so water drains away from the crown.
How can I prevent root rot in containers during Florida’s rainy season?
Start with a mix that drains well (with significant perlite) and ensure the pot has real drainage holes. During rainy weeks, do not water on a schedule, check moisture several inches down, and allow the top inch to dry before watering again. Also never let the pot sit in a saucer of water.
What size container should I start with for hibiscus, and when do I repot?
Start large enough that it does not dry out in a day or two, typically around 12 to 14 inches in diameter. Repot when you see rapid drying, roots circling at drainage holes, or reduced blooming despite proper care. When moving up, jump no more than about 2 inches in diameter at a time to prevent excess water-retaining soil.
How do I manage whiteflies on hibiscus without repeatedly spraying the same product?
Rotate approaches. Start with insecticidal soap or horticultural oil applied thoroughly to leaf undersides, then remove heavily infested leaves to reduce the population. Improve airflow and keep the plant from being overcrowded. Because whiteflies can develop resistance, relying on one spray repeatedly is less effective over time.
Do spider mites mean my hibiscus needs more water immediately?
Not always, but dry stress is a common trigger. If you see webbing and stippling, first increase watering consistency and avoid letting the plant fully dry out during hot stretches. For active infestations, horticultural oil can smother mites, but you still need to correct the dry-season conditions that allowed them to build up.
My hibiscus has sticky leaves and black sooty stuff. What should I treat first?
Treat the insects producing the honeydew, not the soot itself. The black coating is a secondary growth that clears when the honeydew source is controlled. Look for whiteflies, aphids, or mealybugs and use the appropriate treatment based on the pest you find.
Should I prune my hibiscus before winter in Florida?
Avoid major pruning right before or during cold-risk months, especially in Central and North Florida, because removing leaf mass reduces the plant’s ability to handle cold stress. Do a light cleanup if needed, then plan significant pruning for late winter to early spring when new growth is about to begin.