You can absolutely grow bromeliads outside, but the key is matching the right type to your climate and setting them up with the drainage and light conditions they actually need. If you want the same kind of outdoors success with cyclamen, focus on choosing varieties suited to your winter lows, then protect them from soggy soil and heavy frost how to grow cyclamen outdoors.
How to Grow Bromeliads Outside: Step by Step Guide

Marcus Holloway
23 May 2026

In frost-free or mild coastal areas, genera like Aechmea, Neoregelia, Guzmania, and Billbergia can live outdoors year-round. In cooler climates, you can still grow them outside for most of the year in containers, then bring them in before temps dip below 40°F. The number one thing that kills bromeliads outdoors isn't cold on its own, it's cold combined with wet.
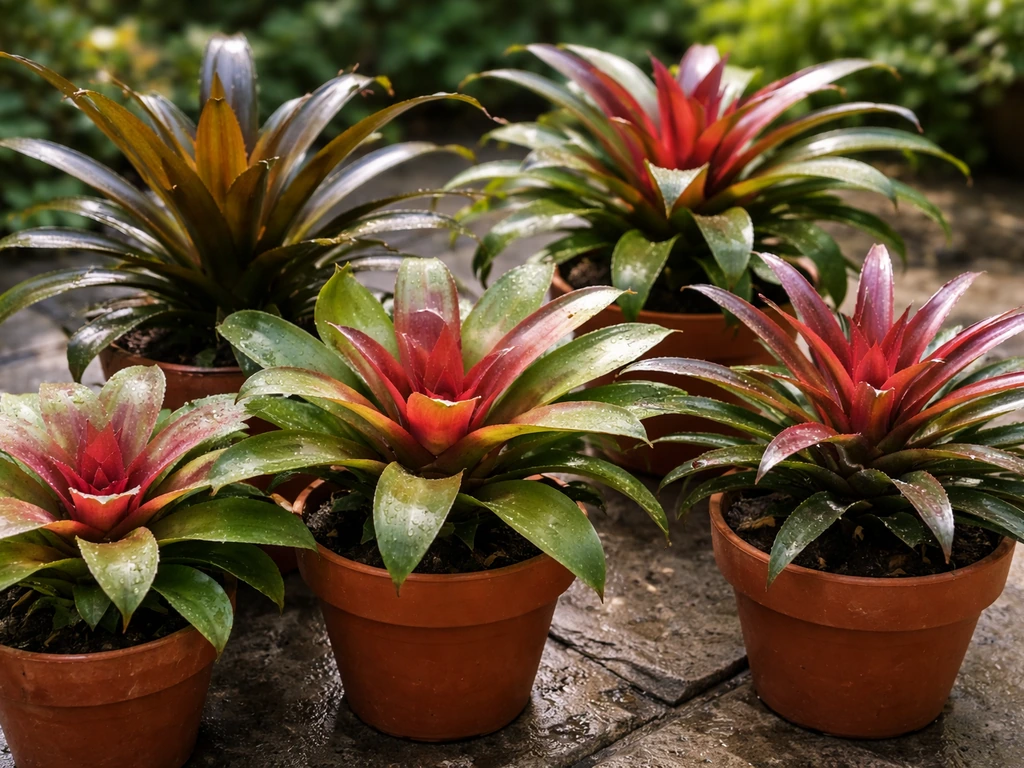
Get the drainage and seasonal water management right, and you'll have healthy, colorful plants that bloom reliably and produce plenty of pups.
Choosing the right bromeliad for outdoor growing
Not all bromeliads handle outdoor conditions the same way, and picking the wrong one for your climate means you'll be fighting the plant all season. The first thing to figure out is your minimum winter temperature, because that's the real dividing line.
If you're in a warm climate with no frost (USDA zones 9 to 11, or a mild coastal area), you have the widest selection. Aechmea, Neoregelia, Tillandsia, Vriesea, and Billbergia all do well outdoors permanently in these conditions. Billbergia in particular is one of the toughest genera, some species can handle brief dips to around 20°F (about -6.7°C) when they're dry and sheltered, making them a good pick for gardeners pushing the limits of their zone.
In cooler climates, the UK, the Pacific Northwest, the upper South, a few species are genuinely hardy outdoors in sheltered spots. Fascicularia bicolor is a standout: the RHS rates it as hardy down to about -5°C (23°F) in a coastal or relatively mild location. Aechmea aquilega can also survive brief cold snaps under the right conditions. But for most other bromeliads in these climates, treat them as container plants you move outside in spring and bring back in before your first frost.
The practical cold-tolerance rule is this: cold + wet = dead plant. A bromeliad sitting in soggy soil at 35°F won't survive what the same plant could handle if it were dry and protected. So "cold-hardy" on a plant label only holds true if your drainage and shelter setup backs it up.
| Genus | Cold Tolerance (approx.) | Best for Outdoor Use | Notes |
|---|---|---|---|
| Billbergia | Down to ~20°F (-6.7°C) briefly | Zones 8-11 in-ground; containers elsewhere | One of the hardiest genera; needs to be dry during cold |
| Fascicularia bicolor | Down to ~23°F (-5°C) | Sheltered coastal/mild climates | RHS H3 rated; protect from frost and wet |
| Aechmea | Down to ~23-34°F (-5 to 1°C) for some species | Zones 9-11 reliably; mild coasts with shelter | Species vary; keep dry if cold snaps expected |
| Neoregelia | Best above 40°F (4°C) | Zones 10-11 in-ground; containers in cooler zones | Excellent color and sun tolerance outdoors |
| Guzmania | Best above 50°F (10°C) | Zones 10-11; containers in most climates | Less cold-hardy; thrives in warm, humid outdoor settings |
| Tillandsia (air plants) | Varies widely by species | Zones 9-11 for many; some to zone 7 | No soil needed; mount on wood or cork outdoors |
Outdoor light and temperature requirements
Most bromeliads want bright, indirect light outdoors, think dappled shade under a tree canopy, or a spot that gets morning sun and afternoon shade. Direct midday sun in summer will scorch the leaves, especially on soft-leaved types like Guzmania and Vriesea. Harder, more strap-leaved types like Neoregelia and some Aechmea species can handle more direct sun, but even they benefit from being shielded from the harshest afternoon rays in hot climates.
The RHS specifically recommends a warm, sheltered spot in sun or partial shade, protected from midday sun, and that's genuinely good advice. A south-facing wall that radiates warmth is a great microclimate for borderline-hardy types. North-facing spots in shade stay too cool and damp for most bromeliads to thrive.
Temperature-wise, the majority of bromeliads are comfortable between 55°F and 90°F (13°C to 32°C). To grow caladiums outside, focus on warm temperatures, shade or dappled light, and consistently moist but well-drained soil. Once temperatures start dropping below 40°F (4°C), you need to take protective action regardless of genus, either move containers inside or, for in-ground plants, empty the central cup of water (more on that in the watering section). Sustained freezing temperatures will kill most species outright unless you're growing one of the genuinely cold-hardy types like Billbergia or Fascicularia.
One thing people overlook: higher light levels outdoors mean the plant needs more humidity and more air circulation to stay healthy. If you've moved a bromeliad from a shaded indoor spot to a sunny patio, watch for leaf tip browning or bleaching in the first few weeks, that's a sign it needs more shelter or a slower transition.
Planting setup: containers vs in-ground and soil/drainage
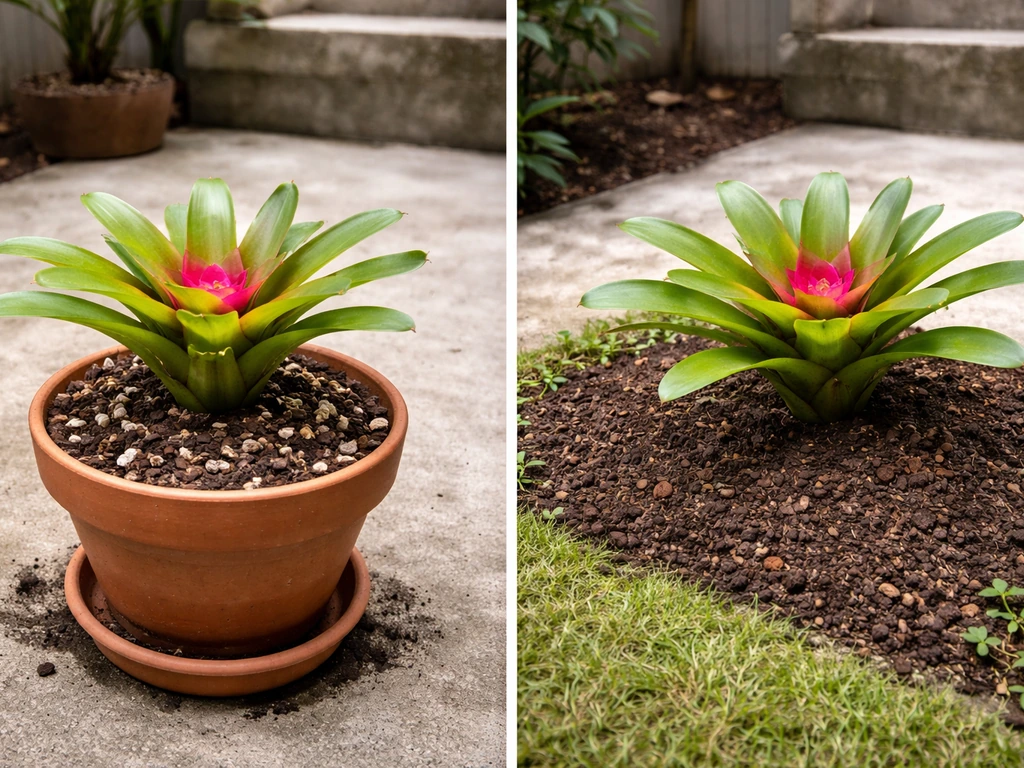
For most gardeners outside of truly frost-free climates, containers are the smarter choice. They give you flexibility to chase the best microclimate across seasons and move plants to protection when temperatures drop. But in-ground planting absolutely works in zones 9 to 11, and it produces impressive, established clumps over time. Here's how to approach both.
Container growing
Choose a pot that's only slightly larger than the root ball, bromeliads have relatively small, shallow roots and don't need a lot of soil volume. More importantly, the pot must have drainage holes. No exceptions. A terracotta or unglazed clay pot is ideal because the porous walls help wick away excess moisture; plastic works too as long as drainage is aggressive.
The growing medium is everything. Never use regular potting soil on its own, it holds too much moisture and will cause root rot within a season. The goal is a fast-draining, airy mix. A reliable DIY formula is one part peat moss, one part coarse sand or perlite, and one part chopped bark or pine needles. Alternatively, an orchid bark mix combined with coarse perlite works very well, cymbidium orchid mixes are a good ready-made option. The mix should feel slightly gritty and drain completely within a minute of watering.
In-ground planting
If you're planting in-ground in a warm climate, pick a raised bed or a naturally elevated spot where water doesn't pool. Amend heavy clay soil generously with bark, coarse perlite, and gritty sand before planting. The crown of the plant, where the leaves meet the base, should sit slightly above the soil surface, not buried. Burying the crown traps moisture and invites rot almost immediately.
Bromeliads also work beautifully mounted on tree bark, driftwood, or cork slabs outdoors, especially epiphytic types like Tillandsia and many Vriesea species. This is actually their natural growth habit and provides perfect airflow around the roots. Secure the plant with fishing line or horticultural wire until the roots grip the mount naturally.
Watering routine for bromeliads outdoors (including the tank/cup)

Outdoor watering for bromeliads works differently from most plants because many species hold water in a central cup or tank formed by their overlapping leaves. That cup is functional, the plant absorbs moisture and nutrients directly from it. But outdoors, managing that cup takes a bit more attention than it does indoors.
Water the growing medium when the top inch or two feels dry. In summer, that might mean watering every 5 to 7 days in a container outdoors, depending on your climate and pot size. In winter, back off significantly, let the medium dry out between waterings. Bromeliads use less water in cool, slow-growth periods, and consistently wet soil in cold weather is the fastest route to root rot.
For the central cup: keep it filled with fresh water during the growing season. In a rainy climate or during wet spells, rainwater does the job naturally, but make sure it doesn't sit stagnant. Flush the cup every couple of weeks by pouring fresh water in, tipping the plant to drain it out, then refilling. This prevents salt buildup from evaporation, removes debris, and stops bacterial or algal growth. UF/IFAS recommends this flushing routine specifically to clear the mineral salts that concentrate as cup water evaporates in the heat.
The critical cold-weather rule: when temperatures are expected to drop below 40°F (4°C), empty the cup completely. Water sitting in the cup during a cold snap dramatically increases the risk of cold damage and crown rot. This one habit will save your plants through borderline-cold nights. Just tip the plant gently, drain it, and leave the cup dry until temperatures recover.
Humidity, airflow, and seasonal adjustments
Bromeliads are tropical plants that genuinely love humidity, but outdoors in summer most climates provide enough ambient moisture, especially in the morning. If you're in a hot, dry climate like the Southwest, grouping plants together and placing them near a water feature or regularly misted area will help. Avoid putting them directly in the path of hot, dry winds, which desiccate leaves faster than the plant can recover from.
Good airflow matters too. Bromeliads.info also emphasizes that improving air circulation around bromeliads can help prevent both root and crown rot by reducing stagnant, moisture-rich conditions Good airflow matters too.. It sounds contradictory, humidity good, wind bad, but gentle air movement around the crown and base actually reduces rot risk by helping the growing medium surface dry between waterings. The problem is stagnant, damp air combined with low light, which creates ideal conditions for fungal rot. Space plants so leaves aren't crowded together, and avoid tucking them into closed corners with no air movement.
Seasonally, here's what to adjust:
- Spring: Move container plants back outside once overnight temperatures stay reliably above 50°F (10°C). Ease them into outdoor light over 1 to 2 weeks to avoid sun shock.
- Summer: Water more frequently, flush the cup every 1 to 2 weeks, and provide afternoon shade if temperatures regularly exceed 90°F (32°C). High heat plus direct sun can bleach or burn leaves.
- Autumn: Start reducing watering frequency as temperatures cool. If you're in a frost-risk zone, plan to bring containers in before the first expected frost. For in-ground hardy types, stop topping up the cup water by mid-autumn.
- Winter (cold climates): Keep container plants indoors in bright indirect light. Water sparingly — once every 2 to 3 weeks is often enough. For in-ground plants in mild areas, empty the cup before cold nights and consider a light fleece cover during hard frosts.
Fertilizing and managing growth problems outdoors
Bromeliads are not heavy feeders, and overfeeding outdoors is a more common problem than underfeeding. The heat, sun, and rain outdoors amplify fertilizer effects, so what seems like a modest dose indoors can quickly cause leaf burn or salt buildup in the cup outside.
Use a balanced liquid fertilizer at about one-third to one-half of the label's recommended strength. Apply it once a month during the active growing season (spring through early autumn) and stop entirely in winter when growth slows. Apply fertilizer to the growing medium, not into the central cup. Nutrients sitting in the cup concentrate as water evaporates, causing leaf burn, algae growth, and the kind of stagnant conditions that invite rot and pests. If you accidentally fertilize the cup, flush it immediately with clean water.
If you're using slow-release granules, use even less than the label suggests and keep them away from the crown. A light top-dressing on the soil surface every few months is safer than loading up the pot at planting time.
Common problems and what's actually causing them
| Problem | Likely Cause | Fix |
|---|---|---|
| Brown leaf tips | Too much direct sun, low humidity, or fluoride in tap water | Move to filtered light, mist surroundings, use rainwater or filtered water |
| Crown or root rot | Waterlogged medium, standing water in cup during cold or low-light periods | Improve drainage immediately, empty cup, reduce watering, check for root damage |
| Pale or bleached leaves | Too much direct sun — plant is getting sunburned | Shift to a spot with morning sun and afternoon shade |
| Stunted growth, no color | Too little light, or underfeeding combined with poor drainage | Move to brighter indirect light; feed monthly at half strength |
| Scale insects or mealybugs | Common in warm/humid outdoor conditions | Wipe leaves with diluted isopropyl alcohol or neem oil spray; check cup regularly |
| Stagnant water smell from cup | Cup hasn't been flushed; bacterial or algae buildup | Flush cup with fresh water, tip to drain, refill; increase flush frequency |
Flowering, pups (offsets), and long-term propagation
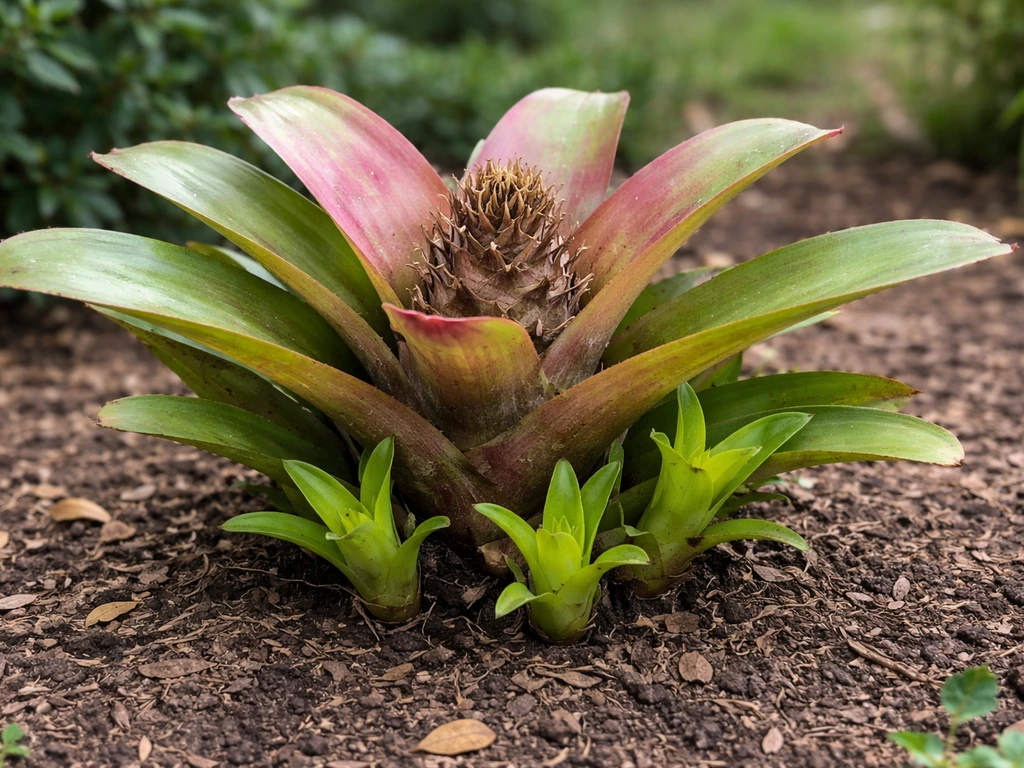
Getting a bromeliad to bloom outdoors is mostly a matter of patience and placement. Most bromeliads bloom once, the mother plant flowers, then gradually declines over 1 to 2 years. But here's the good news: before and after that bloom, she'll produce pups (also called offsets) at her base. Those pups are your next generation of plants, and managing them well is the whole long-term game with bromeliads.
Outdoors, warm temperatures and good light naturally encourage flowering. Some species respond to ethylene gas, a classic trick is to enclose the plant in a clear plastic bag with a ripe apple for a few days, which releases ethylene and can trigger blooming. This works better as an indoor technique, but it's worth knowing if your outdoor plants are mature and just not budging into bloom.
Once the mother plant flowers, don't abandon it. Keep watering and give it a light monthly feed, that ongoing care encourages more pup production. The mother can keep producing offsets for about 1 to 2 years before fully dying back. You're essentially farming new plants for free during that window.
How to separate and propagate pups
Wait until a pup is about one-third to one-half the size of the mother plant before separating it, that's when it has enough of its own root system to survive on its own. Smaller pups can be pulled away too early and just fail to establish. Use a clean, sharp knife to cut the pup away from the mother at the base. Let the cut end callus and dry for a day or two before potting it up, this reduces the risk of rot at the wound site. Dipping the cut end in a little rooting hormone or powdered fungicide before potting is a worthwhile extra step.
Pot the pup into the same fast-draining mix described above, in a small container just large enough to hold it. Keep it in bright indirect light and slightly moist (not wet) for the first few weeks while it establishes. Once you see new growth, you know the roots have taken hold and you can start treating it like a mature plant.
With a good outdoor setup, the right genus for your climate, excellent drainage, seasonal water management, and sensible fertilizing, a single bromeliad purchase can turn into a slowly expanding collection within two or three seasons. It's genuinely one of the more rewarding propagation cycles in ornamental gardening, especially once you've got the basics locked in.
If you enjoy growing other warm-climate tropicals outdoors, many of the same principles around drainage, humidity, and seasonal shelter apply when growing plants like caladiums or anthuriums outside, the fundamentals overlap more than you'd expect. If you also want to grow anthuriums outdoors, focus on warm temperatures, bright filtered light, and fast drainage to avoid rot anthuriums outside.
If you want to grow caladiums outside, focus on warm temperatures, consistent moisture, and fast drainage so the bulbs do not rot. If you’re also wondering where to grow cyclamen, focus on providing the right light, cool temperatures, and well-drained soil so it can thrive season after season.
FAQ
What if my bromeliad is “cold hardy” but I still lose it outdoors, what usually went wrong?
Most outdoor failures come from cold combined with poor airflow or water trapped around the crown. Even if the plant label mentions a low temperature, check that the pot mix drains fast, the crown sits slightly above the soil line, and the plant is not wedged into a damp corner where leaves stay wet.
How can I tell whether the central cup is actually draining between storms?
After rain, tilt the plant slightly and look for standing water that lingers for hours, not minutes. If the cup stays full too long, increase shelter from direct rainfall, improve airflow around the plant, or switch to a mound or raised container position so excess water runs away from the base.
Is rainwater always safe to use in the cup?
Rainwater is usually fine, but in areas with heavy air pollution or frequent mineral buildup, it can still concentrate minerals as it evaporates. Flushing every couple of weeks helps prevent crusty deposits and algae, and it keeps the cup conditions stable even when local water quality varies.
Can I water bromeliads “from the top” like other houseplants?
You can, but prioritize watering the fast-draining medium and avoid keeping the crown buried. Wetting the leaves is not automatically harmful, but if you do it late in the day or in cool weather, moisture can linger and increase rot risk. In cold seasons, keep the central cup dry rather than relying on leaf or crown misting.
How much sun is too much when growing bromeliads outside?
If leaves bleach or turn washed-out, or if you see brown, crispy edges that worsen over 1 to 2 weeks, the plant is getting too much direct sun or too little acclimation. Move to dappled shade for a couple of weeks, then increase light gradually, especially for Guzmania and Vriesea types.
What potting mistakes most often cause outdoor bromeliad rot?
Using regular potting soil, oversizing the pot, or planting too low are the big three. Bromeliads prefer a slightly snug container with drainage holes, and the medium should feel gritty and drain almost immediately, so roots never sit in saturated mix.
Do I need to fertilize outdoors, and how do I avoid burning leaves?
Fertilize lightly during active growth, monthly, at about one-third to one-half label strength, and apply to the medium, not into the cup. If you notice dark spotting, tip burn, or a crust in the cup, pause feeding and flush the cup and medium thoroughly with clean water to reset salts.
My bromeliad is not producing pups after blooming, what should I check first?
Look at age, light, and post-bloom care. If light is too low outdoors or you stop watering and feeding right after the flower fades, pup production can slow. Continue normal outdoor watering of the medium (not soggy), keep the plant in bright indirect light, and maintain mild, consistent conditions during the growing season.
When is the best time to separate pups outdoors?
Separate when pups reach roughly one-third to one-half the mother’s size and have started to form their own base. In cooler climates, do the separation in spring or early summer so the new plants can establish with warm temperatures, bright light, and a fully dry crown before any cold nights arrive.
How do I help mounted bromeliads outside handle hot weather and drying winds?
Mounted plants dry faster because they lack soil buffering. Provide partial shade in the hottest hours, mist or soak the plant briefly as needed so it rehydrates fully, and avoid placing it in direct path of hot, dry wind. Mounts also need regular inspection since leaf hydration issues can show up before the base looks stressed.
What should I do if I see leaf browning outdoors, is it always cold damage?
Not always. Browning can be sun scorch, salt buildup from cup evaporation, or cumulative dryness. Check timing (did it start after a sun exposure change), look for cup residue, and review watering frequency. If temperatures dropped below 40°F (4°C), prioritize emptying the cup and improving shelter immediately.
How should I protect bromeliads in late fall if I cannot bring everything indoors?
For borderline plants in containers, move them to a sheltered spot against a wall, cover them during freezing nights, and most importantly keep the central cup empty once lows approach 40°F (4°C). If plants are in-ground, consider temporary rain shielding and ensure the crown area stays dry rather than creating a wet, trapped microclimate.