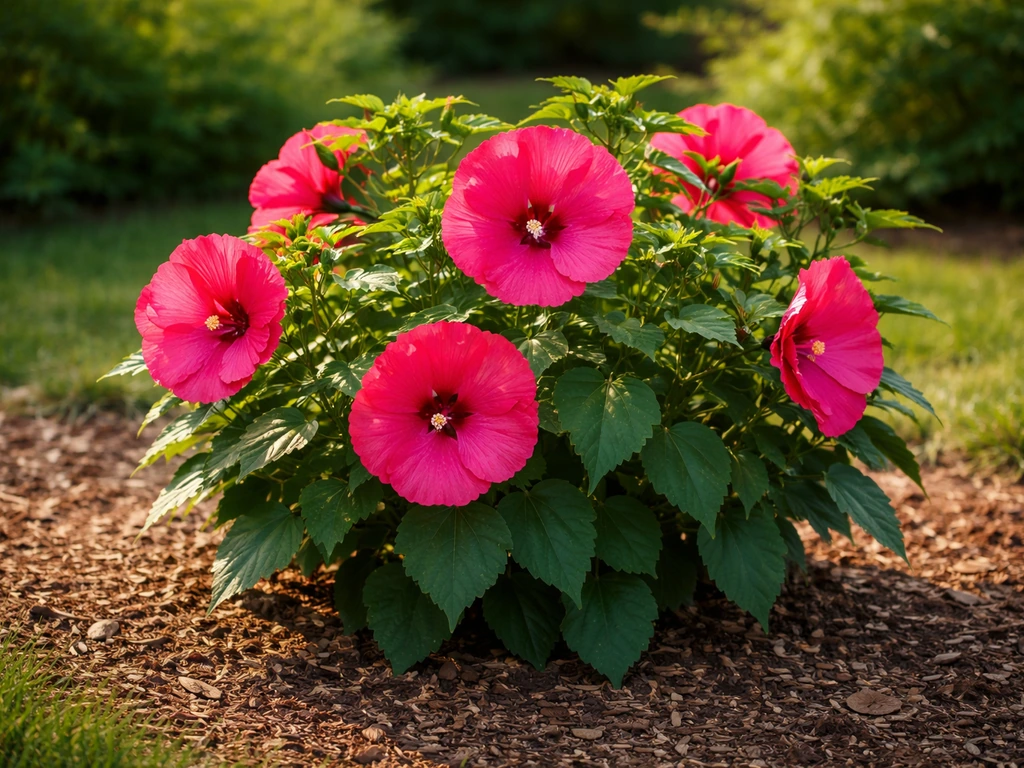
Hardy hibiscus (Hibiscus moscheutos and its cold-hardy hybrids) is one of the most rewarding flowering perennials you can grow outdoors. Plant it in full sun, in well-drained soil, after your last frost date, give it consistent moisture and a balanced fertilizer through summer, cut it back in fall or early spring, and you'll have dinner-plate-sized blooms every year from USDA Zone 4 all the way through Zone 9. The catch is that it dies back completely to the ground each winter, comes up late in spring, and absolutely hates soggy feet. Get those two things right and the rest is straightforward.
How to Grow Hardy Hibiscus Outdoors: Step-by-Step

Marcus Holloway
6 May 2026
Pick the right hardy hibiscus spot outdoors
Location is the decision that determines everything else. Hardy hibiscus wants the sunniest spot in your yard, period. It needs at least 6 hours of direct sun daily to bloom well, and in my experience it performs best with 8 or more. A spot that gets morning sun and afternoon shade might keep the plant alive, but you'll see fewer flowers and weaker stems. Save the shadier areas for something that actually prefers them.
Drainage matters just as much as sunlight. This plant is strongly susceptible to Phytophthora root and crown rot, a soilborne disease that takes hold in compacted or consistently wet soil. If your candidate spot holds standing water after a heavy rain, or if the soil feels soggy a day later, don't plant there. A low-lying corner of the yard might look appealing because it stays moist, but that moisture is exactly what kills the crown over winter. A gentle slope, a raised bed, or a spot with naturally loose, sandy-loam soil is ideal.
Air circulation is worth thinking about too. Hardy hibiscus is prone to powdery mildew late in the season, especially if air movement is restricted by fences, walls, or overcrowded plantings. Choosing an open spot helps more than any fungicide spray will.
Planting time and how to prepare the soil
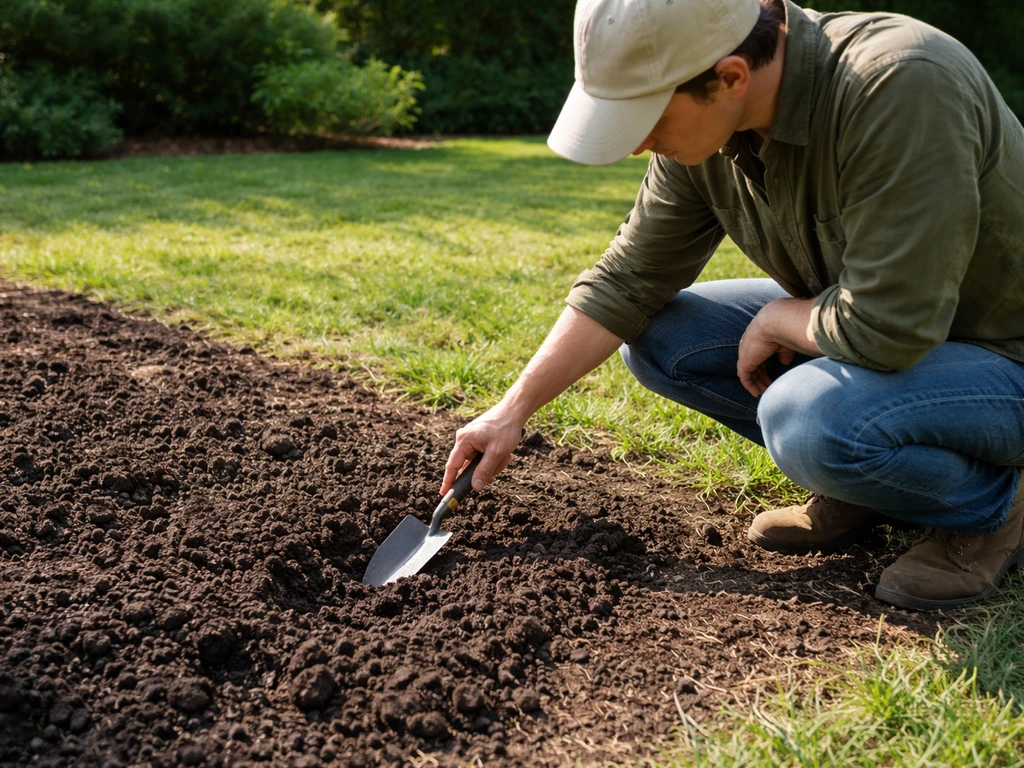
Don't go by the calendar alone. Plant hardy hibiscus after your last frost date and, just as importantly, after the soil has warmed up. Cold, wet soil stresses new roots immediately. In Zone 5 or 6, that typically means late May. In Zone 7 and warmer, mid-April to early May usually works. If you're in Zone 4, wait until late May or even early June. If you squeeze a handful of garden soil and it crumbles rather than clumping, conditions are right.
Soil preparation is simple but shouldn't be skipped. Loosen the planting area to about 12 inches deep and work in a generous amount of compost, roughly 2 to 3 inches mixed into the top foot of soil. This improves drainage in clay-heavy ground and adds moisture retention in sandy soil. Hardy hibiscus isn't especially fussy about pH, but it does best in a slightly acidic to neutral range around 6.0 to 7.0. If you've never tested your soil, a basic kit from a garden center takes five minutes and tells you whether you need to adjust.
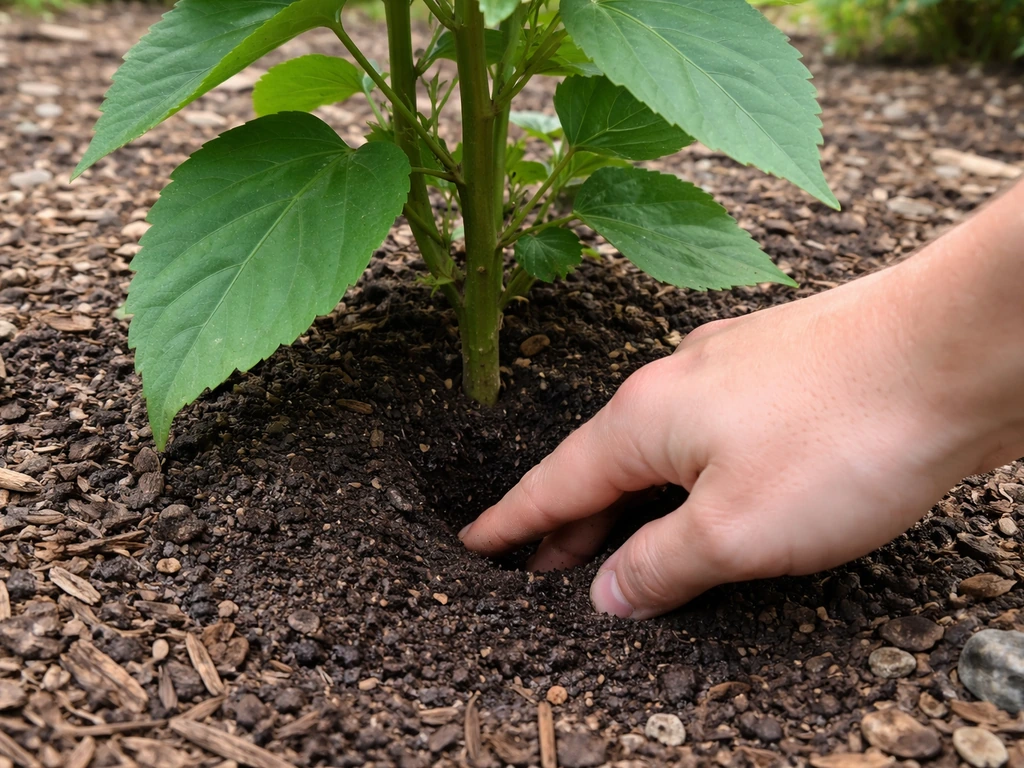
Dig your planting hole twice as wide as the root ball and just as deep, so the crown of the plant sits at the same level it was in the nursery pot. Planting too deep buries the crown and invites rot. Backfill with your amended soil, firm it gently around the roots, then water thoroughly right away to settle any air pockets.
Right after planting, lay down a 2 to 4 inch layer of mulch (shredded bark, compost, or straw all work well) around the base of the plant, keeping it a few inches away from the stem itself. Mulch does two things at once: it holds soil moisture during summer heat, and it evens out soil temperature swings. In winter, that same mulch layer gives the crown a little extra insulation, which matters in Zone 4 and 5.
Sunlight and spacing for strong growth
The full-sun requirement of at least 6 hours daily isn't negotiable if you want reliable blooms. Hardy hibiscus grown in partial shade tends to get leggy, produces fewer flowers, and is more vulnerable to fungal problems because foliage stays wet longer. If your yard is heavily treed, this isn't the plant for those spots.
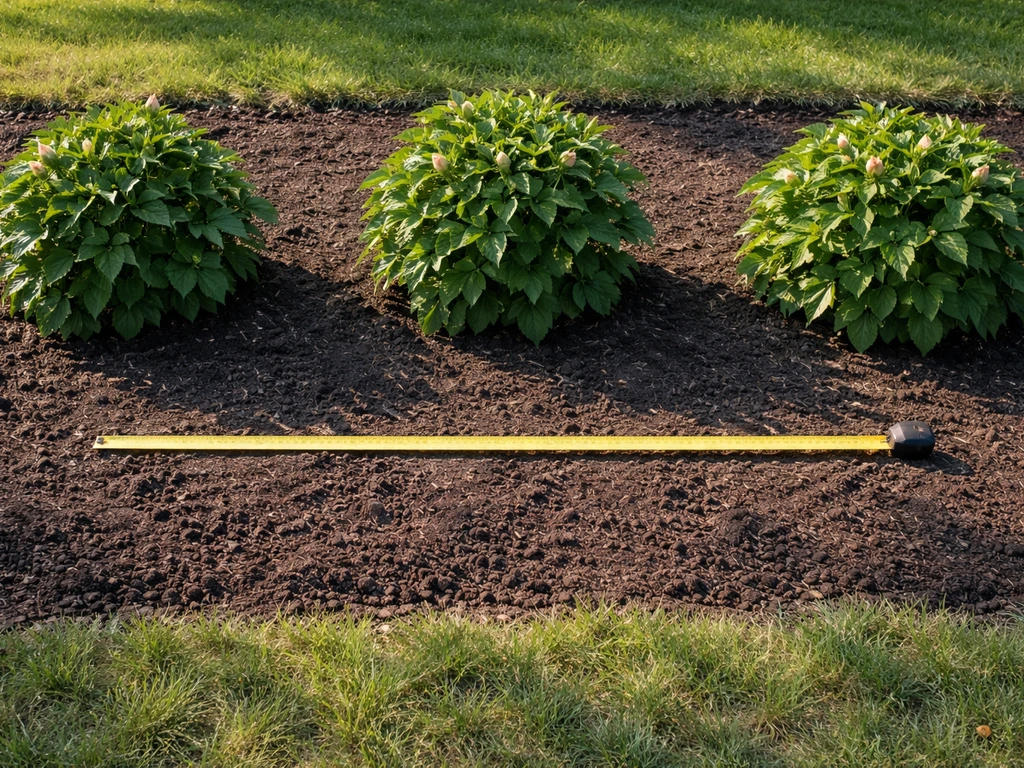
Spacing is something beginners consistently underestimate. Hibiscus moscheutos can easily reach 3 to 5 feet tall and nearly as wide at maturity. The standard recommendation is about 48 inches (4 feet) between plants. I know that looks absurdly sparse when you first put small nursery plants in the ground, but they fill in fast by midsummer. Cramming them together traps humidity between plants, feeds powdery mildew, and forces you to divide or move them within a couple of seasons anyway. Space them right the first time.
Watering and fertilizing through the seasons
Watering
Hardy hibiscus likes consistent moisture but won't tolerate sitting in waterlogged soil. A simple way to check: push your finger 2 to 3 inches into the soil near the base of the plant. If it feels dry at that depth, water deeply. If it's still moist, hold off. In a typical summer, that usually means watering once or twice a week without rain, more often during heat waves. Newly planted hibiscus in its first season needs more frequent attention because its root system is still establishing.
In fall, as the plant goes dormant, back off watering significantly. You're not trying to push new growth, and overly wet soil going into winter is one of the main reasons crowns rot. Once the plant has died back and temperatures drop reliably, you can essentially stop supplemental watering unless you're in a drought-prone climate.
Fertilizing
Start fertilizing in spring once you see new growth emerging from the soil, which in Zone 5 and 6 can be surprisingly late, sometimes not until late May or even early June. A balanced slow-release granular fertilizer (something like 10-10-10) worked lightly into the soil around the base is a solid start. Once buds begin forming in early to midsummer, switch to a fertilizer with a higher middle number (phosphorus) to support flowering, something like 5-10-5.
Stop fertilizing by late August. Pushing new leafy growth late in the season just means more soft tissue that can't harden off before frost. Be honest about what fertilizer can and can't do: it supports a healthy plant, but it won't rescue one that's in the wrong spot, has root rot, or is getting the wrong amount of water. Fix those fundamentals first.
Outdoor pruning, deadheading, and managing dieback
Hardy hibiscus doesn't need heavy deadheading the way annual flowers do, but removing spent blooms can keep the plant looking tidy and may encourage it to push a few more flowers. If you want to start hibiscus from leaves, the propagation steps are a bit different than pruning, so follow a leaf-cutting method for best results Hardy hibiscus doesn't need heavy deadheading the way annual flowers do. Just pinch or snip off the faded flower at its base once the petals drop.
For seasonal pruning, you have two approaches and both work. The fall approach: after the first hard frost kills the foliage, cut stems back to about 8 to 12 inches above ground. This marks the plant so you don't accidentally dig into it in winter or early spring, and it lets you tuck some extra mulch around the base for insulation. The spring approach: leave the stems standing all winter (they catch snow insulation) and cut everything back to ground level in spring once you see new growth emerging from the base. I actually prefer the spring cut because the old stems act as a natural frost buffer for the crown.
If you get winter damage or a late spring freeze, don't panic. Cut back any dead or blackened stems to the point where the tissue looks healthy and green inside. Hardy hibiscus is remarkably resilient. Even if stems are frozen all the way down, the root system usually survives and sends up new shoots. One important warning: because this plant is such a slow starter in spring, many gardeners accidentally dig it up thinking it's dead. If you haven't seen any green by late May or early June, scratch the soil surface around the crown before giving up. Healthy white or cream-colored roots mean it's alive and just hasn't woken up yet.
Troubleshooting common outdoor problems
No flowers or very few blooms
This is almost always a sunlight problem. If you want more blooms after checking sun exposure, focus next on how much nitrogen and fertilizer timing can support hibiscus flowering, which is covered in the fertilizing section sunlight problem. Hardy hibiscus that gets less than 6 hours of direct sun will grow leaves just fine but put out almost no flowers.
If your plant is leafy and green but flowerless, look critically at how much shade it gets throughout the day. The second most common cause is too much nitrogen fertilizer, which pushes lush foliage at the expense of blooms. If you've been feeding it heavily with a high-nitrogen lawn fertilizer or something like Miracle-Gro All Purpose (which is very high in nitrogen), ease back and switch to a bloom-supporting formula.
Leggy, weak, or floppy stems
Legginess is usually a combination of insufficient sun and too much nitrogen. The plant stretches toward light and puts energy into stem length rather than sturdy growth. Move or transplant to a sunnier spot, and adjust your fertilizer. In the meantime, a simple stake or tomato cage provides support without hurting anything.
Wilting and yellowing leaves
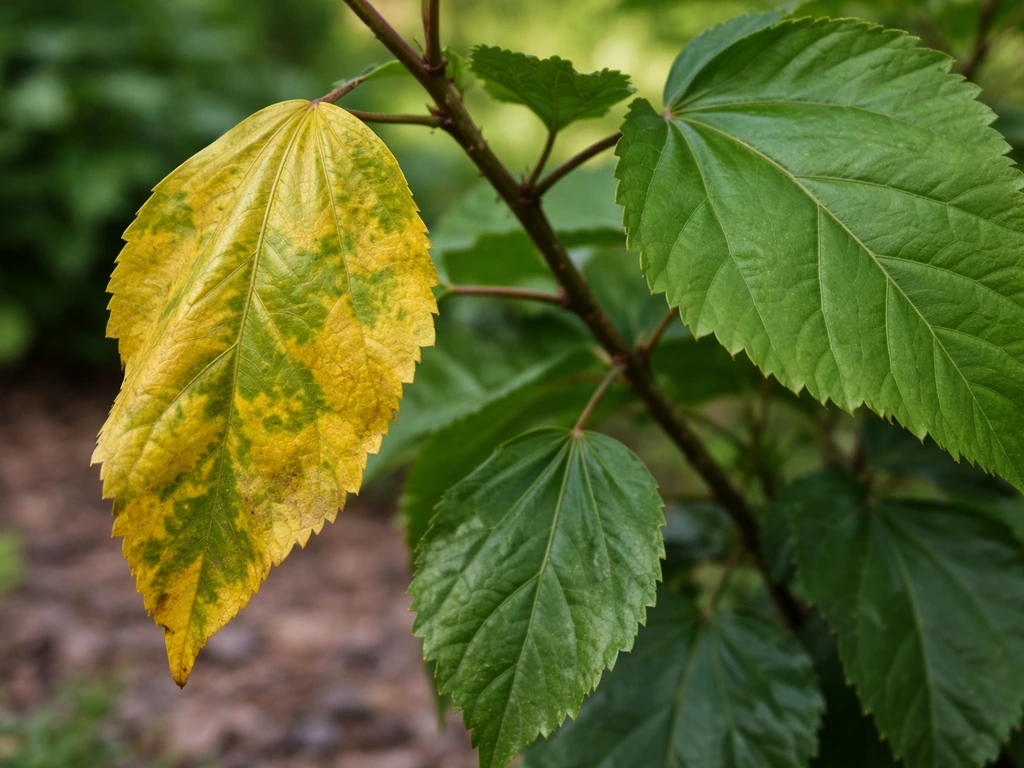
Wilting in the heat of the day, even with adequate watering, is normal for hardy hibiscus and doesn't mean something is wrong. If leaves are wilting in the morning or on cool days, that's when you should investigate. Yellowing lower leaves combined with wilting often points to root rot from poor drainage, which is the most serious problem this plant faces outdoors.
In a related plantclinic discussion, a waterlogged tray scenario was described as contributing to root-rot-type symptoms for a hibiscus-like plant, underscoring how sensitive drainage can be root rot from poor drainage. Check the soil drainage, pull back mulch to look at the crown, and if the base of the stem looks soft or discolored, you're likely dealing with Phytophthora crown rot.
At that point, correcting drainage and removing affected tissue is the path forward: there's no reliable fungicide fix that will rescue a plant sitting in bad drainage. Prevention by site selection is everything here.
Pests: Japanese beetles and thrips
Japanese beetles are one of the most common hardy hibiscus pests. You'll spot them easily: metallic green-and-copper beetles clustered on leaves and flowers, skeletonizing the foliage. Hand-picking in the morning when they're sluggish works well for small infestations. For larger problems, neem oil or pyrethrin-based sprays applied in the evening (to protect pollinators) can reduce populations. Thrips are harder to see since they're tiny, but you'll notice stippled, silvery, or distorted leaves and deformed flowers. They feed by puncturing plant tissue and sucking the contents. Neem oil and insecticidal soap applied to the undersides of leaves are the most practical controls.
Powdery mildew
Powdery mildew shows up as white or gray powdery patches on leaves, usually in late summer. It's rarely fatal but it looks bad and weakens the plant. Good air circulation and avoiding overhead watering are your first-line prevention. If you've had mildew problems in past seasons, consider starting preventative applications of a potassium bicarbonate or neem oil spray by early August, before symptoms appear. Once white patches are visible, you're already behind. Spacing plants properly at that 4-foot recommendation goes a long way toward avoiding this problem entirely.
A simple seasonal care routine to follow
| Season | Key Tasks |
|---|---|
| Spring (after last frost) | Watch for slow emergence; remove winter mulch once growth appears; cut stems to ground if not done in fall; begin fertilizing with balanced granular feed |
| Early Summer | Water consistently when soil is dry 2–3 inches down; mulch 2–4 inches around base; stake if needed |
| Midsummer (bloom season) | Switch to phosphorus-forward fertilizer; deadhead spent blooms; monitor for Japanese beetles and thrips; enjoy the flowers |
| Late Summer | Begin watching for powdery mildew; apply preventative spray by early August if needed; stop fertilizing by late August |
| Fall (after first hard frost) | Cut stems to 8–12 inches or leave for spring; add extra mulch layer over crown in Zone 4 and 5; reduce watering |
| Winter | Leave mulch in place; no watering needed; plant is dormant underground but roots are alive |
Once you've got the first full season under your belt, hardy hibiscus becomes one of the least demanding big-impact perennials in the garden. The most common mistakes are all avoidable: planting in shade, ignoring drainage, jumping to conclusion that the plant is dead in late spring, and over-fertilizing with nitrogen. Get the site right, give it sun and well-drained soil, and this plant will reward you with blooms as big as dinner plates, year after year.
If you specifically want red hibiscus flowers, focus on choosing a sunny spot and consistent moisture so the blooms can form reliably hardy hibiscus. If you want to take things further, exploring how to grow more hibiscus flowers or learning about growing hibiscus in soil with specific amendments can help you fine-tune performance once you have the basics locked in.
If you want to try a different method, you can also learn how to grow hibiscus in water and keep roots healthy while you wait for new growth.
FAQ
How can I tell if my hardy hibiscus is alive when it takes so long to start in spring?
Look for life at the crown, not on the stems. Scratch the soil surface lightly around the crown once daytime temperatures have warmed, healthy tissue inside should look white or cream, and you may also see tiny swelling buds even before stems appear. Avoid digging deeper than necessary, because you can damage new roots.
What’s the best way to water hardy hibiscus so I avoid root and crown rot?
Water deeply, then wait until the top 2 to 3 inches of soil near the base dries. Use a slow, targeted method like a soaker hose or drip line so water soaks in rather than running off. If you see water pooling or the soil is still wet 24 hours after heavy rain, adjust the site or improve drainage instead of watering less.
Should I remove the old stems in winter or leave them for frost protection?
Leaving stems standing is useful when winters are cold and you want extra crown insulation, especially in Zone 4 to 5. If your area has repeated freeze thaw cycles or heavy wind, a spring cut can still work, but make sure the plant is not staying trapped in snow melt that sits around the crown.
Can hardy hibiscus grow in containers, and how would care change?
Yes, but you must prioritize drainage and winter protection. Use a large pot with drainage holes, keep it in full sun during the growing season, and water only when the top few inches dry. In winter, move the container to a sheltered spot or insulate it heavily, because potting mix can freeze deeper and root damage becomes more likely than it does in ground plantings.
What fertilizer amount should I use, and how do I prevent too much nitrogen?
Use the label rate for slow-release granular fertilizer, then err on the lighter side if you are unsure. If you have lush, dark green growth and few buds, stop adding nitrogen and wait until buds form before using the higher phosphorus bloom support. Also avoid high-nitrogen lawn fertilizers that run off into the hibiscus bed.
My plant grows leaves but almost no flowers. What should I check first?
First confirm daily direct sun is at least 6 hours, because insufficient light consistently reduces bloom quantity and stem strength. If sun is adequate, check nitrogen level and timing, too much late feeding is a common reason buds fail. Lastly, verify watering is not staying overly wet, since stressed roots can delay or reduce flowering.
How do I support hardy hibiscus without damaging it?
Use a gentle cage or a stake early in the season, once stems are established but before wind or heavy blooms bend them. Tie loosely with soft plant ties so you do not girdle stems. Place supports around the plant, do not pound stakes near the crown after roots have filled in.
Can I propagate hardy hibiscus by cuttings or division, and what’s the best time?
Division is typically easier and more reliable for hardy hibiscus once the plant has started into growth in spring. For cuttings, leaf-cutting or other methods work better than stem cutting alone, and timing matters because cuttings need warm conditions to root. If you want the simplest approach, plan to divide when new shoots are clearly visible.
Why are my leaves getting white patches late in the season, and what can I do beyond spacing?
White patches are usually powdery mildew, it often starts in late summer when humidity rises and airflow drops. Improve airflow by spacing correctly and keeping foliage dry, then consider early preventative sprays before you see symptoms, not after. If it’s severe, remove heavily affected leaves to reduce spores, but focus on airflow and watering habits to prevent recurrence.
What should I do if my hardy hibiscus wilts on hot days?
Midday wilting can be normal even when the plant is healthy, the key is whether leaves recover by evening or the next morning. Investigate on cool mornings or when wilting happens without heat stress, that pattern points to drainage problems or root issues. Pull back mulch slightly to inspect the crown if wilting persists.
Japanese beetles and thrips are both showing up. What’s the most effective control sequence?
Start with targeted checks, hand-pick Japanese beetles in the morning when they are slow, then treat with an insecticidal option in the evening to reduce impact on pollinators. For thrips, focus on undersides of leaves and treat consistently, insecticidal soap or neem works best with good coverage. Reapply based on the product label, because eggs and newly hatched stages can escape a single application.
How much mulch should I use, and can mulch cause crown rot?
Use 2 to 4 inches of mulch, keep it a few inches away from the stem so moisture does not sit against the crown. Mulch is helpful for summer heat and winter temperature stability, but thick, piled mulch in wet spots can increase crown rot risk. If the crown area stays wet, reduce mulch thickness and improve drainage.